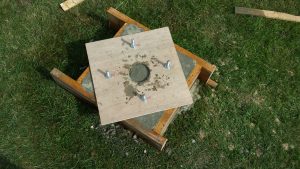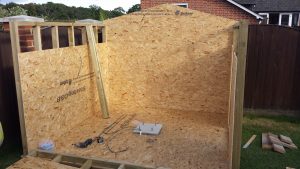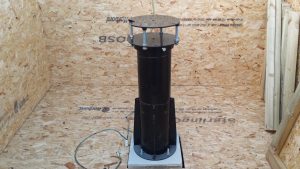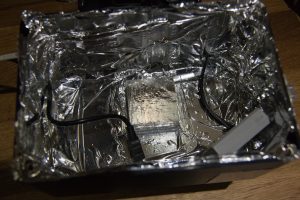
After deciding to move my equipment from the farm to home, to make my imaging tasks a bit easier, I decided I was going to design and build a roll-off roof oberservatory this time, this will allow me to possibly automate the roof later on, so for this I first had to dig down by 3ft in order to build the base for my Pier, inside this 3ft was also re-inforced bar going out to different angles to the surrounding earth and also straight down into the ground below the 3ft hole, it was then poured with concrete and the template for the steel pier bolts placed resulting in the following:
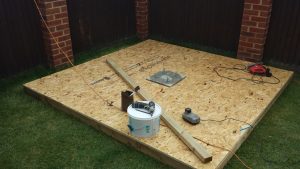
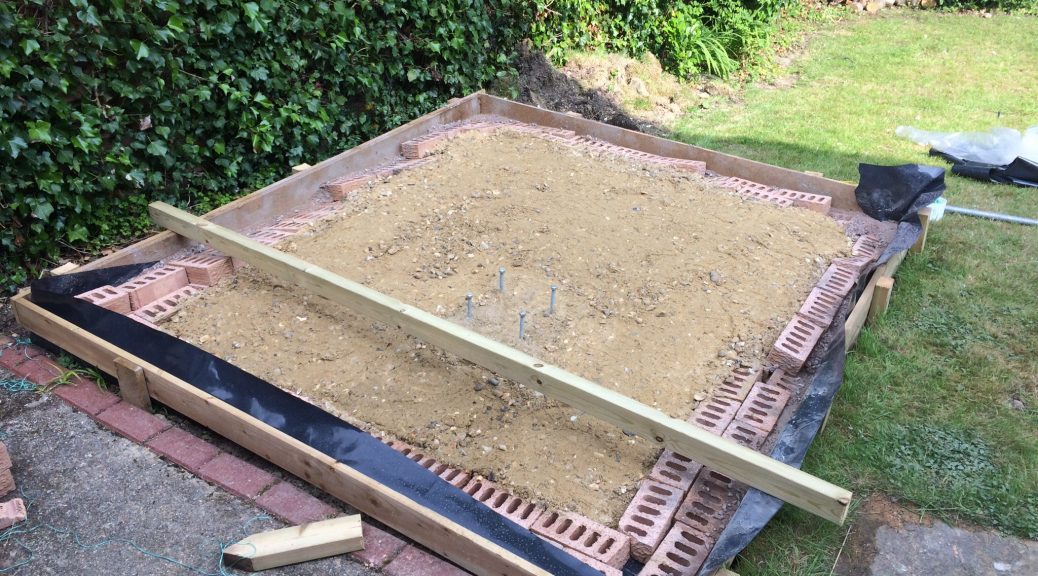
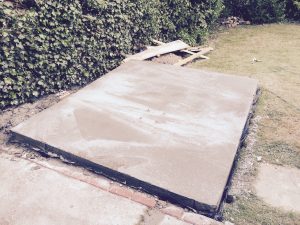
The base was an 8ft x 8ft base, but my observatory design was to be an 8ft x 6ft because I did not plan on being present in the observatory during imaging so I did not need that much space around the equipment, as you can see my garden slopes down quite a bit too. The bricks around the outer edge were purely to allow me to pour concrete down the edges to get a smooth finish on the outside prior to be filling the whole base with concrete.
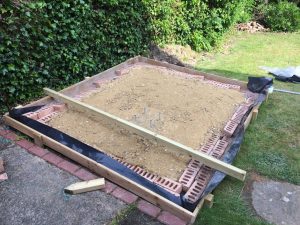
A few days later, the concrete arrived and was poured into the base resulting in the following image showing the concrete “Curing”
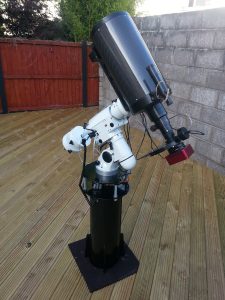
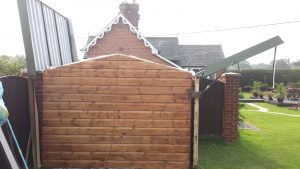
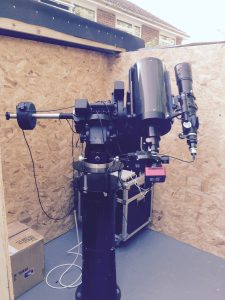
After the concrete had cured, I used a thin film of leveling compound on the observatory base just to give it a much cmoother floor and allow me to paint it with a nice clean dark grey concrete floor paint, and once dried I started constructing my observatory which resulted in the final build below:

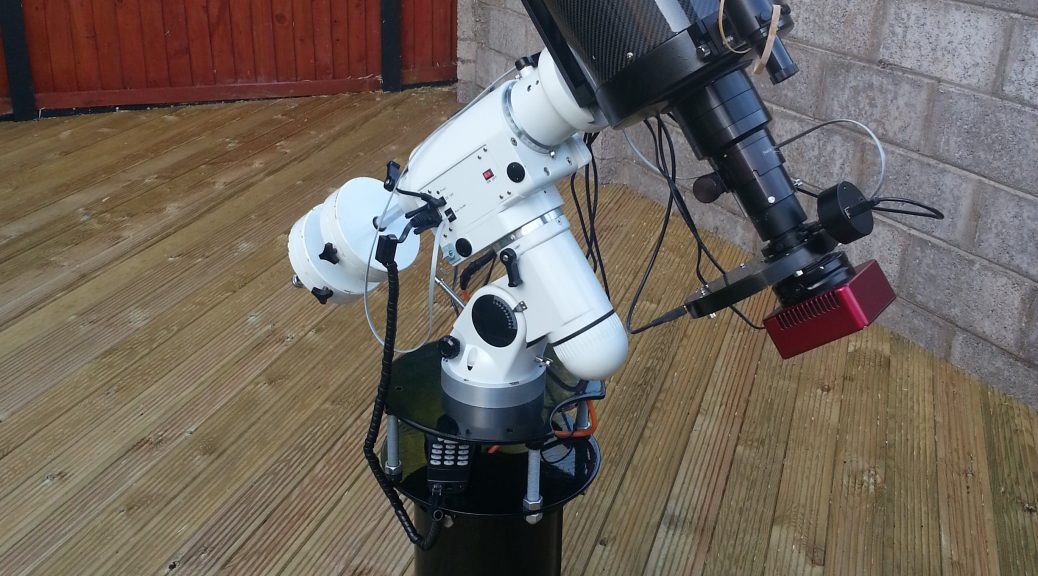
As you can see from the above image and the image below, I still had my Astro-Tech AT8RC which I have parted with in favour for an F4 Quattro Reflector which is now my primary imaging scope
I am extremely happy with the observatory, I am working through a design to allow the automation of the roof as well. In total the construction of this obervatory took me no less than a few days to complete, I hope this inspires you folks out there contemplating building your own to get out there and do it!