
Refining the Setup and Seeing What It Can Really Do
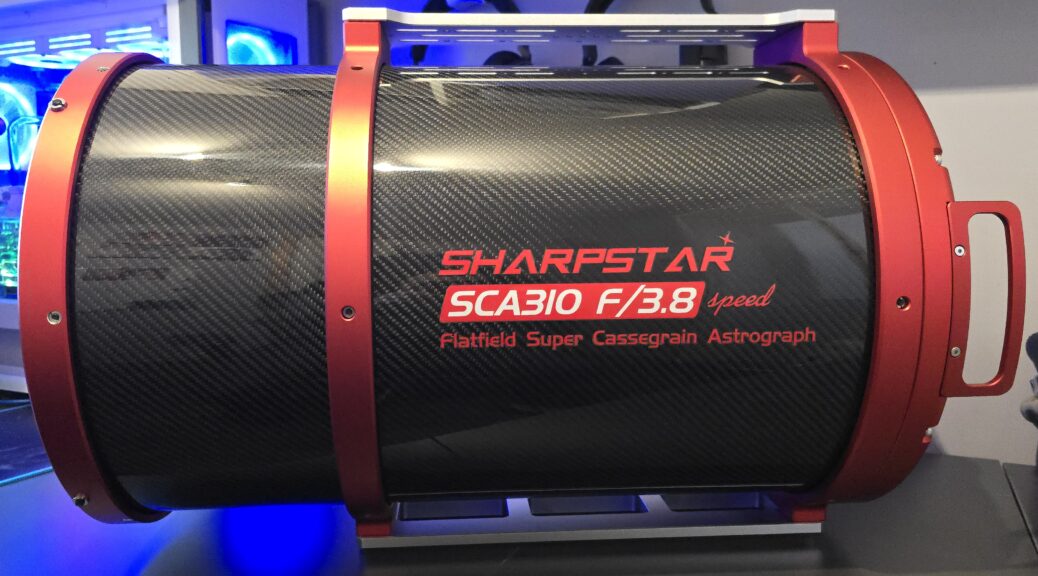
In Part 1 of my SharpStar SCA310 review, I covered the rather long journey that eventually resulted in one arriving on my doorstep, the technical specifications, how it compares with my previous SharpStar 20032PNT and my initial impressions of what is, by any measure, a substantial piece of astrophotography equipment.
But specifications and first impressions only tell you so much.
The real test of any astrograph begins when you start building the complete imaging system around it and, ultimately, point it at the night sky.
Since receiving the SCA310 in January, I’ve made a number of changes to get the telescope working exactly the way I want it. Some were planned before it even arrived, while others came about as I started collecting real imaging data.
So, in Part 2, I’ll concentrate on those experiences: what I changed, the problems I encountered, how I solved them and, ultimately, whether the SCA310 delivered the performance I’d been waiting more than four years to see.
Re-engineering the Cooling System
One of the first things I decided to change was the cooling arrangement.
The SCA310 is fitted with fans behind its large 310 mm primary mirror, but I wanted to make two modifications.
The first was purely practical. I replaced the original fans with externally mounted, easily replaceable units. Fans are mechanical components and eventually they fail. I didn’t want replacing one to involve dismantling the rear of the telescope, so with my arrangement a failed fan can now simply be swapped out.
The more significant change was reversing the direction of airflow.
In the stock configuration, air is drawn through the open aperture and exhausted by the fans behind the primary mirror. I reversed this so that the rear-mounted fans instead draw ambient air in from behind the primary and push it forwards through the telescope.
The main reason for doing this was the thermal boundary layer that can form above a large primary mirror. If the mirror remains warmer than the surrounding air, it heats the thin layer of air immediately above its surface, creating small convection currents that can affect image quality.
By bringing ambient air in behind the primary and moving it forwards, the aim is both to help the mirror reach thermal equilibrium and to disrupt that warmer boundary layer.
There’s also another potential benefit. The airflow continues forwards towards the secondary, helping keep air moving around it during the damp conditions we frequently experience here in the UK. It isn’t a replacement for dew control, but anything that helps discourage moisture from settling on the secondary is useful.
This isn’t something I’ve attempted to quantify scientifically; it’s simply the approach that made most sense to me, and in practice it has worked extremely well.
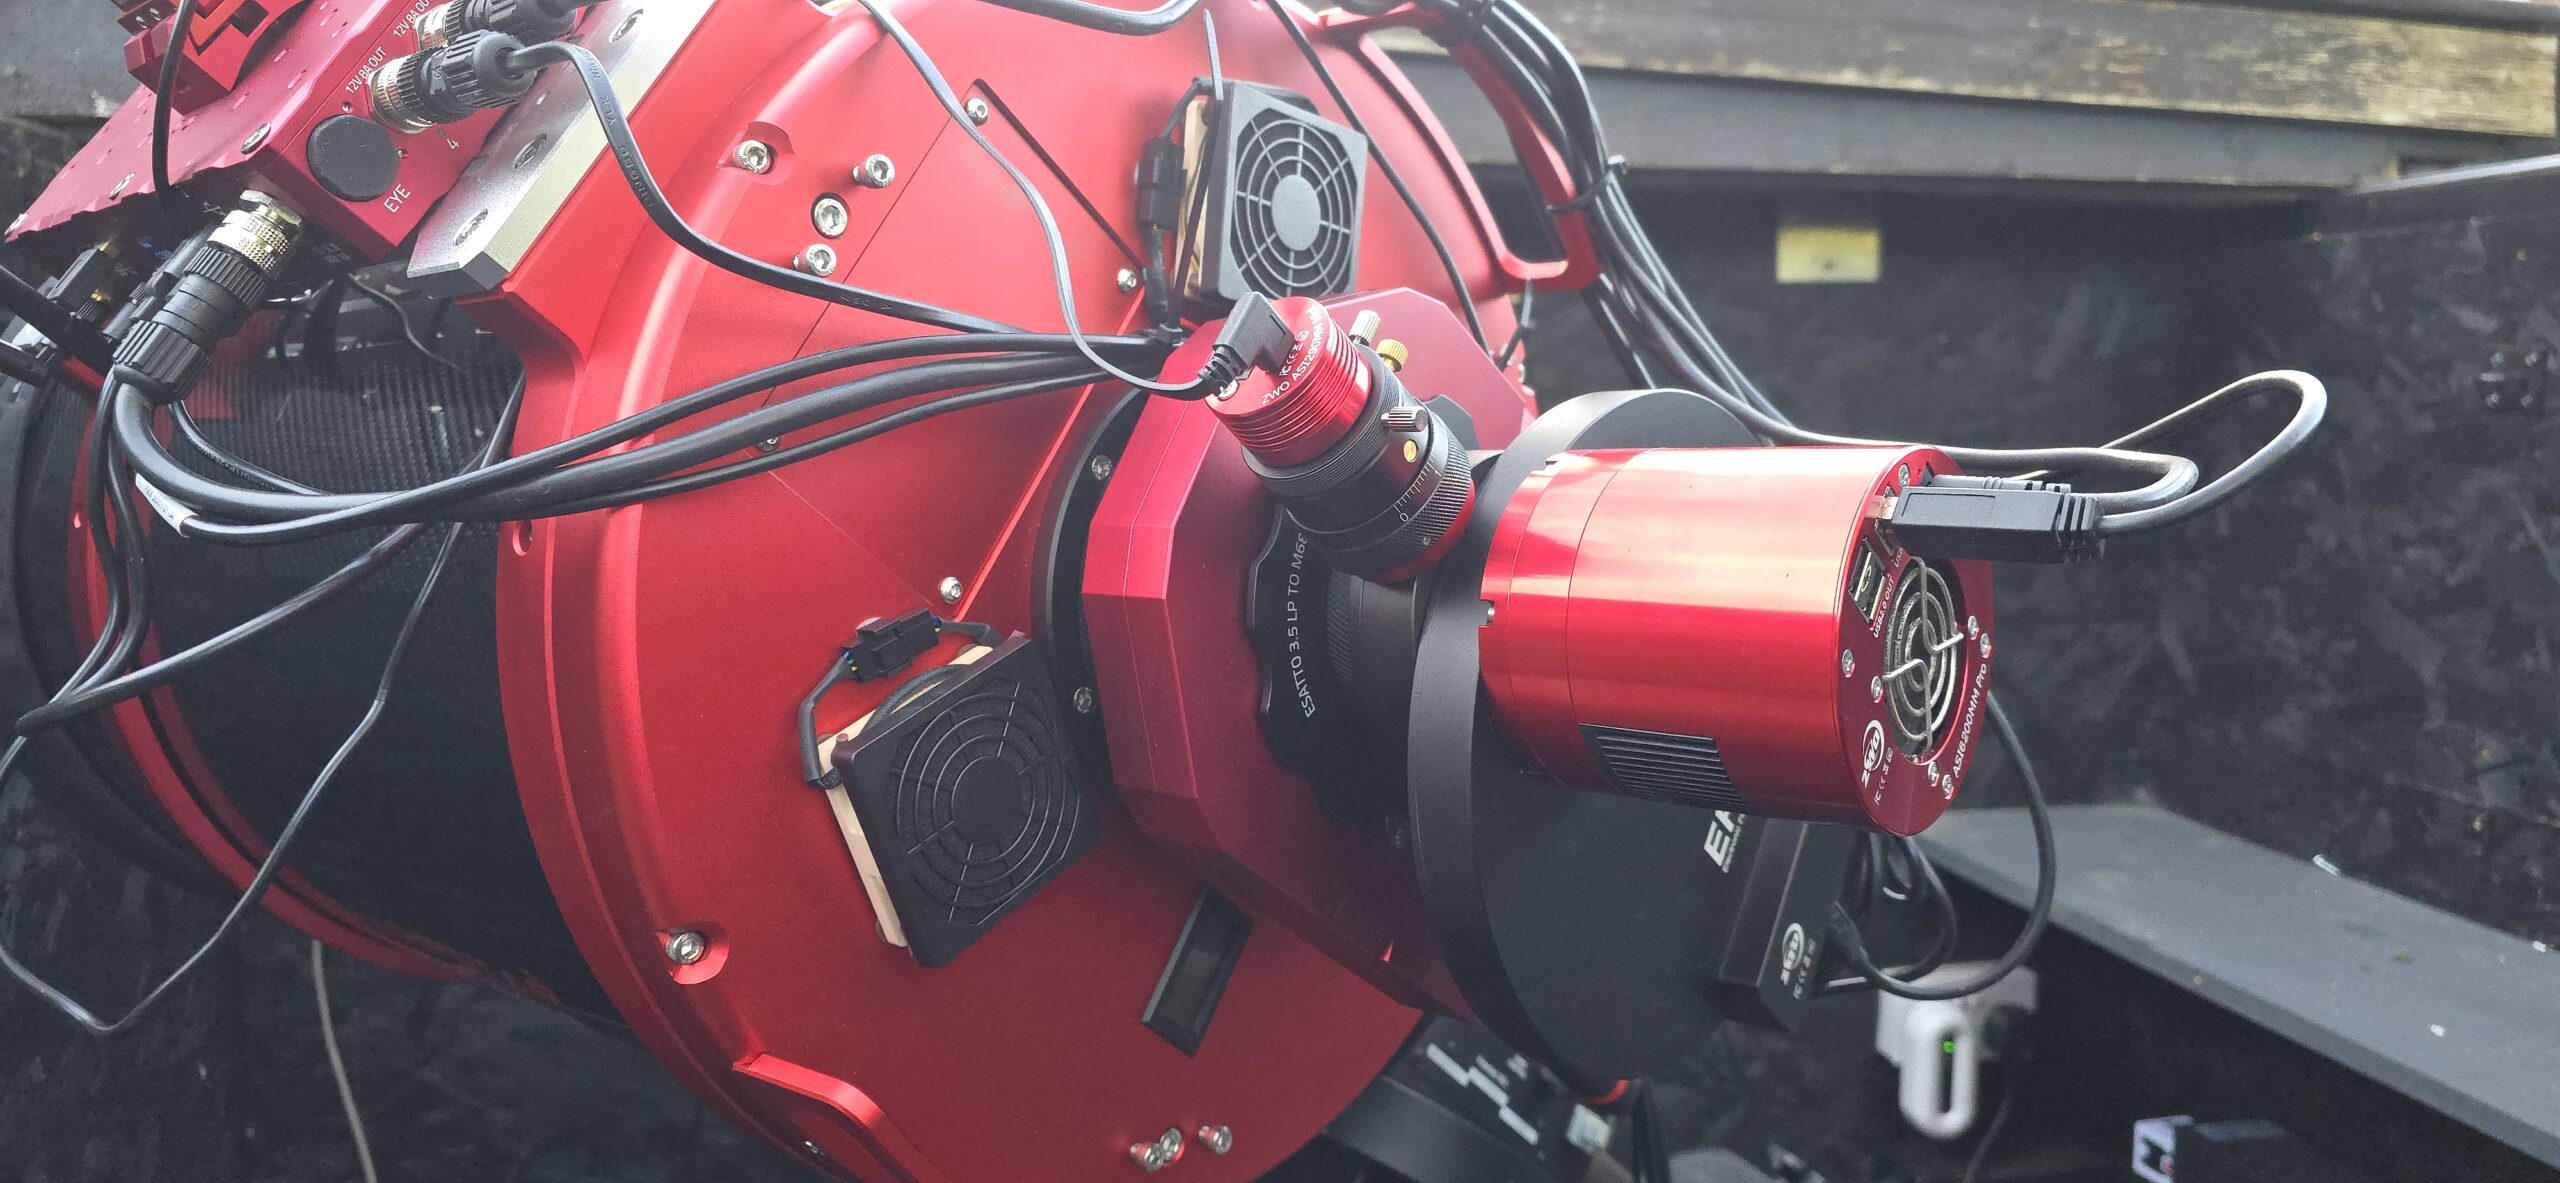
My externally mounted cooling fans. As well as reversing the airflow, mounting the fans externally means they can easily be replaced should one ever fail.
Tracking Down the Stray Light
Once I started collecting real-world imaging data, I discovered another issue: stray light.
I contacted SharpStar and shared examples of what I was seeing. To their credit, they responded by providing me with a corrector baffle extension, designed to provide additional shielding and control stray light hitting the corrector lens. Once installed, it made a significant improvement.
Unfortunately, the stray light didn’t stop there.
When I subsequently examined my RGB imaging data, I noticed another reflection that was particularly apparent through the Red and Green filters, with Red showing the strongest effect.
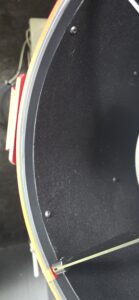
This appeared to be separate from the stray light that SharpStar’s corrector baffle extension had addressed, so I started looking for another reflective surface within the optical path. Eventually, I traced it to something surprisingly simple: the red anodised aperture.
Although it didn’t look particularly reflective to the eye, it was reflecting enough light to become visible during long-exposure imaging, particularly through the Red filter. Fortunately, the solution was equally simple. I covered the inside of the red anodised aperture with black insulation tape. And that solved it.
Not exactly high-tech, but extremely effective. Black insulation tape covering the reflective anodised surface eliminated the remaining reflection.
It’s worth distinguishing between the two issues.
The corrector baffle extension supplied by SharpStar controlled stray light reaching the corrector lens, while the remaining RGB reflection was caused by light reflecting from the red anodised aperture.
Given that mine was an extremely early SCA310—and, as far as I’m aware, the first delivered to a customer in the UK—finding a couple of areas that could be refined wasn’t entirely unexpected.
More importantly, neither issue was related to the fundamental optical quality of the telescope.
Collimation – Easier Than Expected
Given the size of the SCA310 and its fast f/3.8 optical system, I expected collimation to be one of the more challenging aspects of setting it up.
In reality, it was surprisingly straightforward. I used my Farpoint Astro laser collimator for the initial alignment, making a few small adjustments until I was happy everything was correctly aligned. Of course, the final test isn’t where the laser lands. It’s the stars.
Once I was able to examine actual imaging data, I checked the entire star field rather than concentrating solely on the centre. The result confirmed what the Farpoint had indicated: tight, round stars across the whole field of view, including the corners.
“The laser gets you aligned, but ultimately the stars tell you whether you’ve got it right.”
I’ve also found the SCA310 to hold its collimation extremely well. Mine is permanently installed in the observatory, which undoubtedly helps, but I haven’t found myself constantly having to make adjustments.
My approach now is simple: check it, but don’t touch it unless the stars tell me there’s a reason to.
Replacing the Stock Focuser with the Esatto 3.5″ LP
The next change was one I’d largely planned from the beginning. There was nothing fundamentally wrong with the stock focuser, but I wanted something better suited to a permanently installed and highly automated imaging system. I therefore replaced it with a PrimaluceLab Esatto 3.5″ LP robotic focuser.
For me, the main advantages are rigidity, repeatability and accurate automated focusing throughout the night. With an OAG, filter wheel and full-frame camera hanging from the rear of the telescope, maintaining a rigid imaging train is particularly important.
The original SCA310 connection is M101x1, so fitting the Esatto required an M101x1 female to M101x1.5 male adapter. Once installed, everything fitted together extremely well.
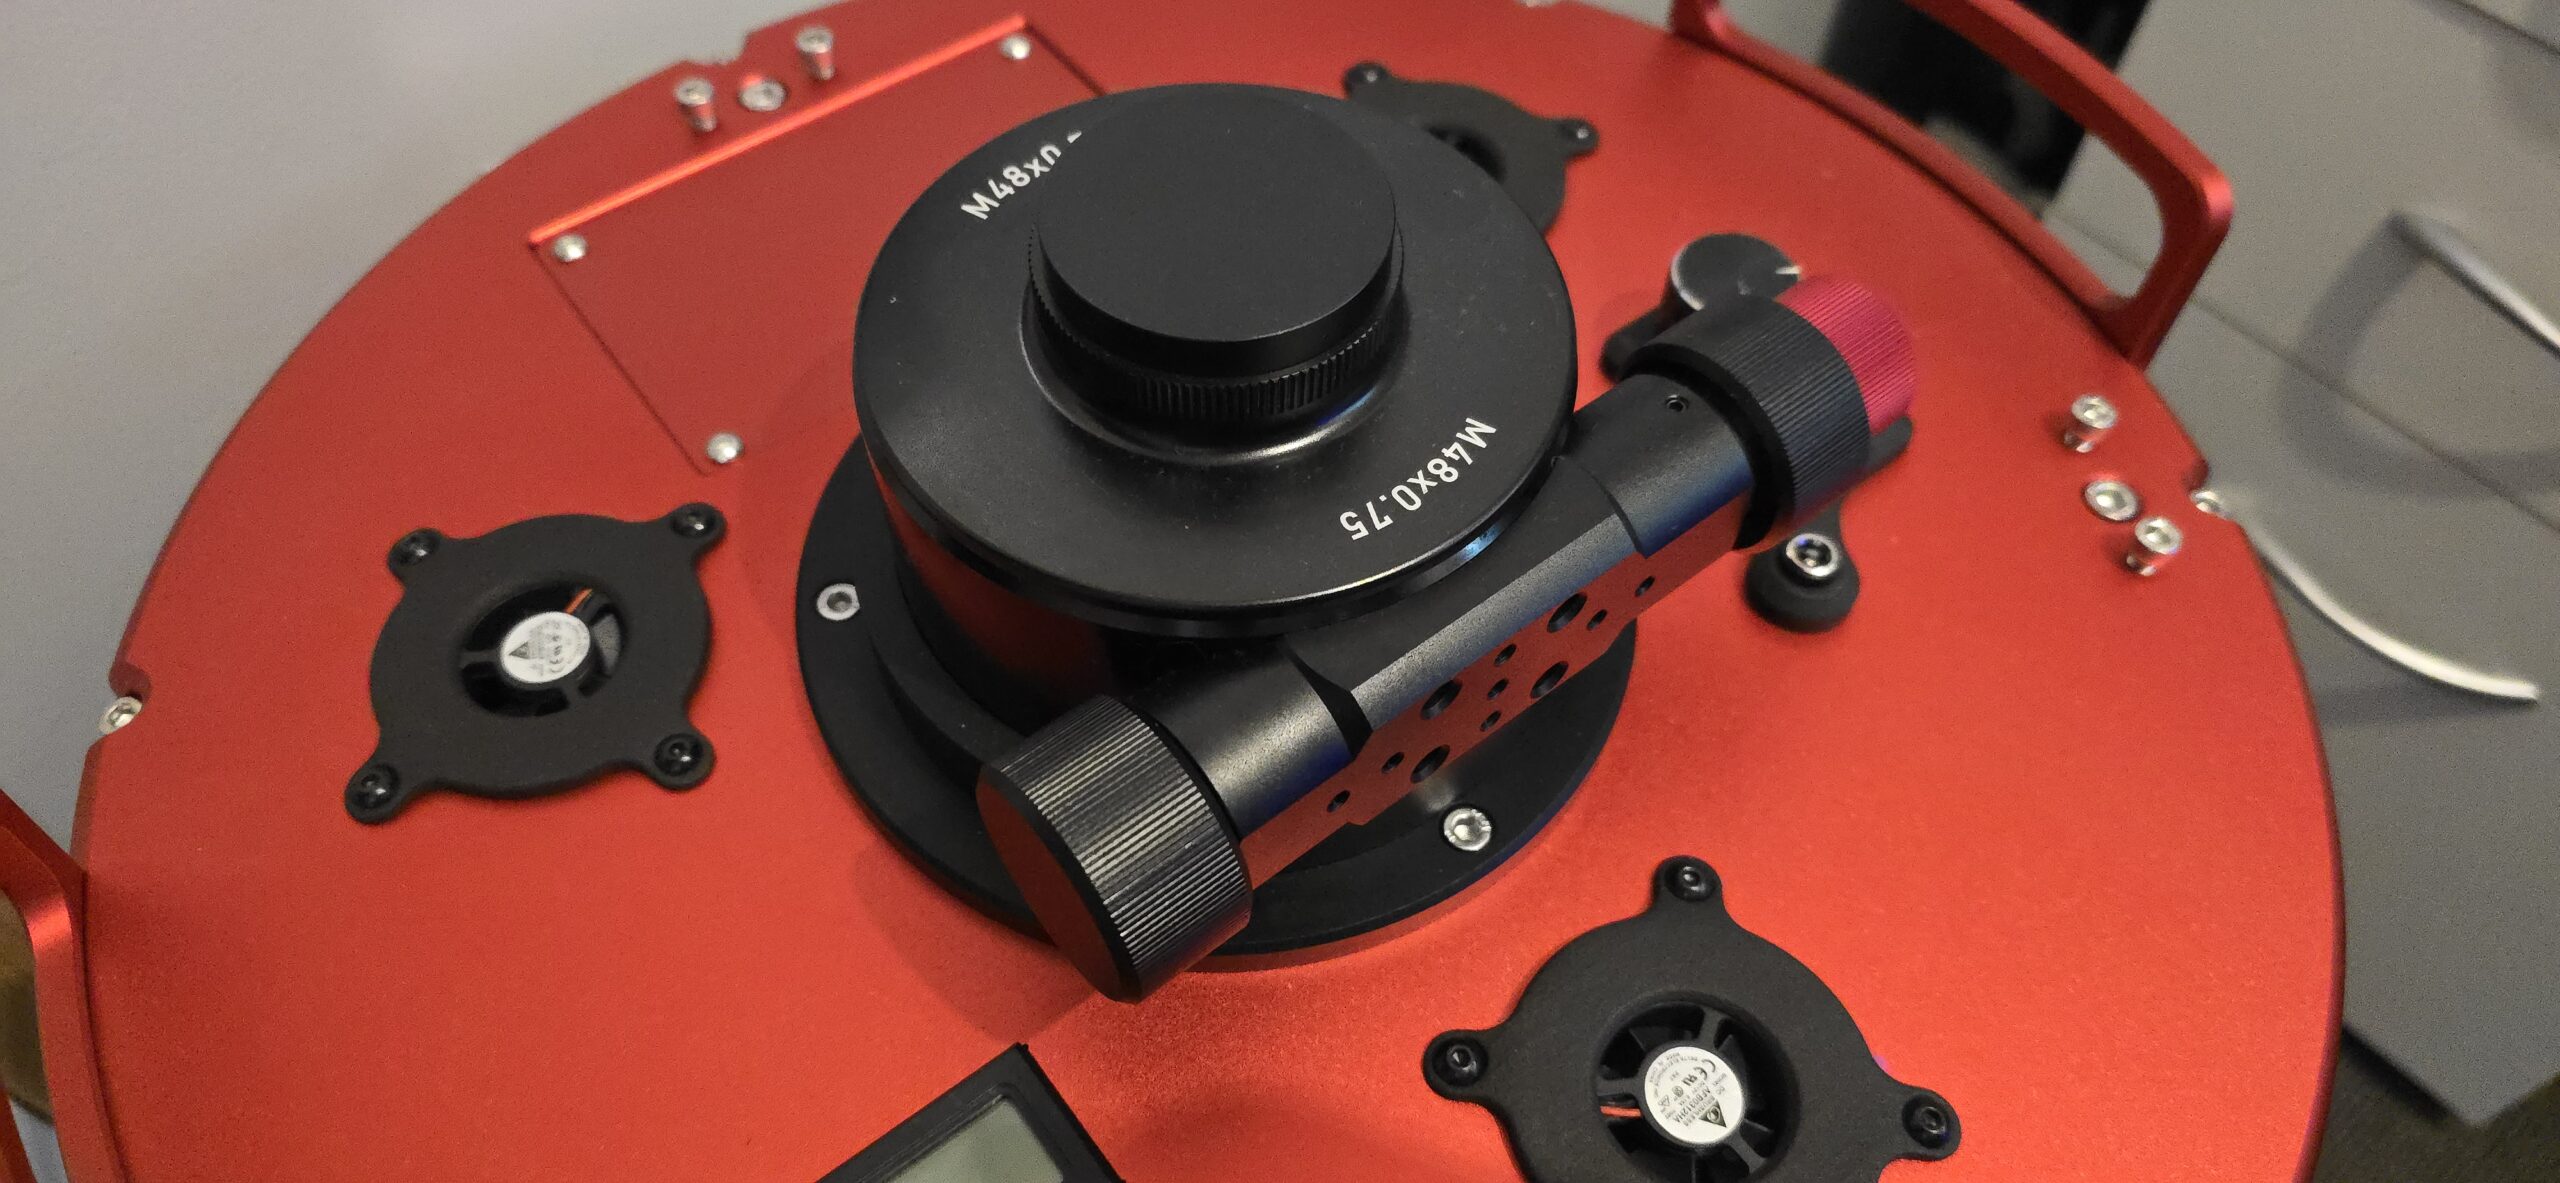
The original SCA310 focuser before the upgrade.
The PrimaluceLab Esatto 3.5″ LP installed using an M101x1(F) to M101x1.5(M) adapter.
For the way I use the telescope, the Esatto has proven to be a worthwhile upgrade. Autofocus is repeatable, the imaging train is extremely rigid and it integrates neatly with the rest of my observatory automation.
Moving from a Guide Scope to an OAG
Changing the focuser wasn’t the only alteration I made to the imaging train. With a telescope of this size and a focal length approaching 1.2 metres, I also decided to retire my separate guide scope and move to an Off-Axis Guider (OAG).
The advantage is straightforward: an OAG guides using the telescope’s own optical path, eliminating the possibility of differential movement between a separate guide scope and the main telescope. In principle, it was an obvious upgrade. Getting everything configured proved slightly more challenging.
The main issue was achieving reliable guide-camera focus while also dealing with the small differences in focal point between my individual filters. As the imaging camera refocused between filters, I needed the guide camera to remain sufficiently well focused across those changes.
It took some experimentation with positioning and spacing, but eventually I found the right compromise. Once sorted, the OAG has worked extremely well, and on a telescope of this size I wouldn’t go back to a separate guide scope.
First Completed Image – The Wizard Nebula
After modifying the cooling, dealing with the stray light, checking the collimation and finally getting the imaging train configured exactly the way I wanted it, there was really only one thing left to do.
Take some photographs.
My first completed image with the SCA310 was the Wizard Nebula (NGC 7380), and this was probably the point at which the four-year wait finally made sense. The first thing I did was examine the stars.
Not just those in the centre of the image, but those right out towards the corners. The result was exactly what I’d been hoping for. Tight, round stars across the entire field of view.
The overall image was also extremely sharp, with fine structure throughout the nebula beautifully resolved. This was my first real opportunity to see what the combination of 310 mm aperture, 1178 mm focal length and f/3.8 could deliver in a completed image rather than simply looking at test exposures. And it delivered.
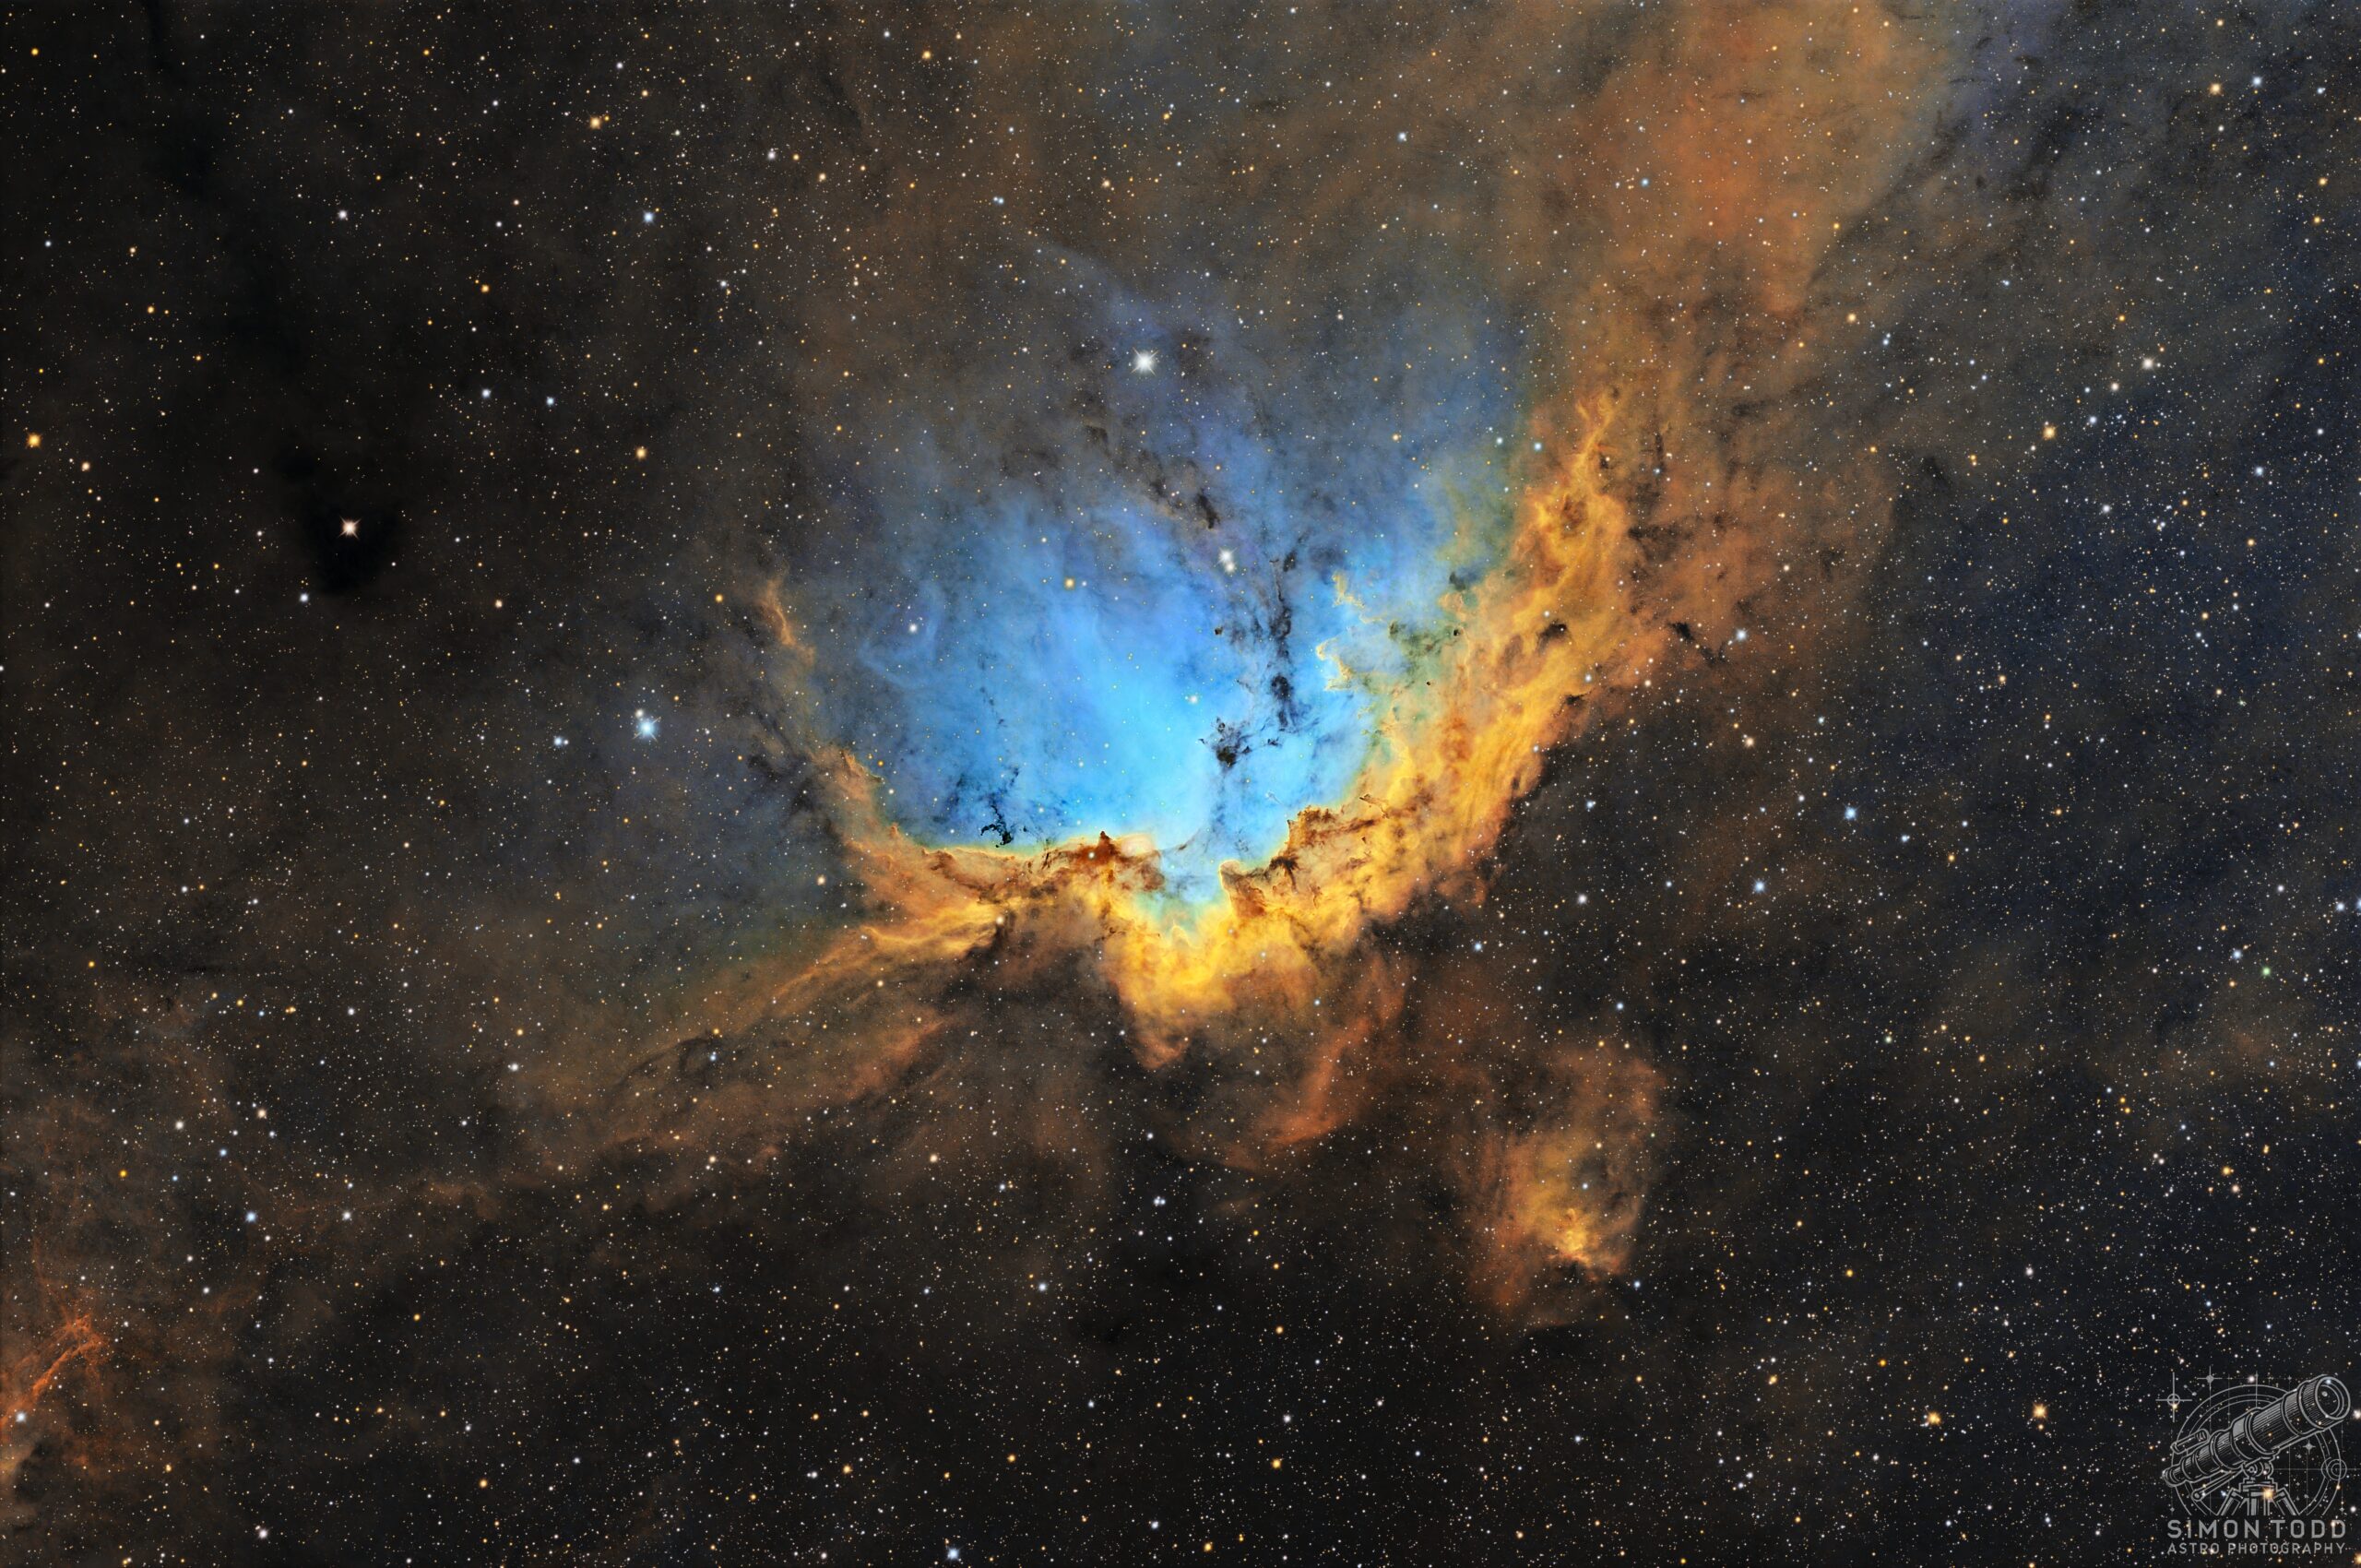
My first completed image with the SharpStar SCA310 – the Wizard Nebula (NGC 7380). The image demonstrated excellent sharpness with tight, round stars across the entire field of view.
“After more than four years of waiting, the Wizard Nebula was the image that finally answered the question: was the SCA310 going to deliver what I’d hoped? It absolutely did.”
And ultimately, that’s what matters. Cooling systems, focusers, collimation, guiding and modifications are all part of building an astrophotography system, but the reason we spend so much time getting those things right is the image that eventually appears on the screen.
Which brings me to the question I’ve been waiting more than four years to answer.
Conclusion – Was the SharpStar SCA310 Worth the Wait?
After waiting more than four years for the SCA310, there was always a danger that no telescope could possibly live up to the expectations I’d built around it. Fortunately, this one has.
It hasn’t been a completely plug-and-play experience. I’ve modified the cooling system, dealt with two different sources of stray light, changed the focuser and moved from a guide scope to an OAG. But none of those things change what matters most. The optical performance is exceptional.
The Wizard Nebula demonstrated that better than any specification sheet could: excellent sharpness and tight, round stars across the entire field.
I also don’t want the move to the SCA310 to suggest there was anything lacking in my previous SharpStar 20032PNT. There wasn’t. It was an excellent telescope and produced many images I’m still extremely proud of. The SCA310 simply represents the next step.
Its additional aperture and longer focal length give me access to a different level of image scale and detail, while the f/3.8 optical system retains the imaging speed that attracted me to SharpStar’s astrographs in the first place.
There are certainly areas where I think SharpStar could make improvements. Better stray-light control from the factory would have prevented the issues I encountered, and personally I prefer the cooling arrangement I’ve created.
But those are refinements around an optical system that has delivered exactly what I hoped it would.
There is one other consideration for anyone thinking about buying one.
It’s huge.
At 23.5 kg before adding the complete imaging train, the SCA310 needs a serious mount underneath it. Mine sits permanently on my Sky-Watcher EQ8 Pro, which is now around twelve years old and was StellarDrive tuned a few years ago. Despite its age, the EQ8 continues to handle the SCA310 extremely well.
I wouldn’t underestimate this aspect of ownership. There’s little point investing in optics capable of resolving extremely fine detail if the mount underneath them can’t provide the tracking and guiding accuracy needed to take advantage of it. So, would I buy the SCA310 again?
Absolutely.
I’ve only had it since January, and in many ways I’m still discovering what it’s capable of. I’m sure there will be many more targets to image—and, knowing me, probably a few more refinements to the setup along the way.
But after following its development for more than four years, finally having Zoltan from 365Astronomy drop it off on his way home from AstroFest, and then spending the months since learning how to get the best from it, I can finally answer the question I had when SharpStar first announced the SCA310.
Was it worth the wait?
Without hesitation. Every single year of it.