Four Years of Waiting… and Every Lesson Learned Along the Way
Introduction
Every now and then, a telescope comes along that genuinely captures the imagination of the astrophotography community.
For me, the SharpStar SCA310 was one of those telescopes.
Having previously owned both the SharpStar 15028HNT and later the SharpStar 20032PNT, I’d become a huge fan of SharpStar’s approach to designing telescopes specifically for astrophotography. The 20032PNT, in particular, had become my workhorse telescope, producing many of my favourite deep-sky images and proving itself to be an exceptionally capable imaging platform.
So, when SharpStar announced the SCA310 Super Cassegrain Astrograph, my interest was immediate.
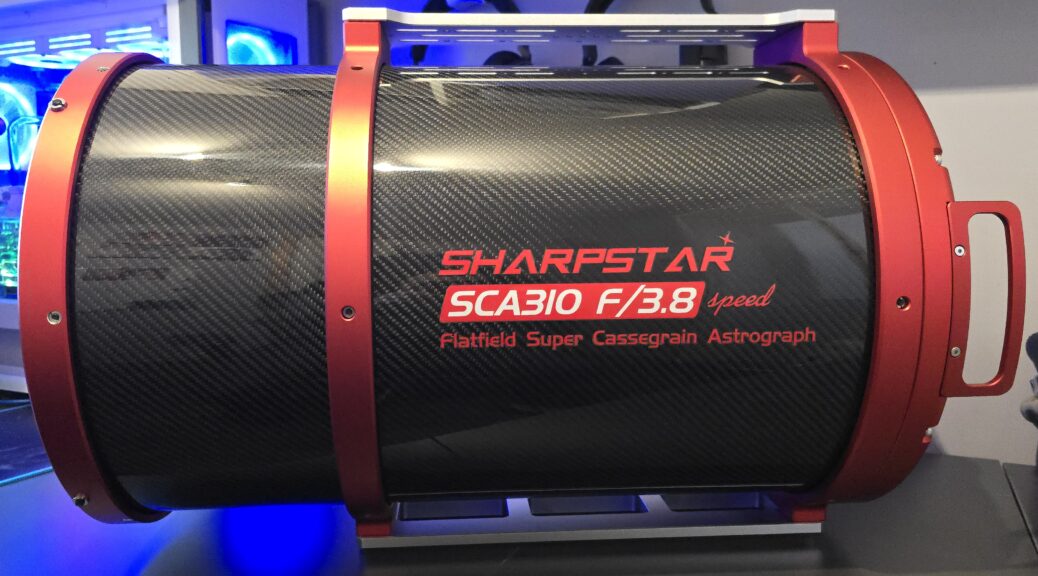
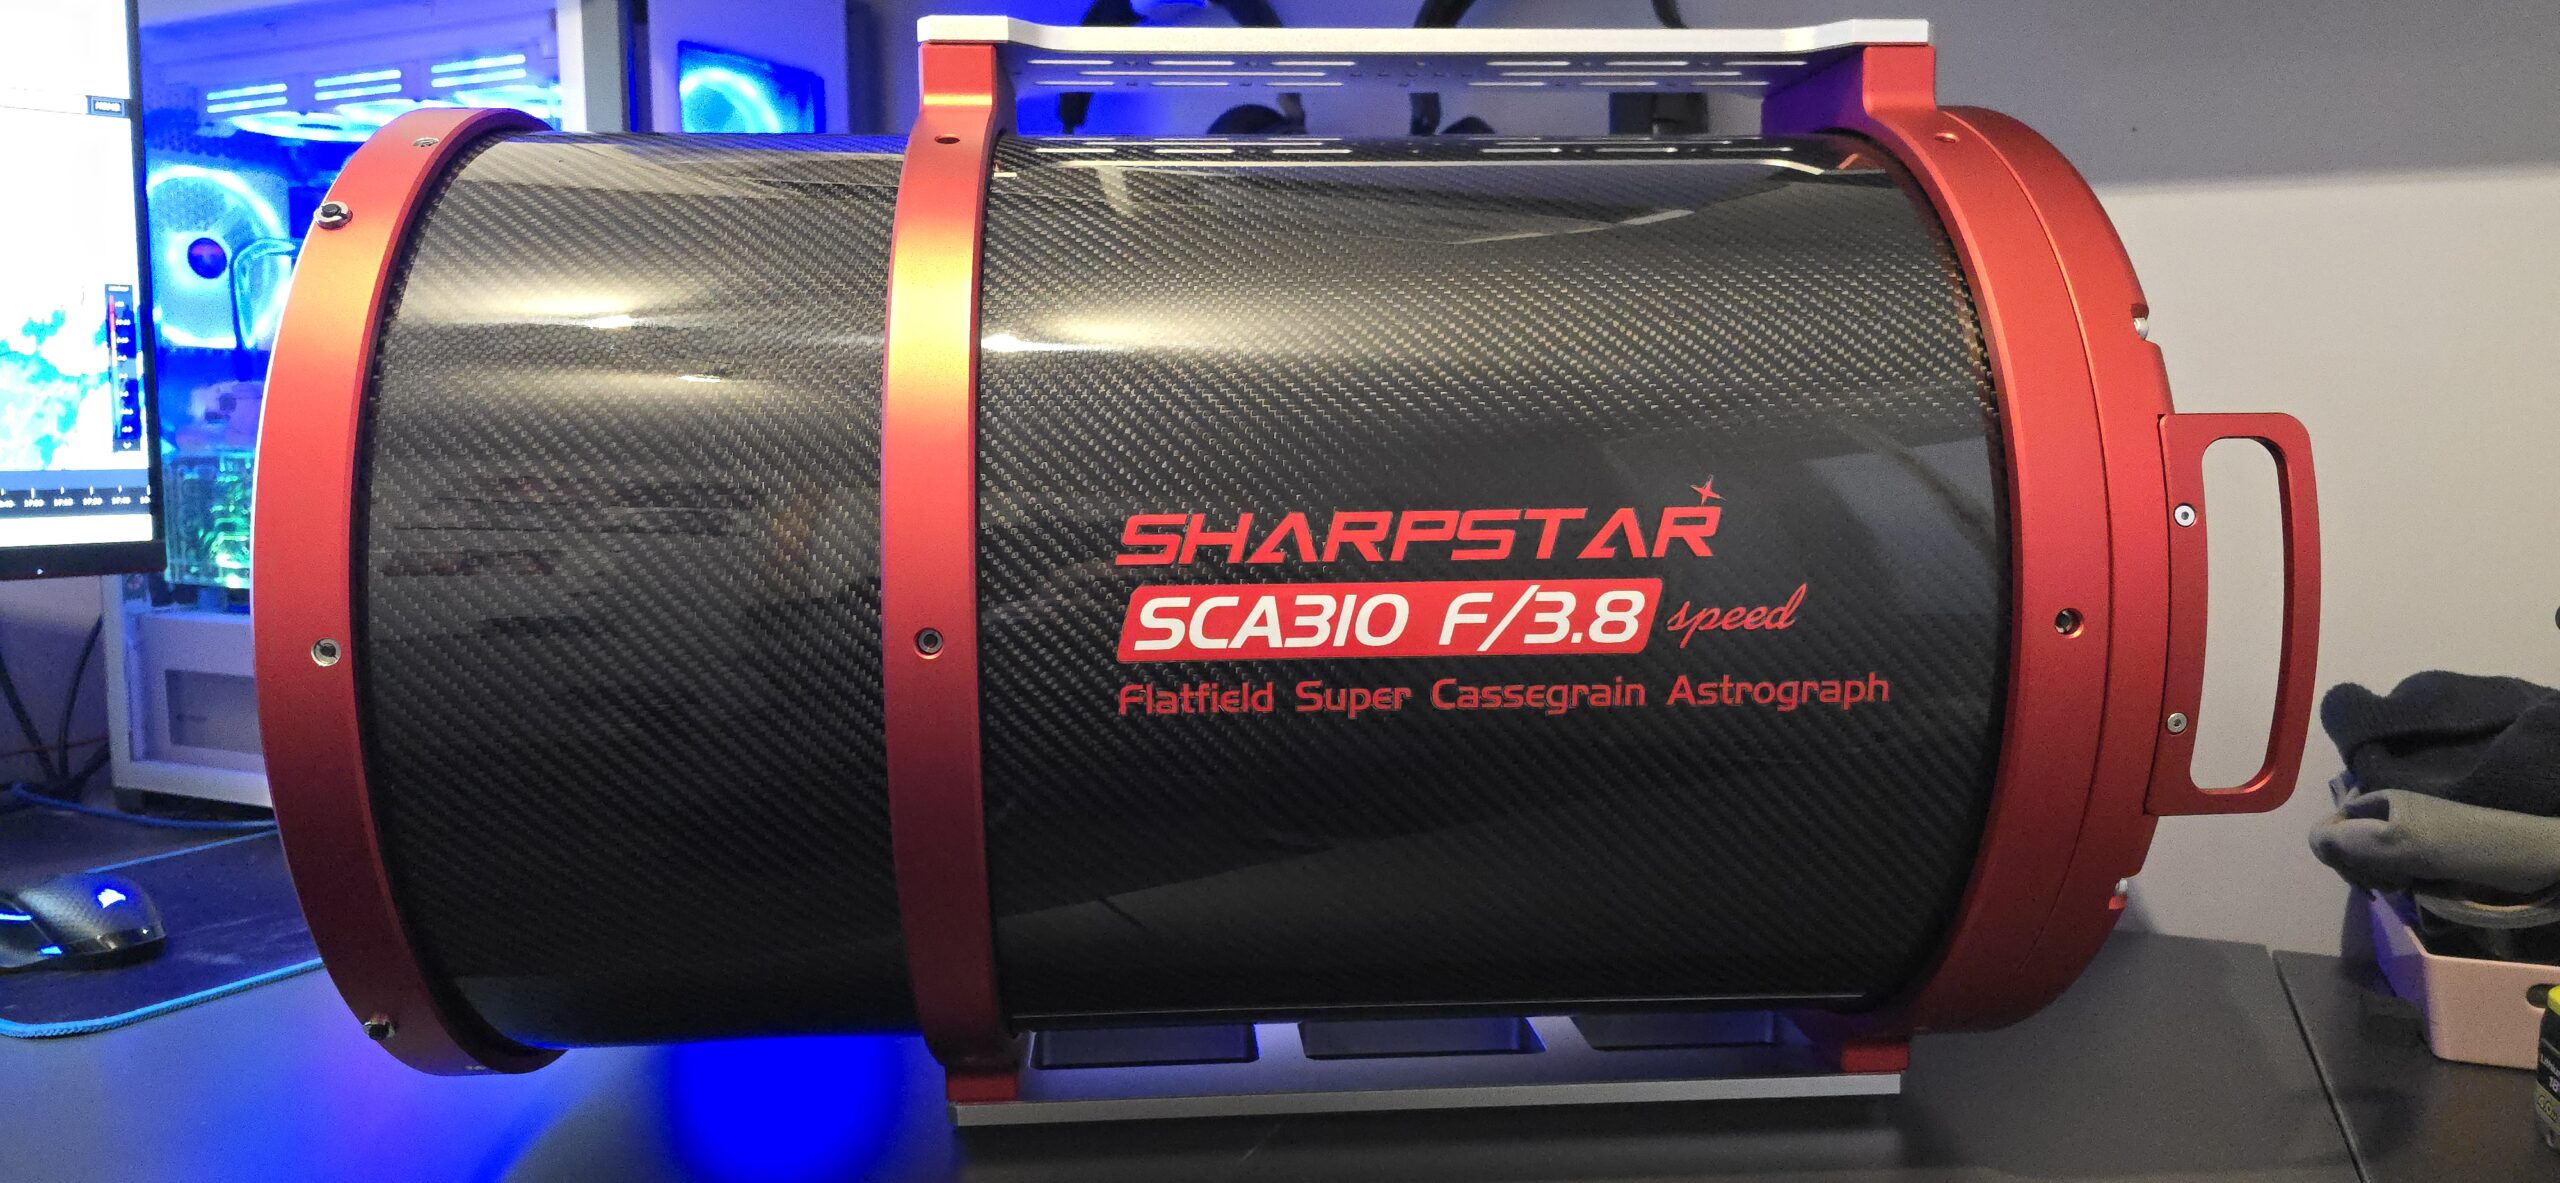
On paper, it promised something genuinely different. A completely new optical design, a 310 mm aperture, 1178 mm focal length, f/3.8 optical system, and a 55 mm corrected image circle housed within a beautifully engineered carbon fibre optical tube. It wasn’t simply a larger version of the 20032PNT—it was an entirely new design of telescope aimed squarely at serious astrophotographers.
Like many people, I expected it to be available within a few months.
Unfortunately, that wasn’t to be.
Manufacturing delays, global supply chain issues and extremely limited production meant that what I thought would be a relatively short wait eventually stretched into more than four years. As each year passed, the SCA310 became one of those telescopes that many of us wondered if we’d ever actually get the opportunity to own.
Then, in February this year, the wait was finally over.
Following AstroFest UK, Zoltan from 365Astronomy kindly dropped the telescope off to me on his journey home from the show. After following the SCA310’s development for more than four years, finally seeing it arrive on my doorstep was a genuinely memorable moment. As far as I’m aware, I also became the first person in the UK to take delivery of a SharpStar SCA310.
Needless to say, my expectations were incredibly high.
After waiting that long, I couldn’t help wondering whether any telescope could possibly live up to the anticipation.
Thankfully, it did.
That doesn’t mean the journey was entirely straightforward.
Like any sophisticated imaging system, the SCA310 required time to understand. Over the months that followed, I refined the cooling system, investigated and resolved an internal reflection issue, upgraded the focuser, redesigned the imaging train and learned exactly how to get the very best from the telescope.
This article isn’t another “first light” review written after a single clear evening.
Instead, it’s a long-term owner’s perspective. I’ll cover not only the official specifications and optical design, but also the practical realities of living with the telescope, the modifications I chose to make, the challenges I encountered and—most importantly—whether it was ultimately worth waiting more than four years to own one.
If you’re considering an SCA310, I hope this review gives you the insight that only comes from spending months living with the telescope rather than simply reading a specification sheet or watching a first-light video.
From the SharpStar 20032PNT to the SCA310
Before the SCA310 arrived, my primary imaging telescope was the SharpStar 20032PNT. If you’ve read my review of that telescope, you’ll already know how highly I rated it. It produced many of my favourite astrophotography images and, over the years, proved itself to be an exceptionally reliable and capable imaging platform.
In fact, when the SCA310 was first announced, I wasn’t actively looking to replace the 20032PNT. It already did everything I asked of it. The optics were excellent, the mechanical construction was solid, and paired with my imaging setup it consistently delivered sharp, well-corrected stars across a full-frame sensor.
So why change?
Quite simply, the SCA310 offered something entirely different.
Rather than being an evolution of the 20032PNT, the SCA310 represents a completely new optical design. SharpStar’s Super Cassegrain Astrograph (SCA) architecture combines a significantly larger aperture with a fast f/3.8 focal ratio and a generous 55 mm corrected image circle, opening up possibilities that simply weren’t available with my previous setup.
The most obvious difference, of course, is the aperture.
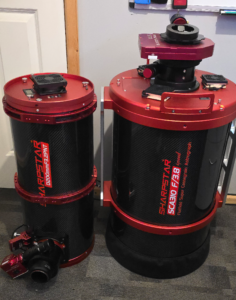
Moving from 200 mm to 310 mm is a significant step. The increase in light-gathering capability means faint structures can be recorded more efficiently, while the longer focal length provides greater image scale for smaller galaxies, planetary nebulae and distant deep-sky objects. It isn’t simply a case of “bigger is better”; it’s about having a telescope capable of revealing more subtle detail when the seeing conditions allow.
There are, however, trade-offs.
The SCA310 is in a completely different class when it comes to physical size. Photographs really don’t prepare you for just how substantial it is. Even before cameras and accessories are attached, it dominates the observatory. Once the complete imaging train is installed, including the electronic focuser, off-axis guider, filter wheel, camera, dew control equipment and cabling, the finished system represents a considerable payload.
Fortunately, my observatory was already equipped to handle it.
The telescope now sits permanently on my Sky-Watcher EQ8 Pro, a mount I’ve owned for around twelve years. A few years ago it was professionally upgraded with a StellarDrive tuning kit, transforming what was already a capable mount into one that has handled every telescope I’ve asked it to carry. The SCA310 is undoubtedly the largest and heaviest optical tube I’ve mounted on it, but the combination has proven to be an excellent match.
For anyone considering an SCA310, it’s worth remembering that purchasing the telescope is only part of the investment. A telescope of this size deserves a mount capable of supporting it with absolute confidence. Skimping on the mount is likely to compromise the very performance you’re buying the telescope to achieve.
SCA310 vs 20032PNT
While both telescopes were designed specifically for astrophotography, they target slightly different requirements and imaging styles.
| Feature | SharpStar 20032PNT | SharpStar SCA310 |
| Optical Design | 200 mm Paraboloid Astrograph | 310 mm Super Cassegrain Astrograph |
| Aperture | 200 mm | 310 mm |
| Native Focal Length | 760 mm | 1178 mm |
| Imaging Focal Ratio | f/3.2 (with integrated corrector) | f/3.8 |
| Corrected Image Circle | 44 mm | 55 mm |
| Tube Material | Carbon Fibre | Carbon Fibre |
| OTA Weight | 9.46 kg | 23.5 kg (including rings, handle, dovetail and corrector) |
| Rear Connections | M68 / M54 / M48 | M68 / M54 / M48 |
| Rear-end Connection Distance | Fixed imaging configuration | 38–66 mm |
Looking purely at the specifications, it’s easy to focus on the larger aperture and increased focal length, but for me that wasn’t the biggest attraction.
What really interested me was the opportunity to work with an entirely new optical design. Having enjoyed such excellent results with the 20032PNT, I was keen to see what SharpStar could achieve by starting with a clean sheet of paper and designing a telescope specifically around the needs of modern astrophotography.
As I was about to discover, that new design brought with it some impressive advantages… and a few interesting engineering challenges along the way.
Technical Overview
The SharpStar SCA310 isn’t a larger version of SharpStar’s existing astrographs. It represents a completely different approach to telescope design, developed specifically for deep-sky astrophotography rather than adapting an existing visual telescope.
At the heart of the SCA310 is SharpStar’s Super Cassegrain Astrograph (SCA) optical system which is actually a modified version of the Dall-Kirkham. The telescope combines a 310 mm aspherical primary mirror, a 184 mm fused silica secondary mirror, and an integrated three-element corrector incorporating an ED element. Working together, these components produce a 55 mm corrected image circle, making the telescope suitable for everything from full-frame astronomy cameras through to many medium-format sensors.
For me, one of the most attractive aspects of the design is that SharpStar hasn’t simply chased the fastest possible focal ratio. Instead, they’ve balanced aperture, focal length and image quality to produce a telescope that offers excellent image scale while remaining fast enough to collect an impressive amount of signal during a night’s imaging.
At 1178 mm focal length and f/3.8, the SCA310 sits in a very interesting position. It’s long enough to frame galaxies, globular clusters and many smaller nebulae with excellent detail, yet still fast enough to make broadband and narrowband imaging practical without excessively long exposure times.
That combination was one of the main reasons I decided to wait for the telescope rather than purchasing something else in the meantime.
Designed for Modern Imaging Systems
One feature that particularly stood out to me when reading the specifications was SharpStar’s approach to the rear of the telescope.
Many astrographs specify a fixed back focus that has to be maintained with millimetre precision.
The SCA310 is different.
Instead of defining a fixed back focus, SharpStar specifies a rear-end connection distance of between 38 mm and 66 mm. That may sound like a small detail, but in practice it provides significantly more flexibility when designing an imaging train.
Whether you’re using a motorised focuser, an off-axis guider, a filter wheel, a camera rotator or a combination of accessories, the available connection distance makes it much easier to configure the system without feeling constrained by a single fixed spacing.
As you’ll see later in this review, that flexibility proved particularly useful when I upgraded the telescope with a PrimaluceLab Esatto electronic focuser and converted from a traditional guide scope to an off-axis guider.
Engineering Note
Rear-end connection distance vs back focus
Although these terms are often used interchangeably within the astrophotography community, they’re not the same thing.
Traditional refractors and corrected Newtonians frequently require a fixed back focus behind the corrector or field flattener to achieve optimum performance.
The SCA310 instead provides a supported rear-end connection distance between 38 mm and 66 mm, allowing greater flexibility when configuring the imaging train. Throughout this review I’ll use SharpStar’s own terminology, as it more accurately reflects the design of the telescope.
Official Technical Specifications
The following specifications are taken directly from SharpStar’s published documentation.
| Specification | Value |
| Optical Design | Super Cassegrain Astrograph (SCA) |
| Aperture | 310 mm |
| Focal Length | 1178 mm |
| Focal Ratio | f/3.8 |
| Primary Mirror | Aspherical |
| Secondary Mirror | 184 mm Fused Silica |
| Corrector | Three-element corrector incorporating one ED element |
| Corrected Image Circle | 55 mm |
| Optical Tube Material | Carbon Fibre |
| Tube Length | 721 mm |
| Tube Diameter | 378 mm |
| Gross Weight | 23.5 kg (including rings, handle, dovetail and corrector) |
| Rear-end Thread Options | M68, M54 and M48 |
| Rear-end Connection Distance | 38–66 mm |
On paper, these figures are certainly impressive, but specifications only tell part of the story.
The real question is how all of this translates into day-to-day use under the night sky.
After unpacking the telescope for the first time, that was exactly what I was about to find out.
First Impressions – Out of the Box
After waiting more than four years, finally opening the box was a mixture of excitement and relief.
There’s always a slight apprehension when you’ve built something up in your mind for so long. Expectations inevitably become high, and you start to wonder whether reality can ever live up to them.
Thankfully, the SCA310 made an excellent first impression.
The telescope arrived extremely well packaged, with every component securely protected for transport. Given both its size and weight, this immediately inspired confidence that SharpStar had put considerable thought into ensuring it would survive the journey intact.
The first thing that struck me wasn’t the weight—it was the physical size.
Photographs simply don’t prepare you for just how imposing the SCA310 is. Even after using the 20032PNT for several years, the increase in scale is immediately obvious. The larger tube diameter, substantial front corrector assembly and overall proportions make it clear that this is a serious piece of equipment.
The carbon fibre optical tube has a high-quality finish, while the CNC-machined components, tube rings and dovetail all feel reassuringly solid. Nothing feels lightweight or over-engineered for appearance alone. Instead, everything appears to have been designed with one goal in mind: providing a rigid platform capable of supporting the heavy imaging equipment that modern astrophotography demands.
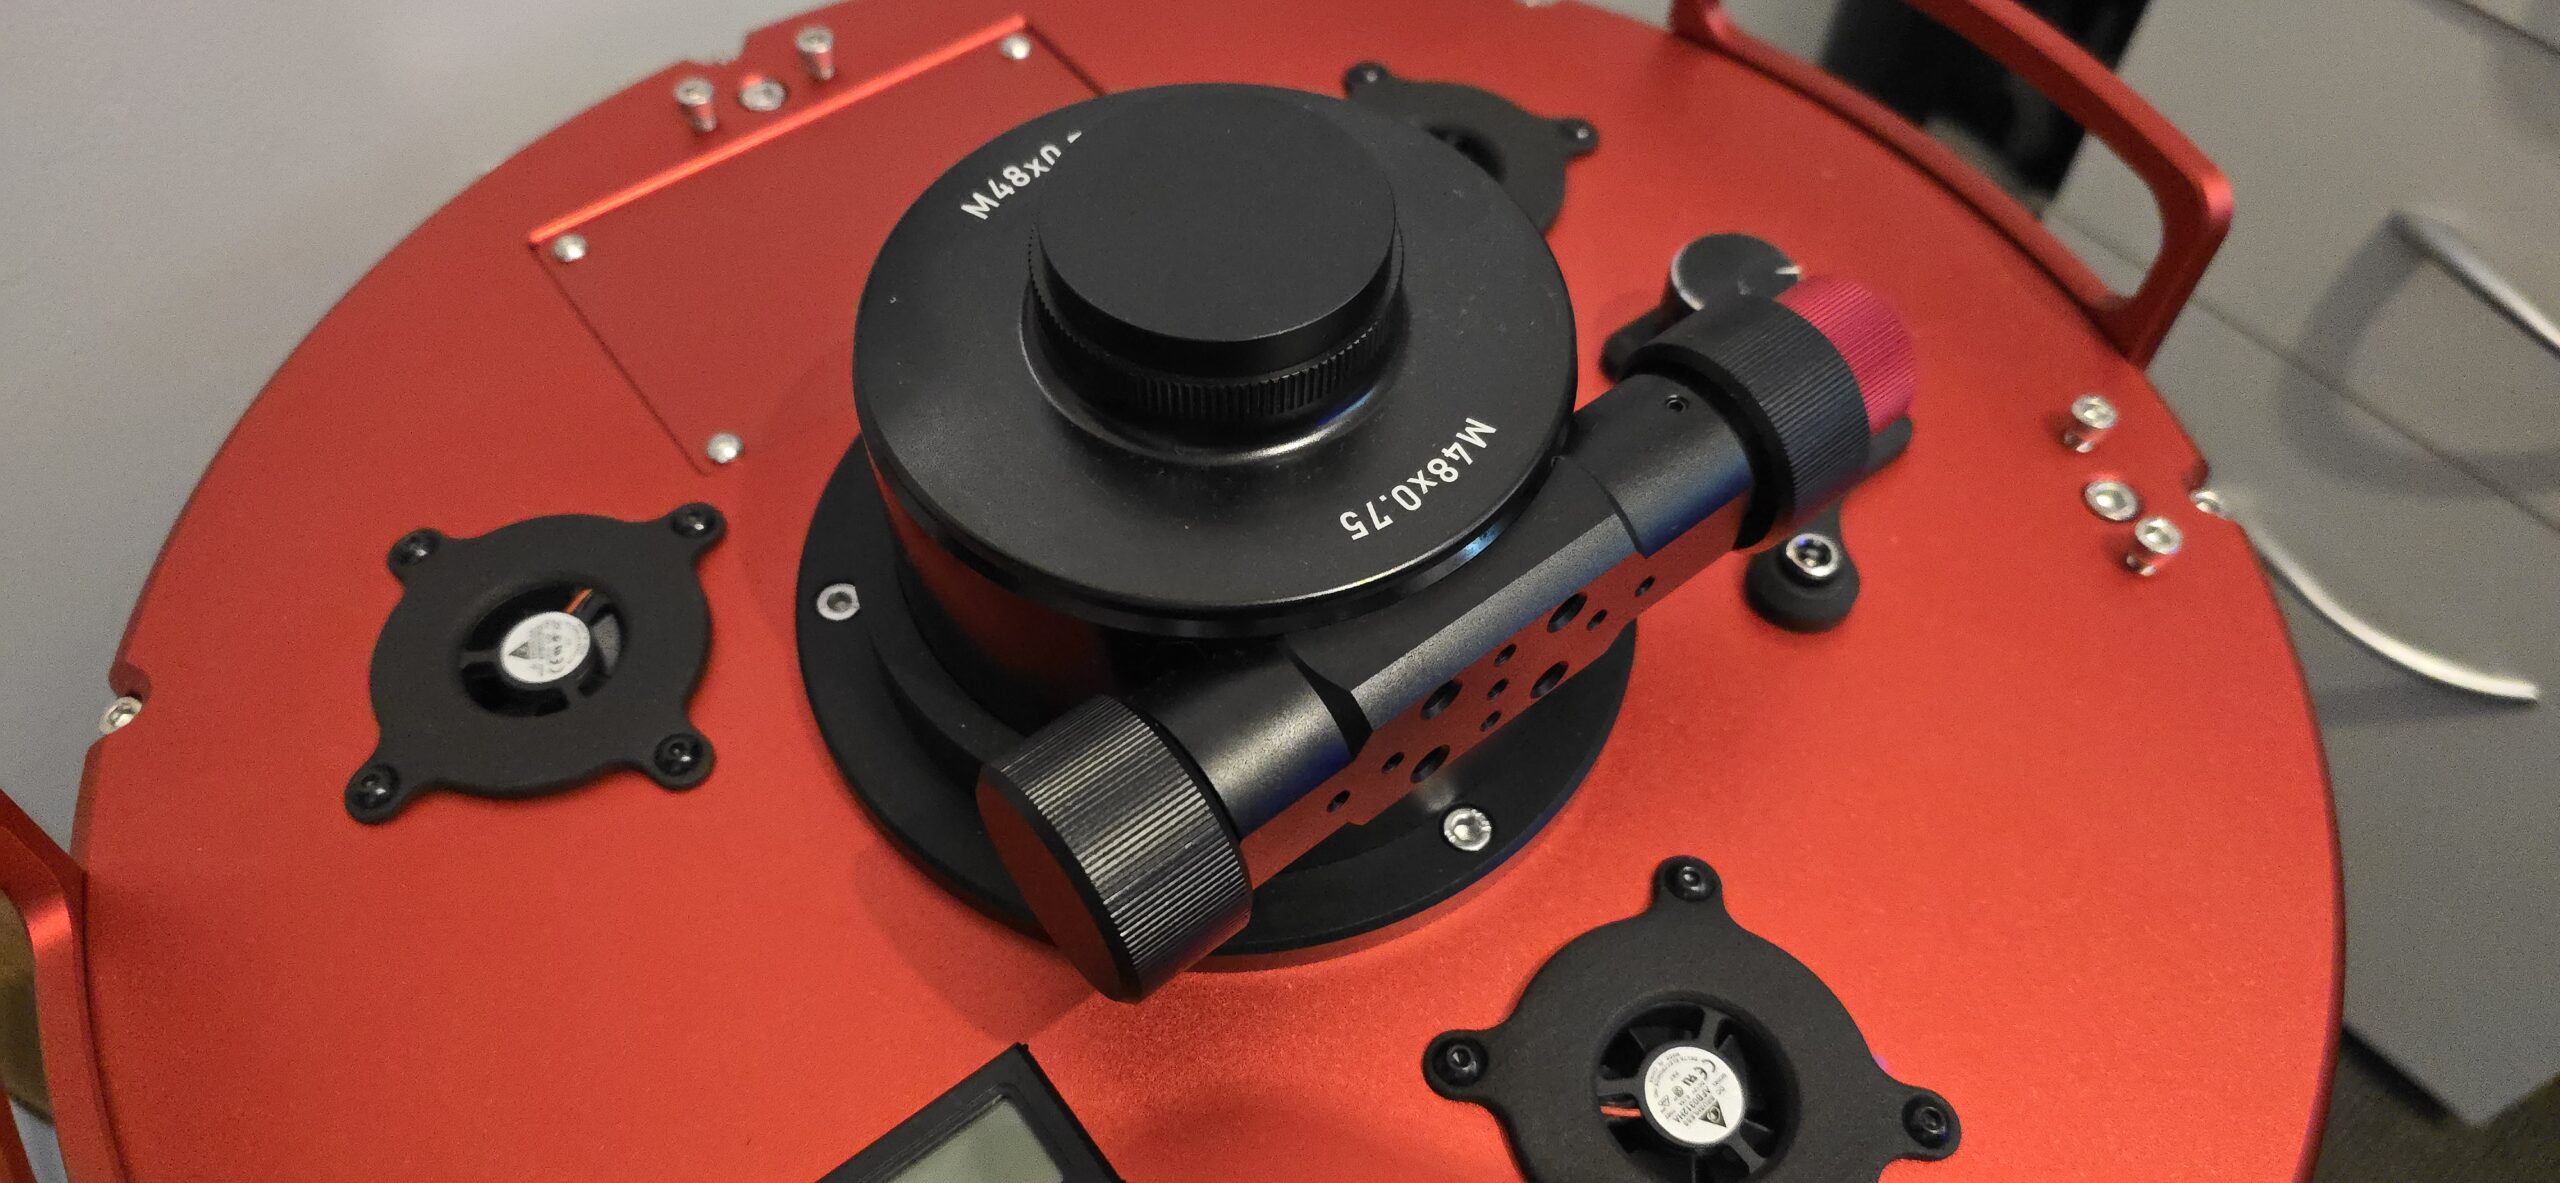
One feature I particularly appreciated was the generous range of rear connection options. With M68, M54 and M48 adapters supplied, SharpStar has clearly considered the wide variety of cameras and accessories used by today’s astrophotographers. Rather than immediately reaching for custom adapters, most users should find it straightforward to begin assembling their imaging train.
The supplied focuser also deserves a mention. Although, as you’ll see later in this review, I eventually replaced it with a PrimaluceLab Esatto electronic focuser, my decision wasn’t because there was anything fundamentally wrong with the original. My imaging system is permanently mounted in the observatory and designed for fully automated operation, so upgrading to the Esatto was more about increasing rigidity and integrating with the rest of my observatory than correcting a weakness in SharpStar’s design.
Before attaching a camera or taking the telescope outside, I spent some time carrying out a thorough inspection. I always prefer to understand a new telescope mechanically before attempting first light. Checking the mirror cell, examining the rear cooling arrangement, familiarising myself with the adjustment points and planning the imaging train often saves time later on.
It was during this initial inspection that I started thinking about the cooling system.
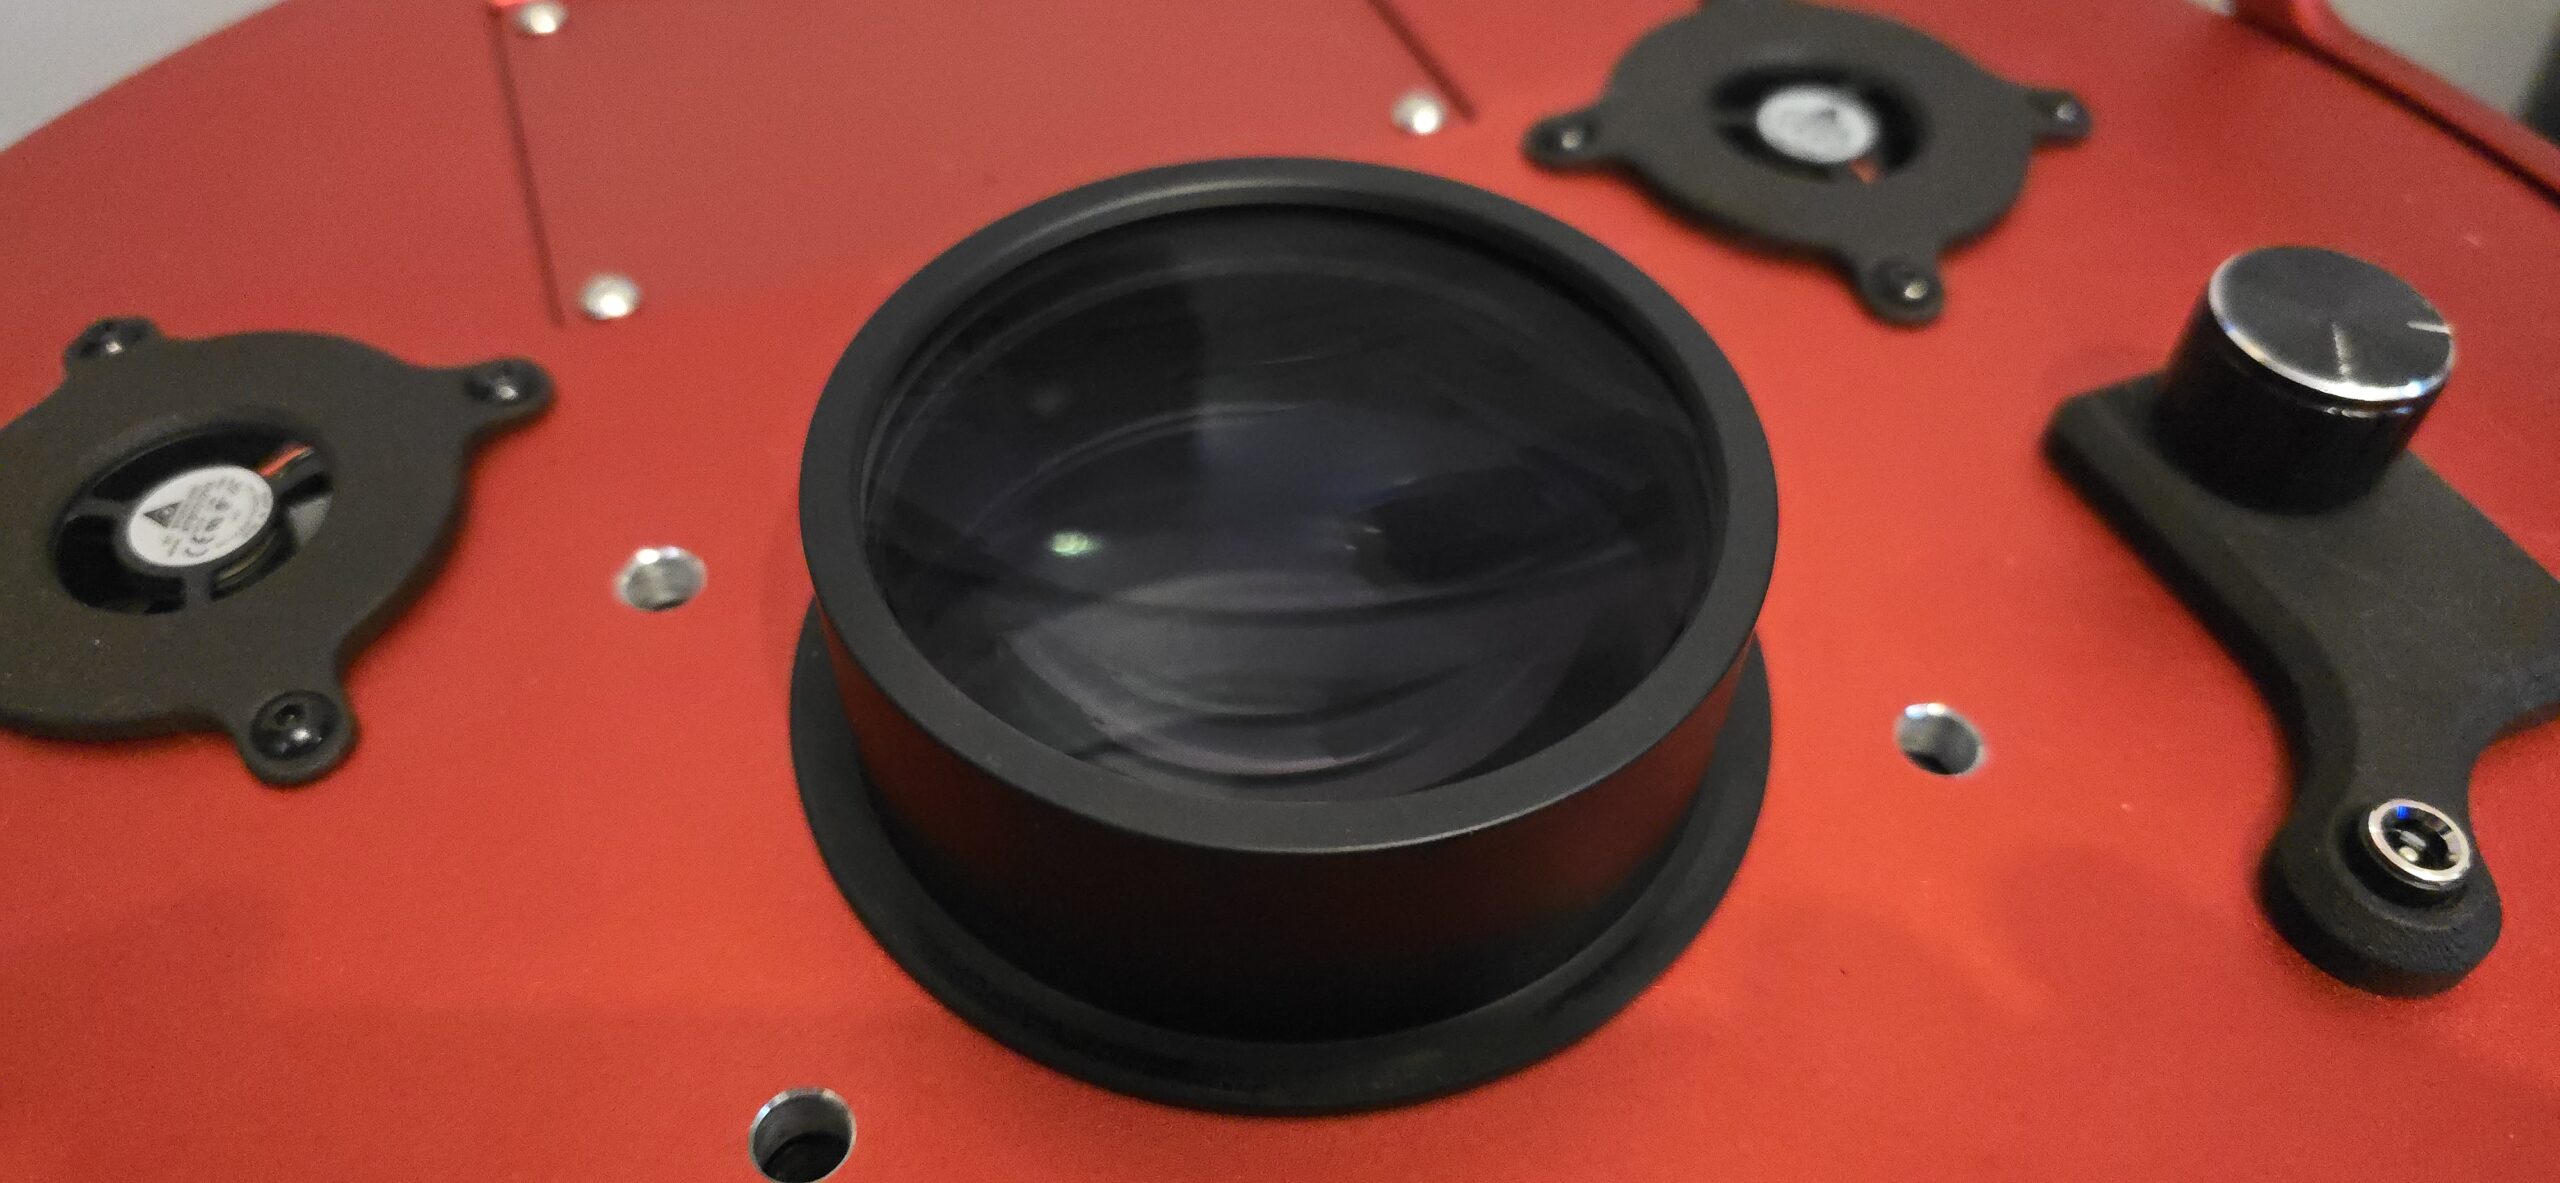
The supplied arrangement is perfectly functional and undoubtedly adequate for most users, but as I looked at the airflow path through the telescope, I began wondering whether there might be a more effective way of managing the thermal behaviour of such a large primary mirror.
That thought stayed with me over the following days.
In the end, it became the very first modification I made to the telescope—and, looking back, it’s probably the modification that has had the greatest long-term impact on both usability and performance.
Owner’s Tip
Before making any modifications to a new telescope, spend some time getting to know how it’s been engineered. Understanding why a manufacturer has designed something a particular way makes it much easier to decide whether a change is genuinely an improvement or simply a different approach. In the case of the SCA310, living with the telescope for a short while confirmed the areas I wanted to refine, rather than changing things simply for the sake of it.
With the telescope inspected, the imaging train beginning to take shape and first light still ahead, it was time to tackle the one area I believed could be improved: the cooling system.
To be continued……………………………….Part 2