If you’ve ever spent a clear night under the stars watching a progress bar instead of gathering photons, you’ll understand the frustration that comes with building an astrophotography rig from disparate parts. Drivers fail to load, power distribution becomes a nightmare, cables become tangled or fail, and syncing your software suite across different machines can drain your patience—and your precious imaging time.
I’ve been there. Like many astrophotographers, I tried the “build it yourself” route: mini PCs from brand X, power hubs from brand Y, USB hubs from brand Z, and a jumble of cables trying to hold it all together. Every component technically worked… just not always at the same time. And not always reliably. Add to that the British weather windows we deal with, and wasting a night due to a system glitch just isn’t acceptable.
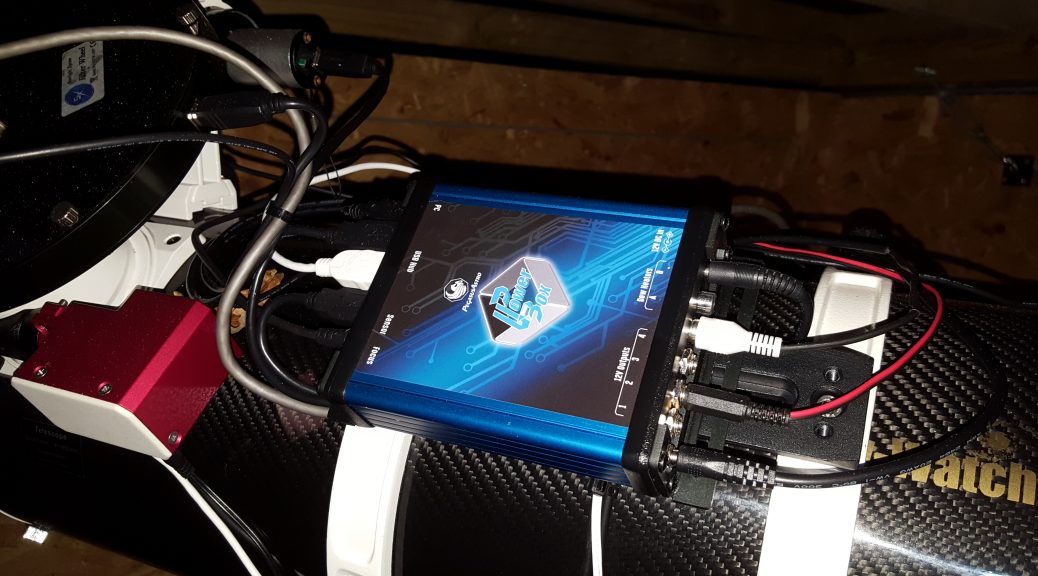
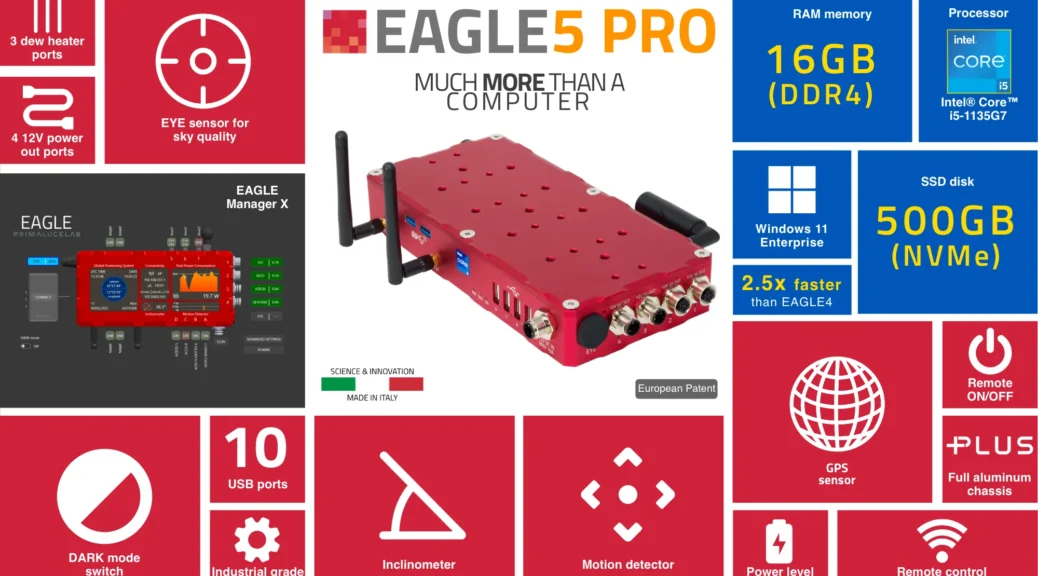
Enter the Primaluce Lab Eagle5 Pro.
Out of the Box: A Breath of Fresh, Italian-Engineered Air
From the moment I unboxed the Eagle5 Pro, the difference in approach was clear. Everything about it feels like it was designed by someone who actually does astrophotography—because it was. It’s not just a mini PC slapped into a box; it’s a purpose-built control hub engineered specifically for demanding astro workflows.
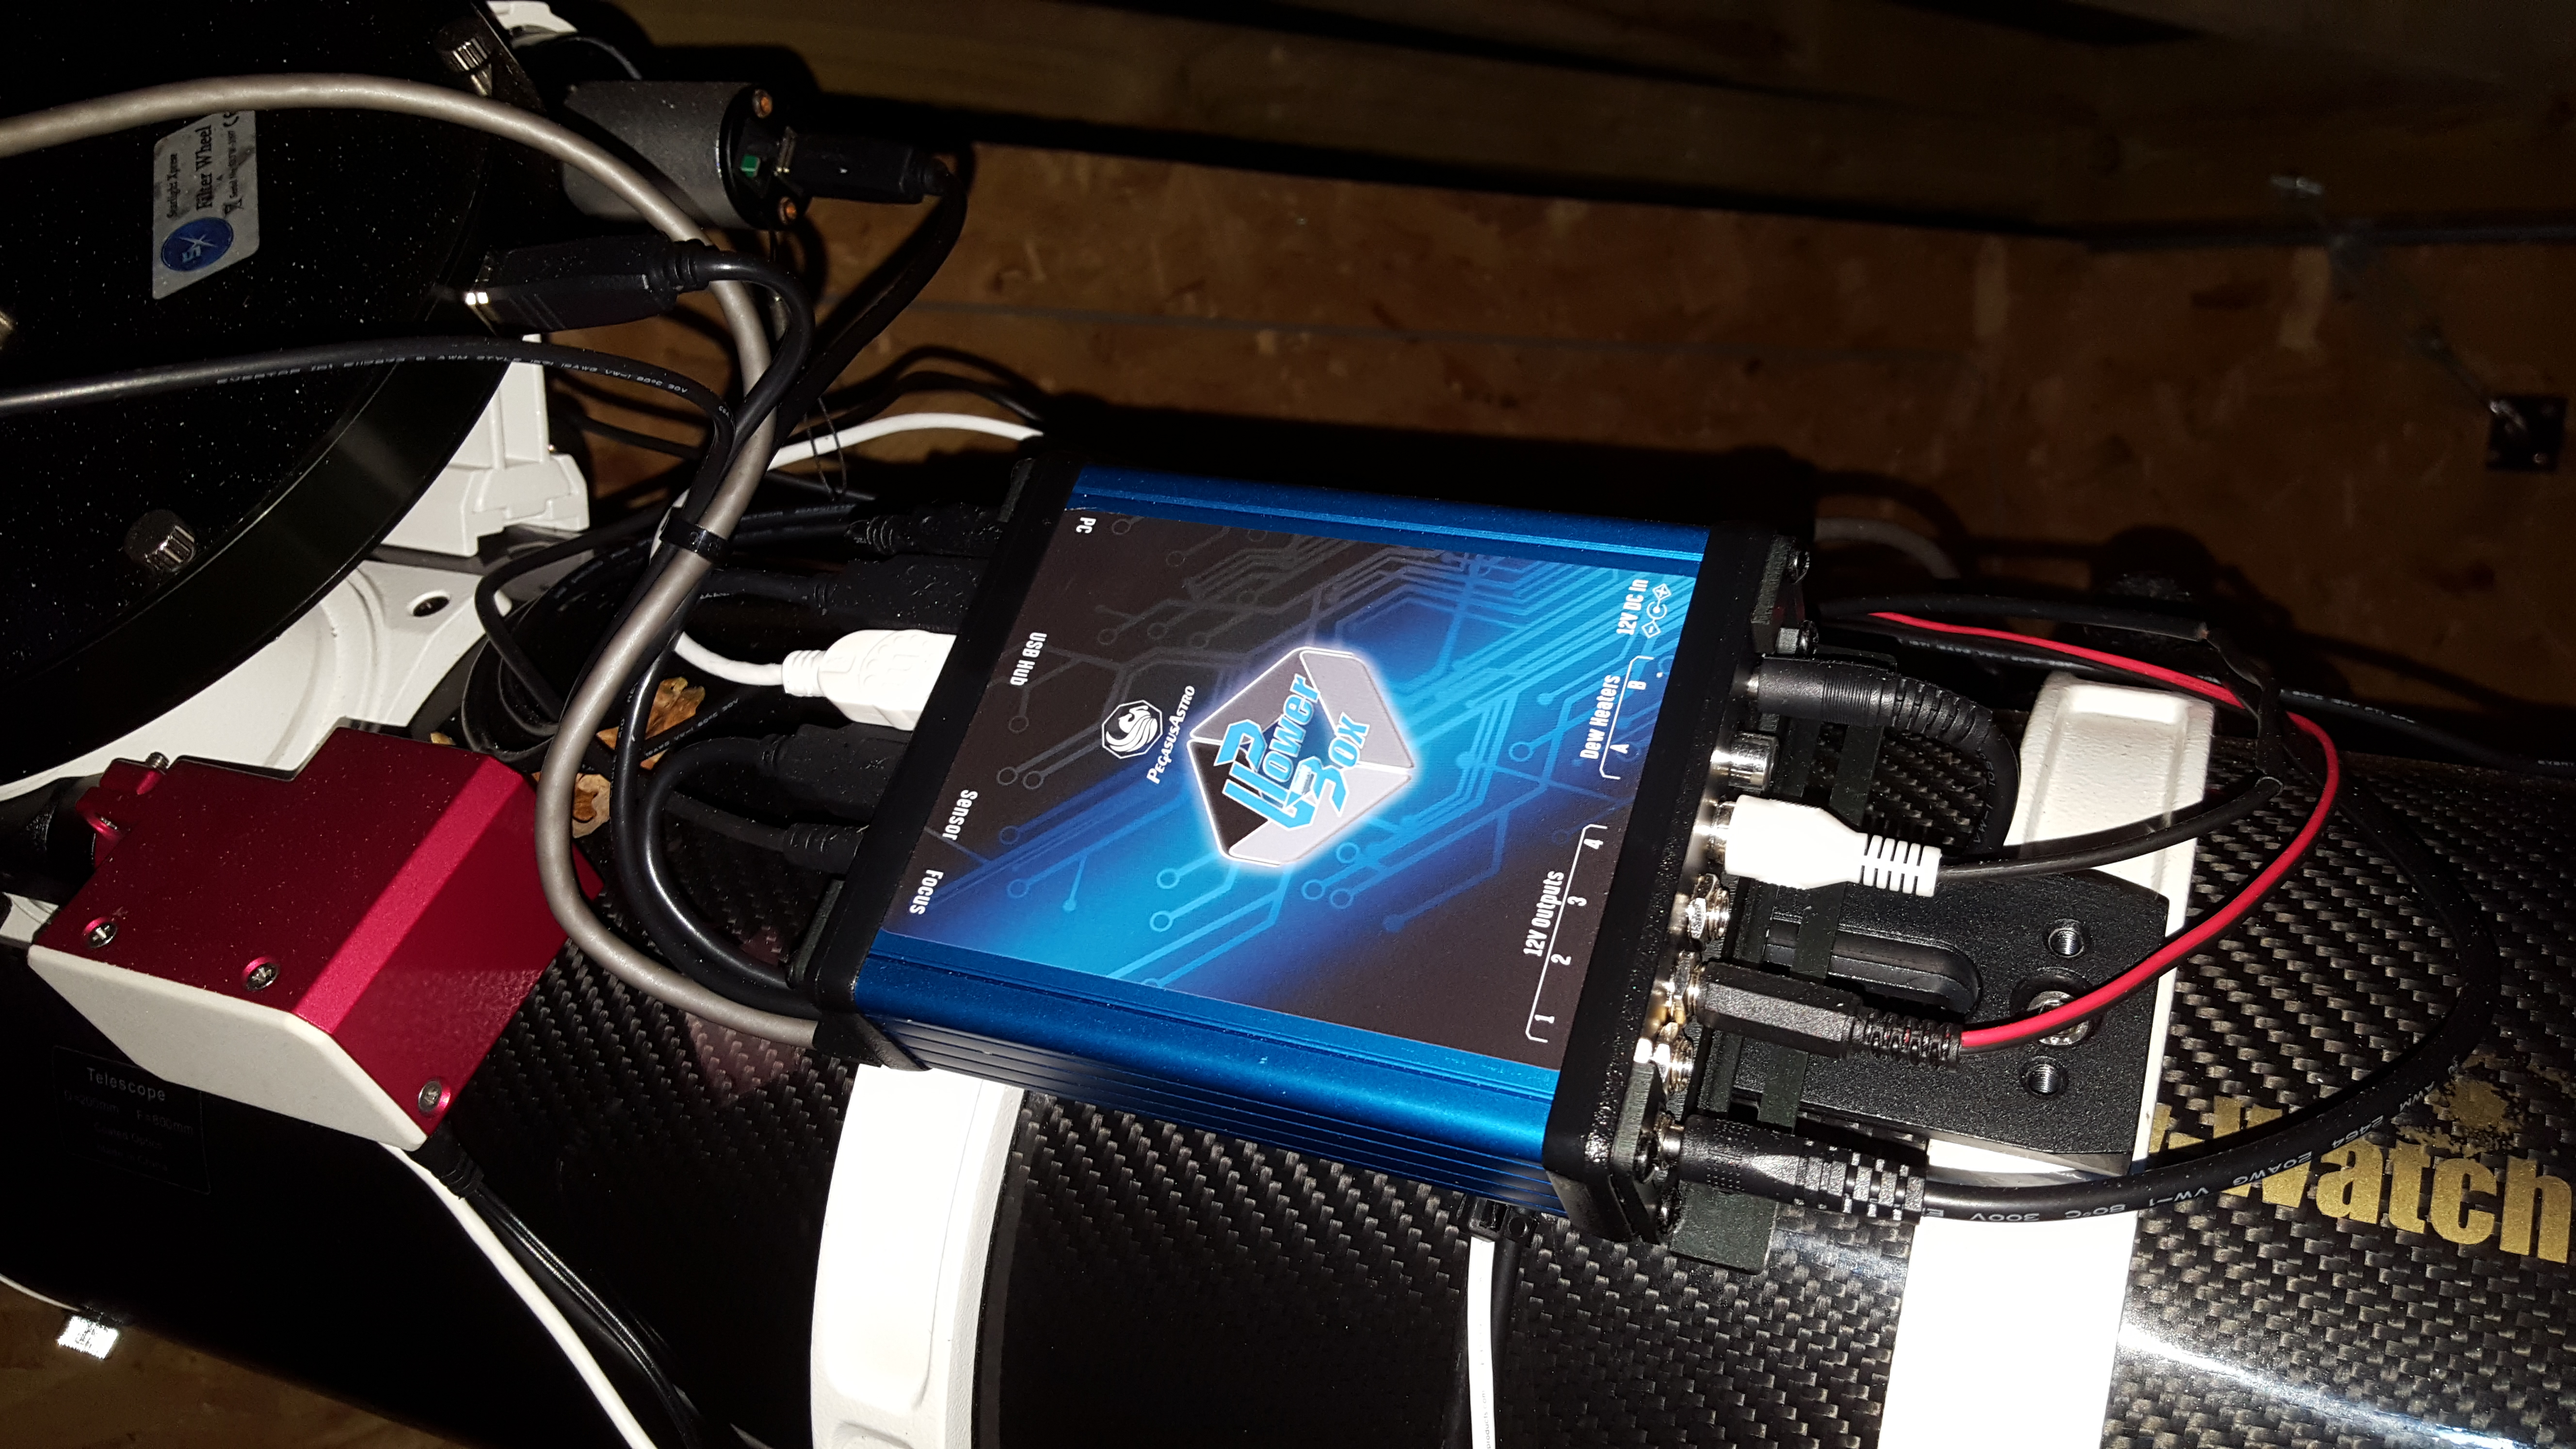
Installation was as straightforward as it gets: mount it on the telescope (it fits beautifully in the imaging train thanks to its low profile and rail system), connect power and data cables, and power on. No fiddling with BIOS settings, no sketchy Windows updates. Just boot, install your preferred imaging software and drivers for your equipment, and go.
In my case, the Eagle5 Pro controls:
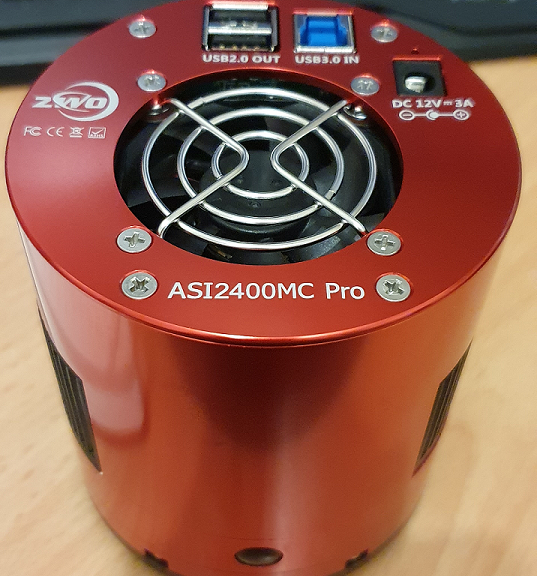
- ZWO ASI6200MM Pro camera
- Sky-Watcher EQ8 Pro mount
- Talon Roll-off Roof observatory automation
- Filter wheel, focuser, dew heaters, guide cam, and all the usual suspects
Everything talks, everything syncs, and everything just works.
Total System Integration
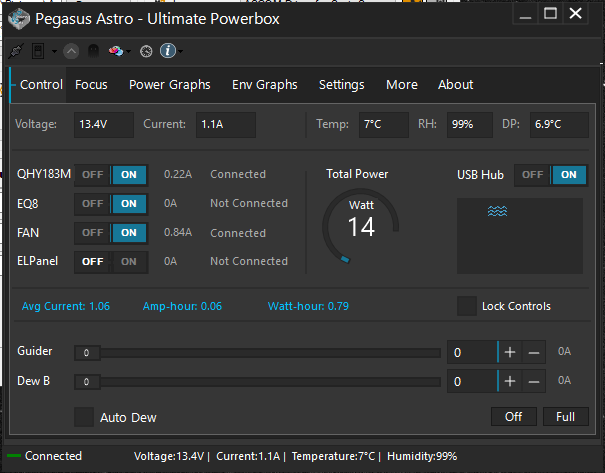
This is where the Eagle5 Pro truly shines. Not only does it run your software stack (NINA, Sequence Generator Pro, or whatever you use), but it also manages power distribution, USB ports, WiFi/Ethernet connectivity, and environment monitoring, all in one device. You can schedule power-ups for each component individually, monitor voltage and current draw in real time, and reboot USB ports remotely—without crawling around your observatory in the dark.
The bundled EAGLE Manager software ties it all together, giving you a clean dashboard to control everything—from your main imaging camera to your dew heaters—on a single screen.
Compare that to the DIY route where power comes from one source, USB control from another, and networking from somewhere else entirely. The second something glitches, you’re in a digital detective story trying to track down what failed. With the Eagle5 Pro, it’s unified. It’s visual. It’s intuitive.
No More Lost Nights
I haven’t lost a single night to hardware or software troubleshooting since switching to the Eagle5 Pro.
Let me say that again: not one.
When the weather gives me a green light, I know my gear will perform. That peace of mind is priceless. No more last-minute reboots, mysterious ASCOM issues, or power ghosts causing reinitialization loops. My ASI6200 fires up cleanly every time, the EQ8 Pro slews and tracks without drama, and the roof opens and closes as scheduled.
In an era when we’re all chasing photons between the clouds, stability is not a luxury—it’s a necessity.
Final Thoughts
If you’re on the fence about the Eagle5 Pro, ask yourself: how much is a single night of imaging worth to you? Now multiply that by all the nights you’ve lost to troubleshooting. The Eagle5 Pro may look like a premium investment upfront, but it pays for itself every time it lets you image instead of debug.