Tag Archives: f2.8

SharpStar 15028HNT

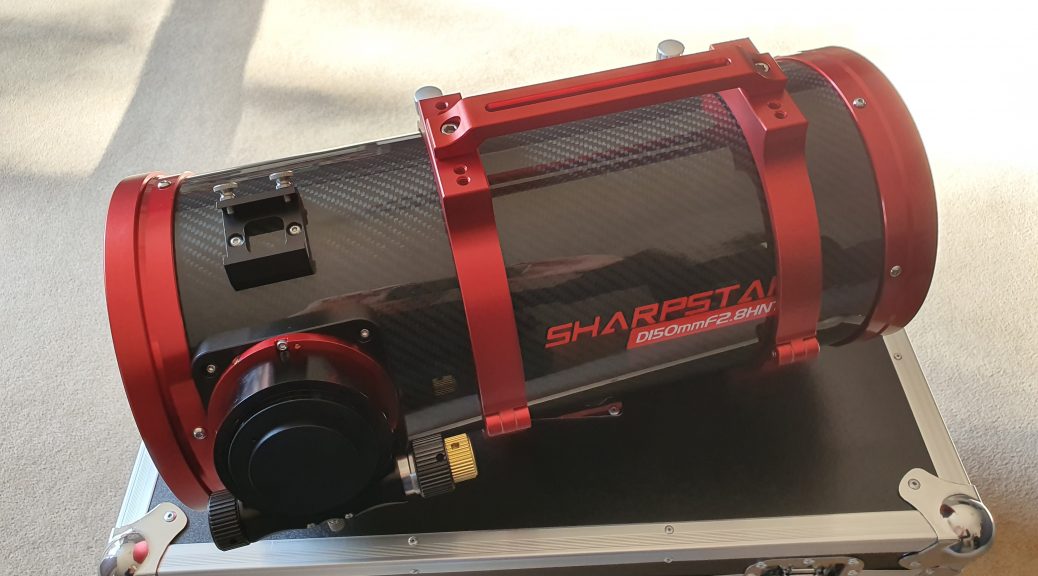
After months of trying to get my trusty Sky-Watcher Quattro F4 to work with the ASA 0.73x reducer I decided to go all in on an F2.8 astrograph. After doing some research I stumbled across the SharpStar 15028HNT F2.8 Hyperboloid Newtonian Reflector from my local supplier 365Astronomy.

After toying with the idea and speaking to my good friend Nick from Altair Astro and with the idea of going back to a refractor, I decided that I could not go back to slower than F4 and I wanted something that in essence would work with a bigger sensor than my QHY183M, and the Sharpstar looked like it could work for me, so I placed my order with Zoltan from 365Astronomy and collected it the following day.

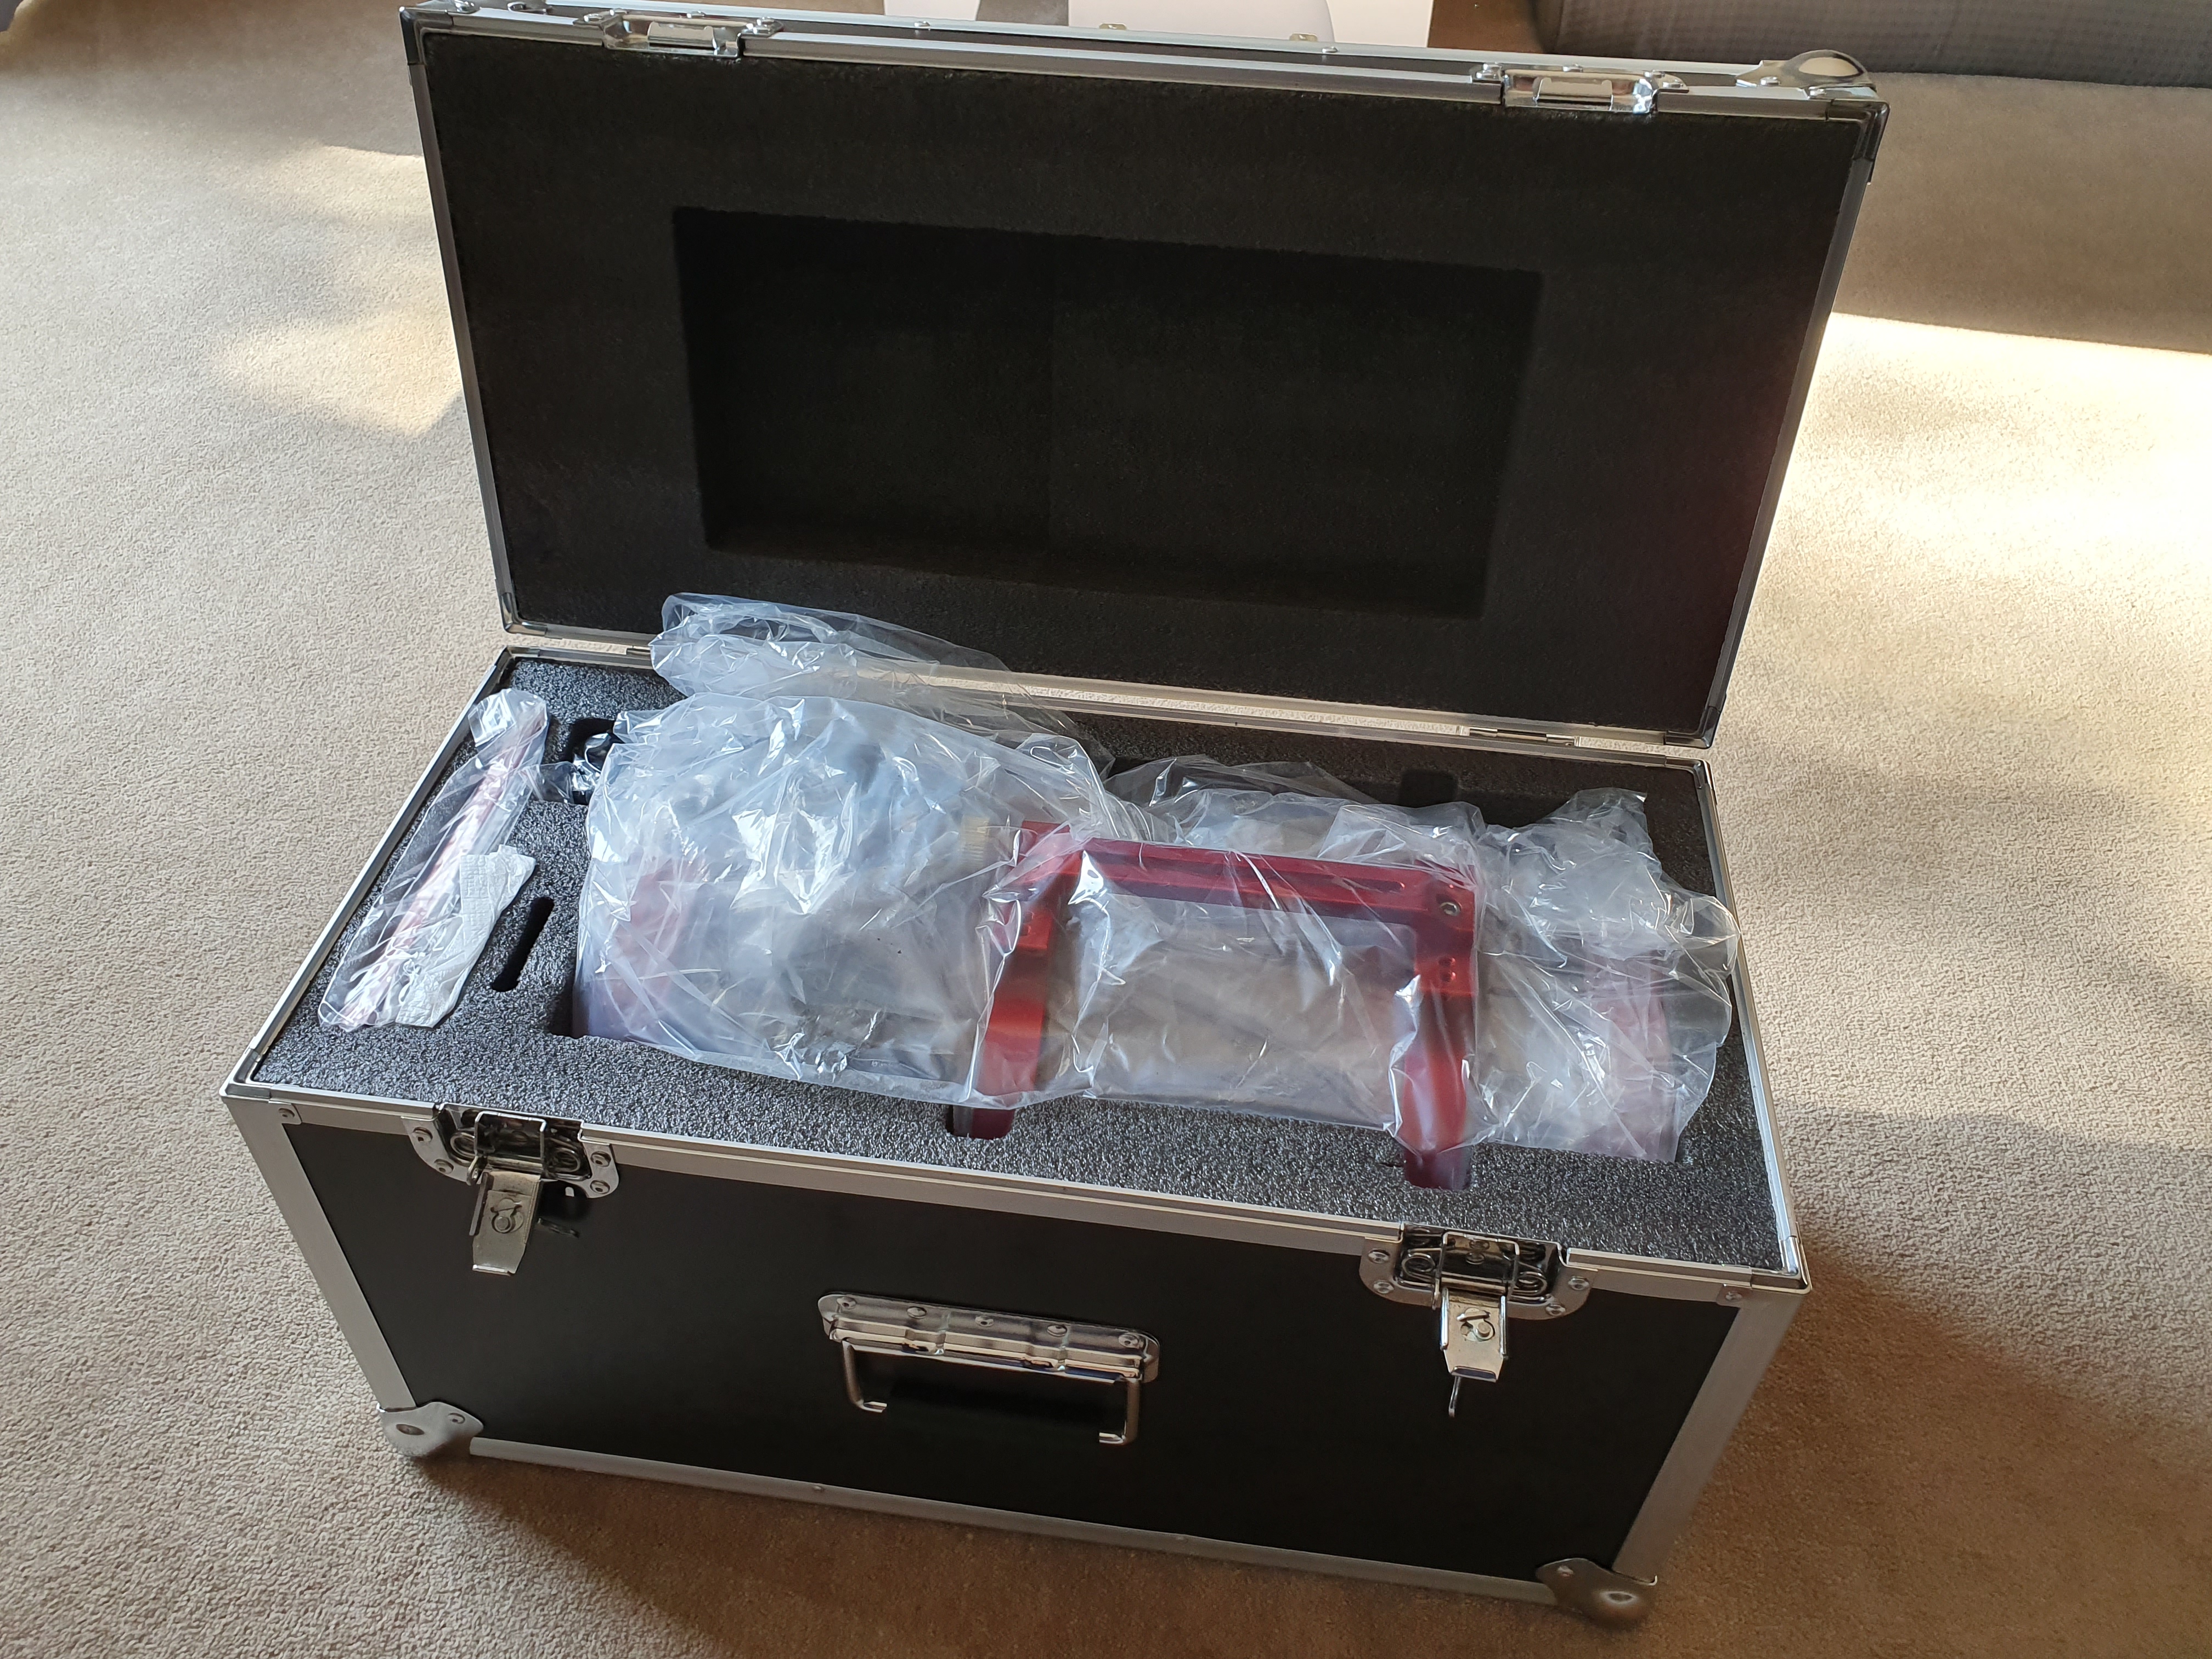
Unboxing the scope, I was like a young child at christmas, the scope came with a very sturdy protective hard case and removing the scope out of the case you could immediately feel that a lot of time and effort had gone into producing the 15028HNT.

Aperture: 150mm
Focal Length: 420mm
Focal Ratio: F2.8
Weight: 6kg
Tube Material: Carbon Fiber

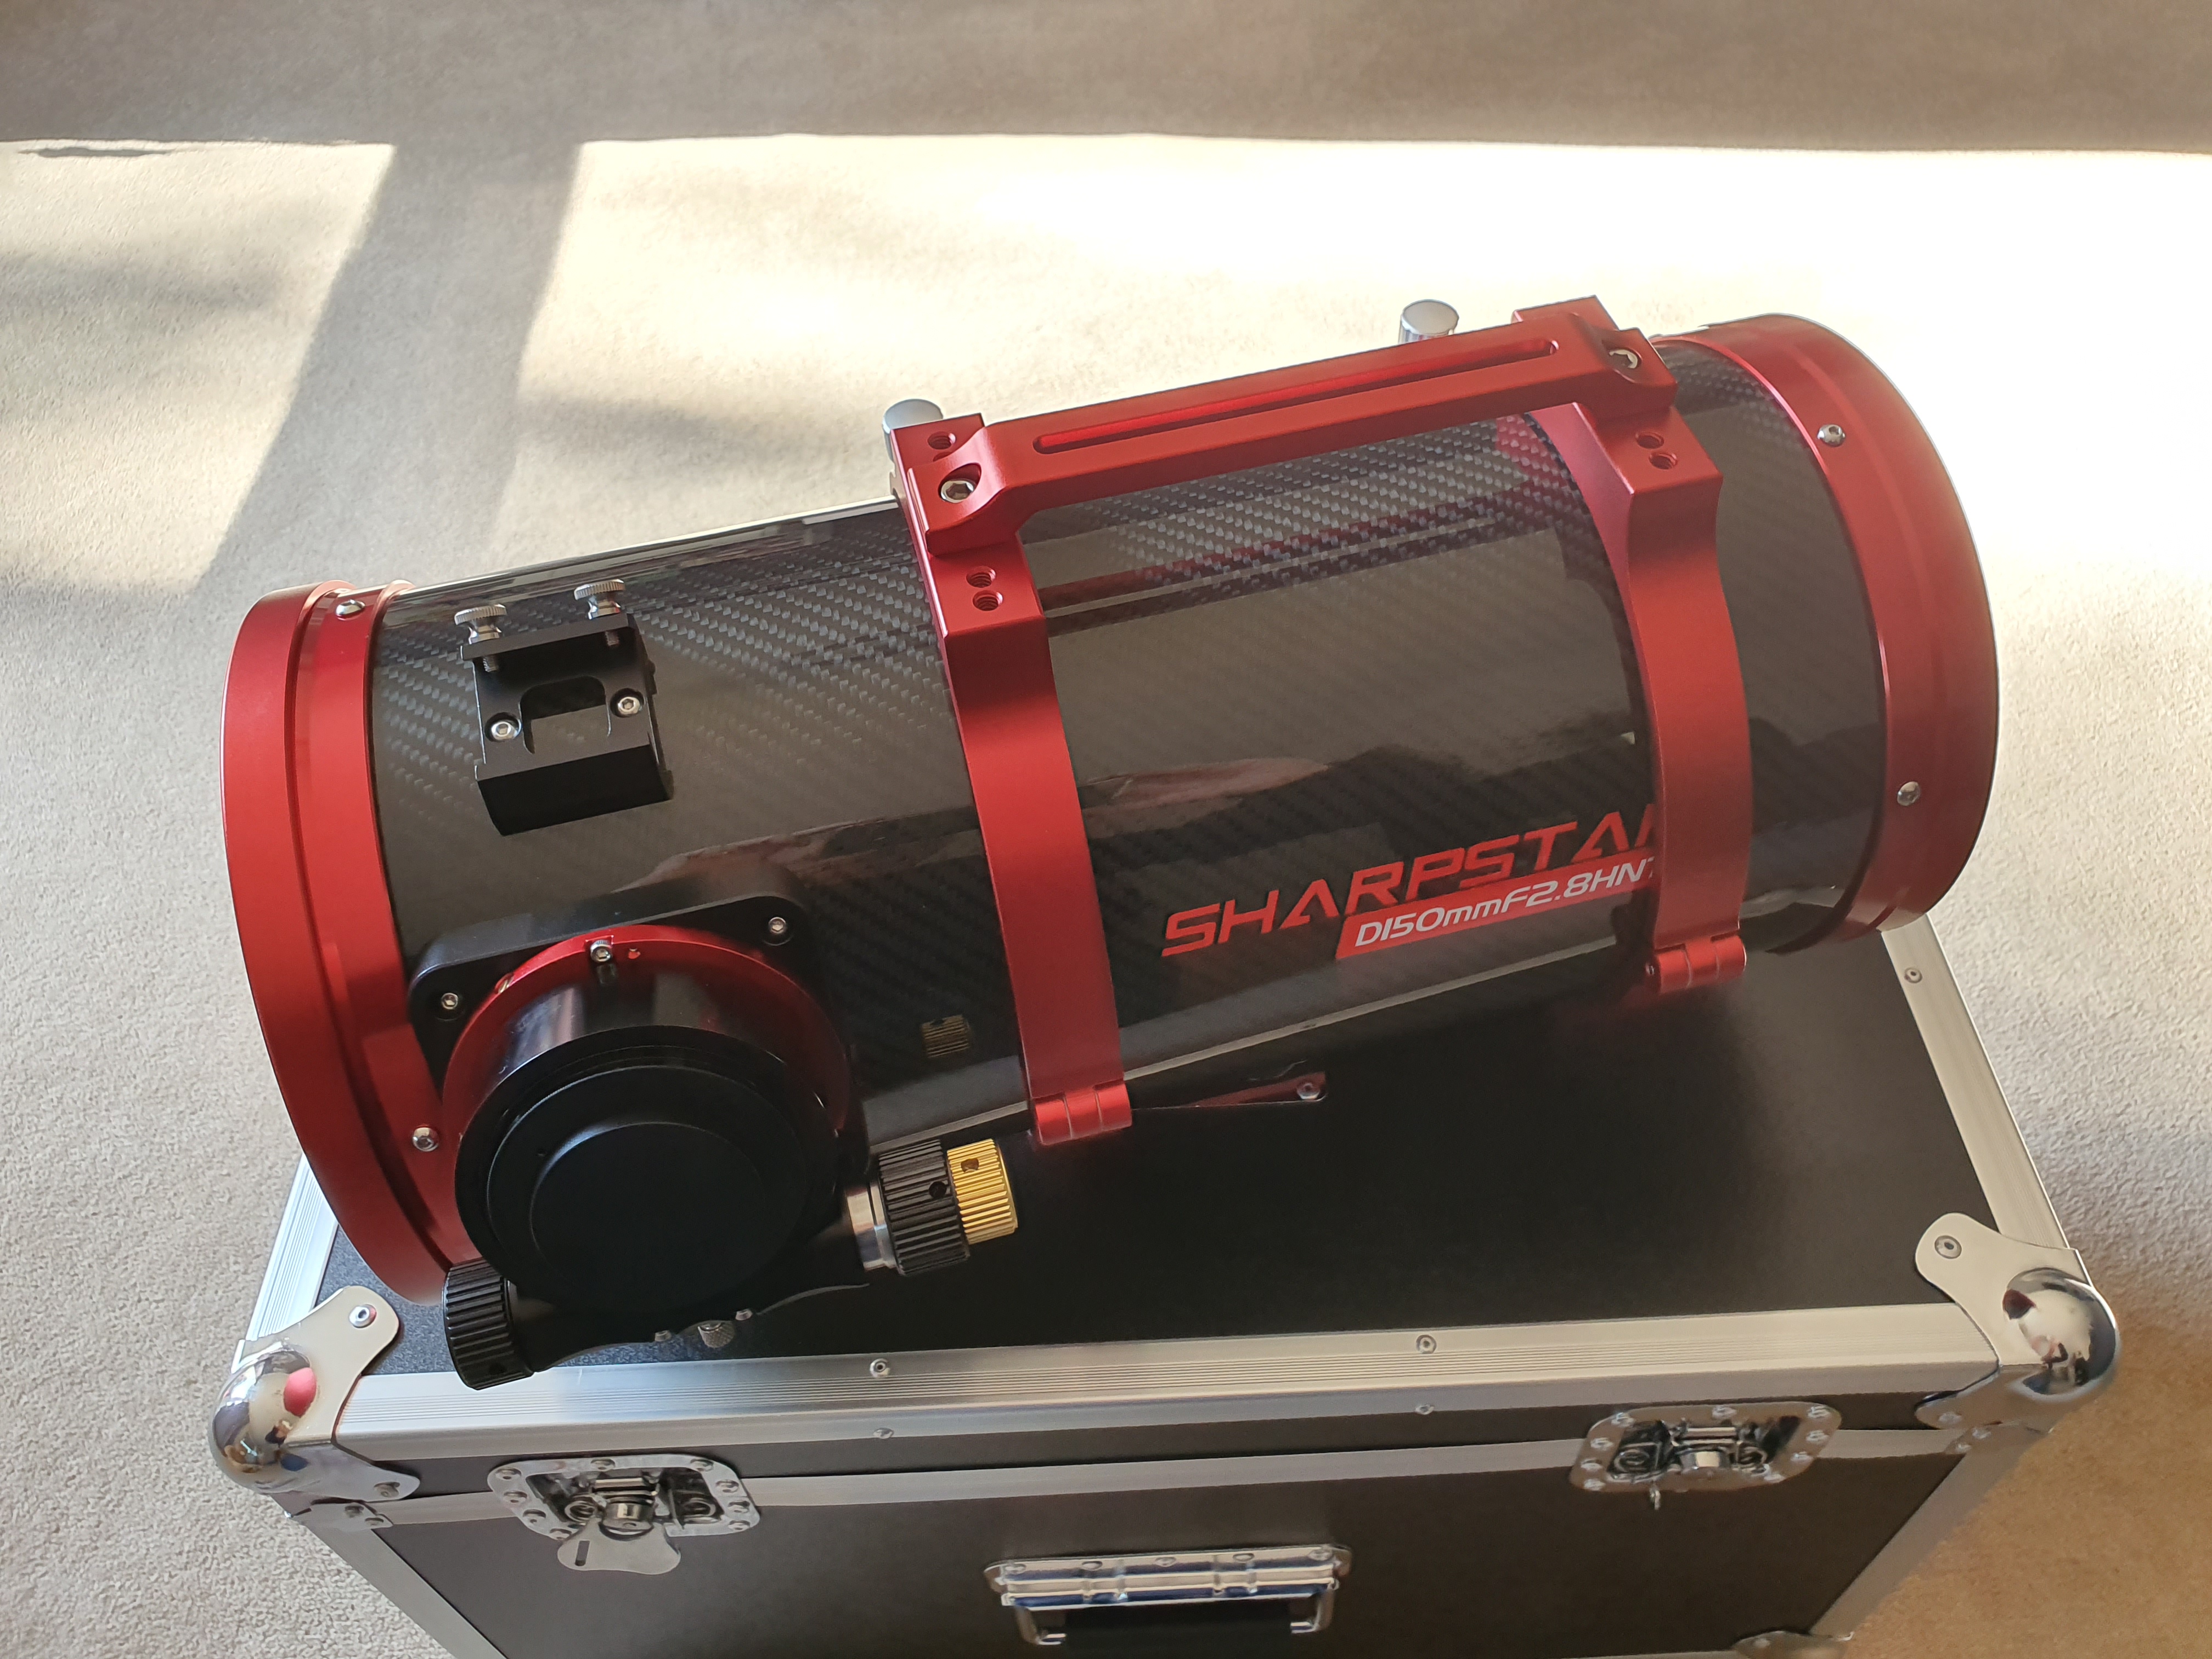
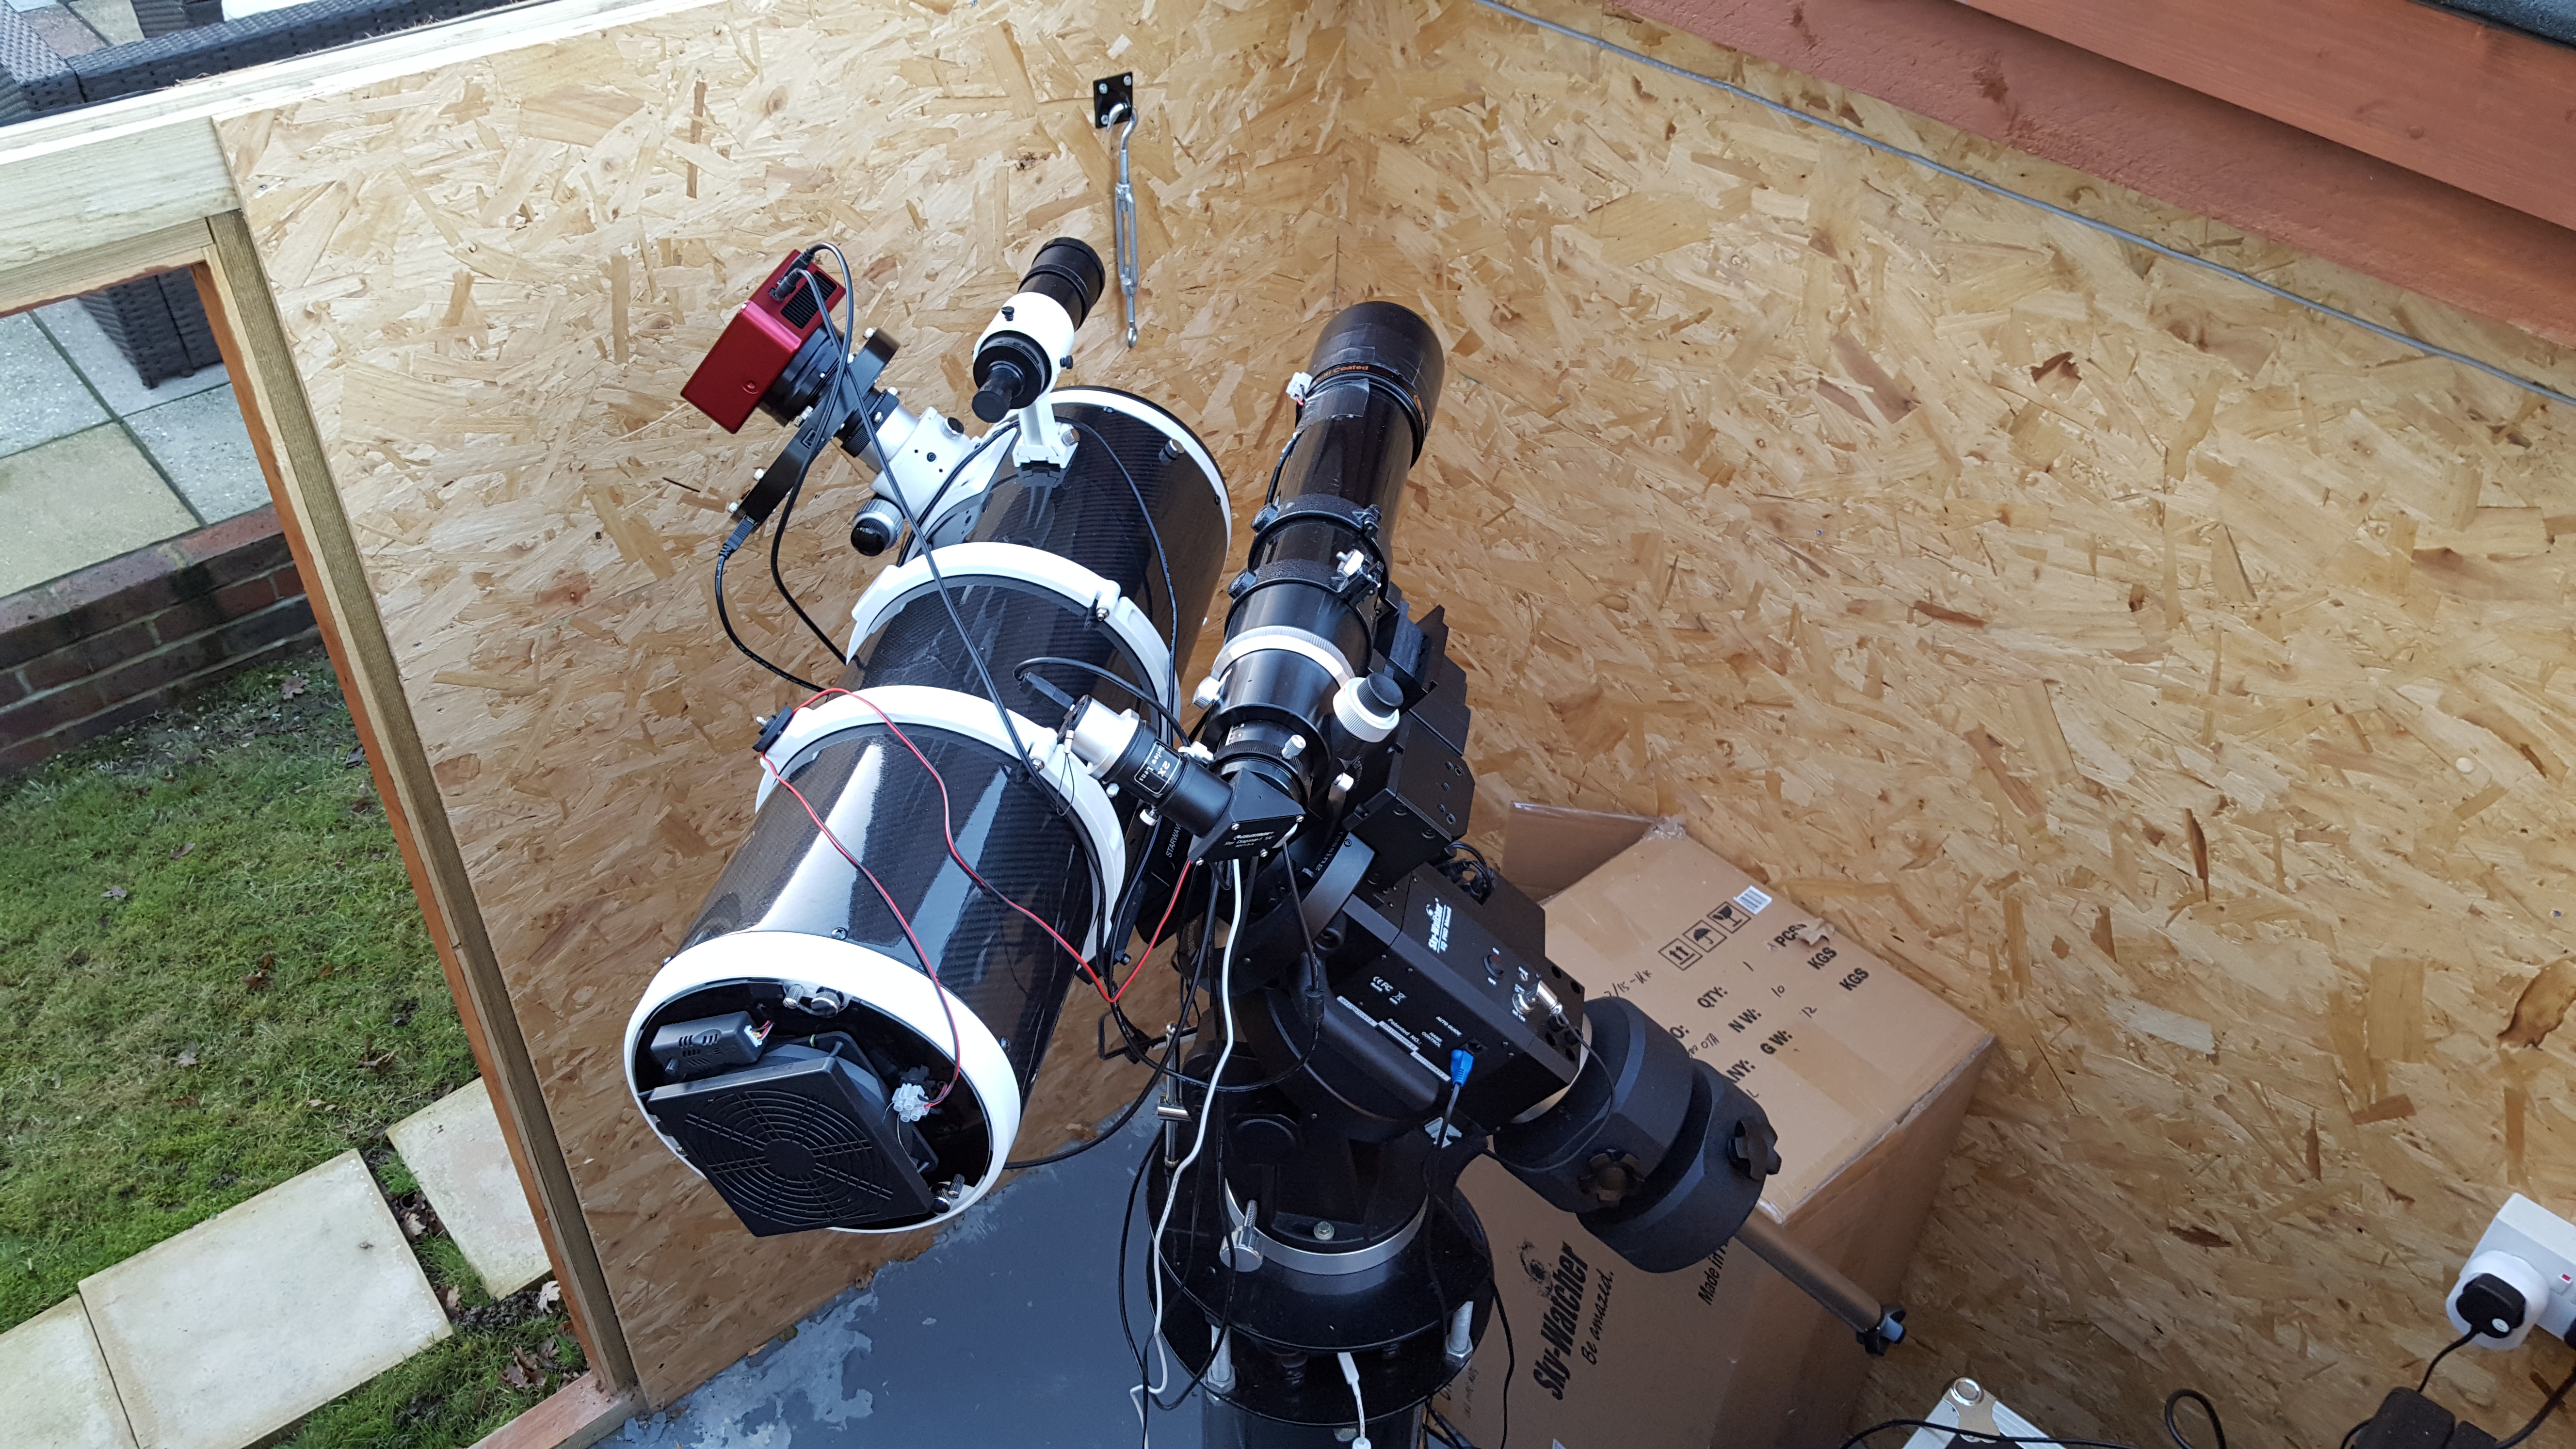
With the scope unboxed I started to fit my equipment onto the scope. In order to fit my Sesto Senso I had to rotate the focuser 90 degrees clockwise due to the telescope mounting rings, this is when I noticed an isue that one of the grub screws on the focuser would not tighten and I needed to stop the backlash, fortunately there’s another grub screw on the other side that tightened and stopped the backlash.

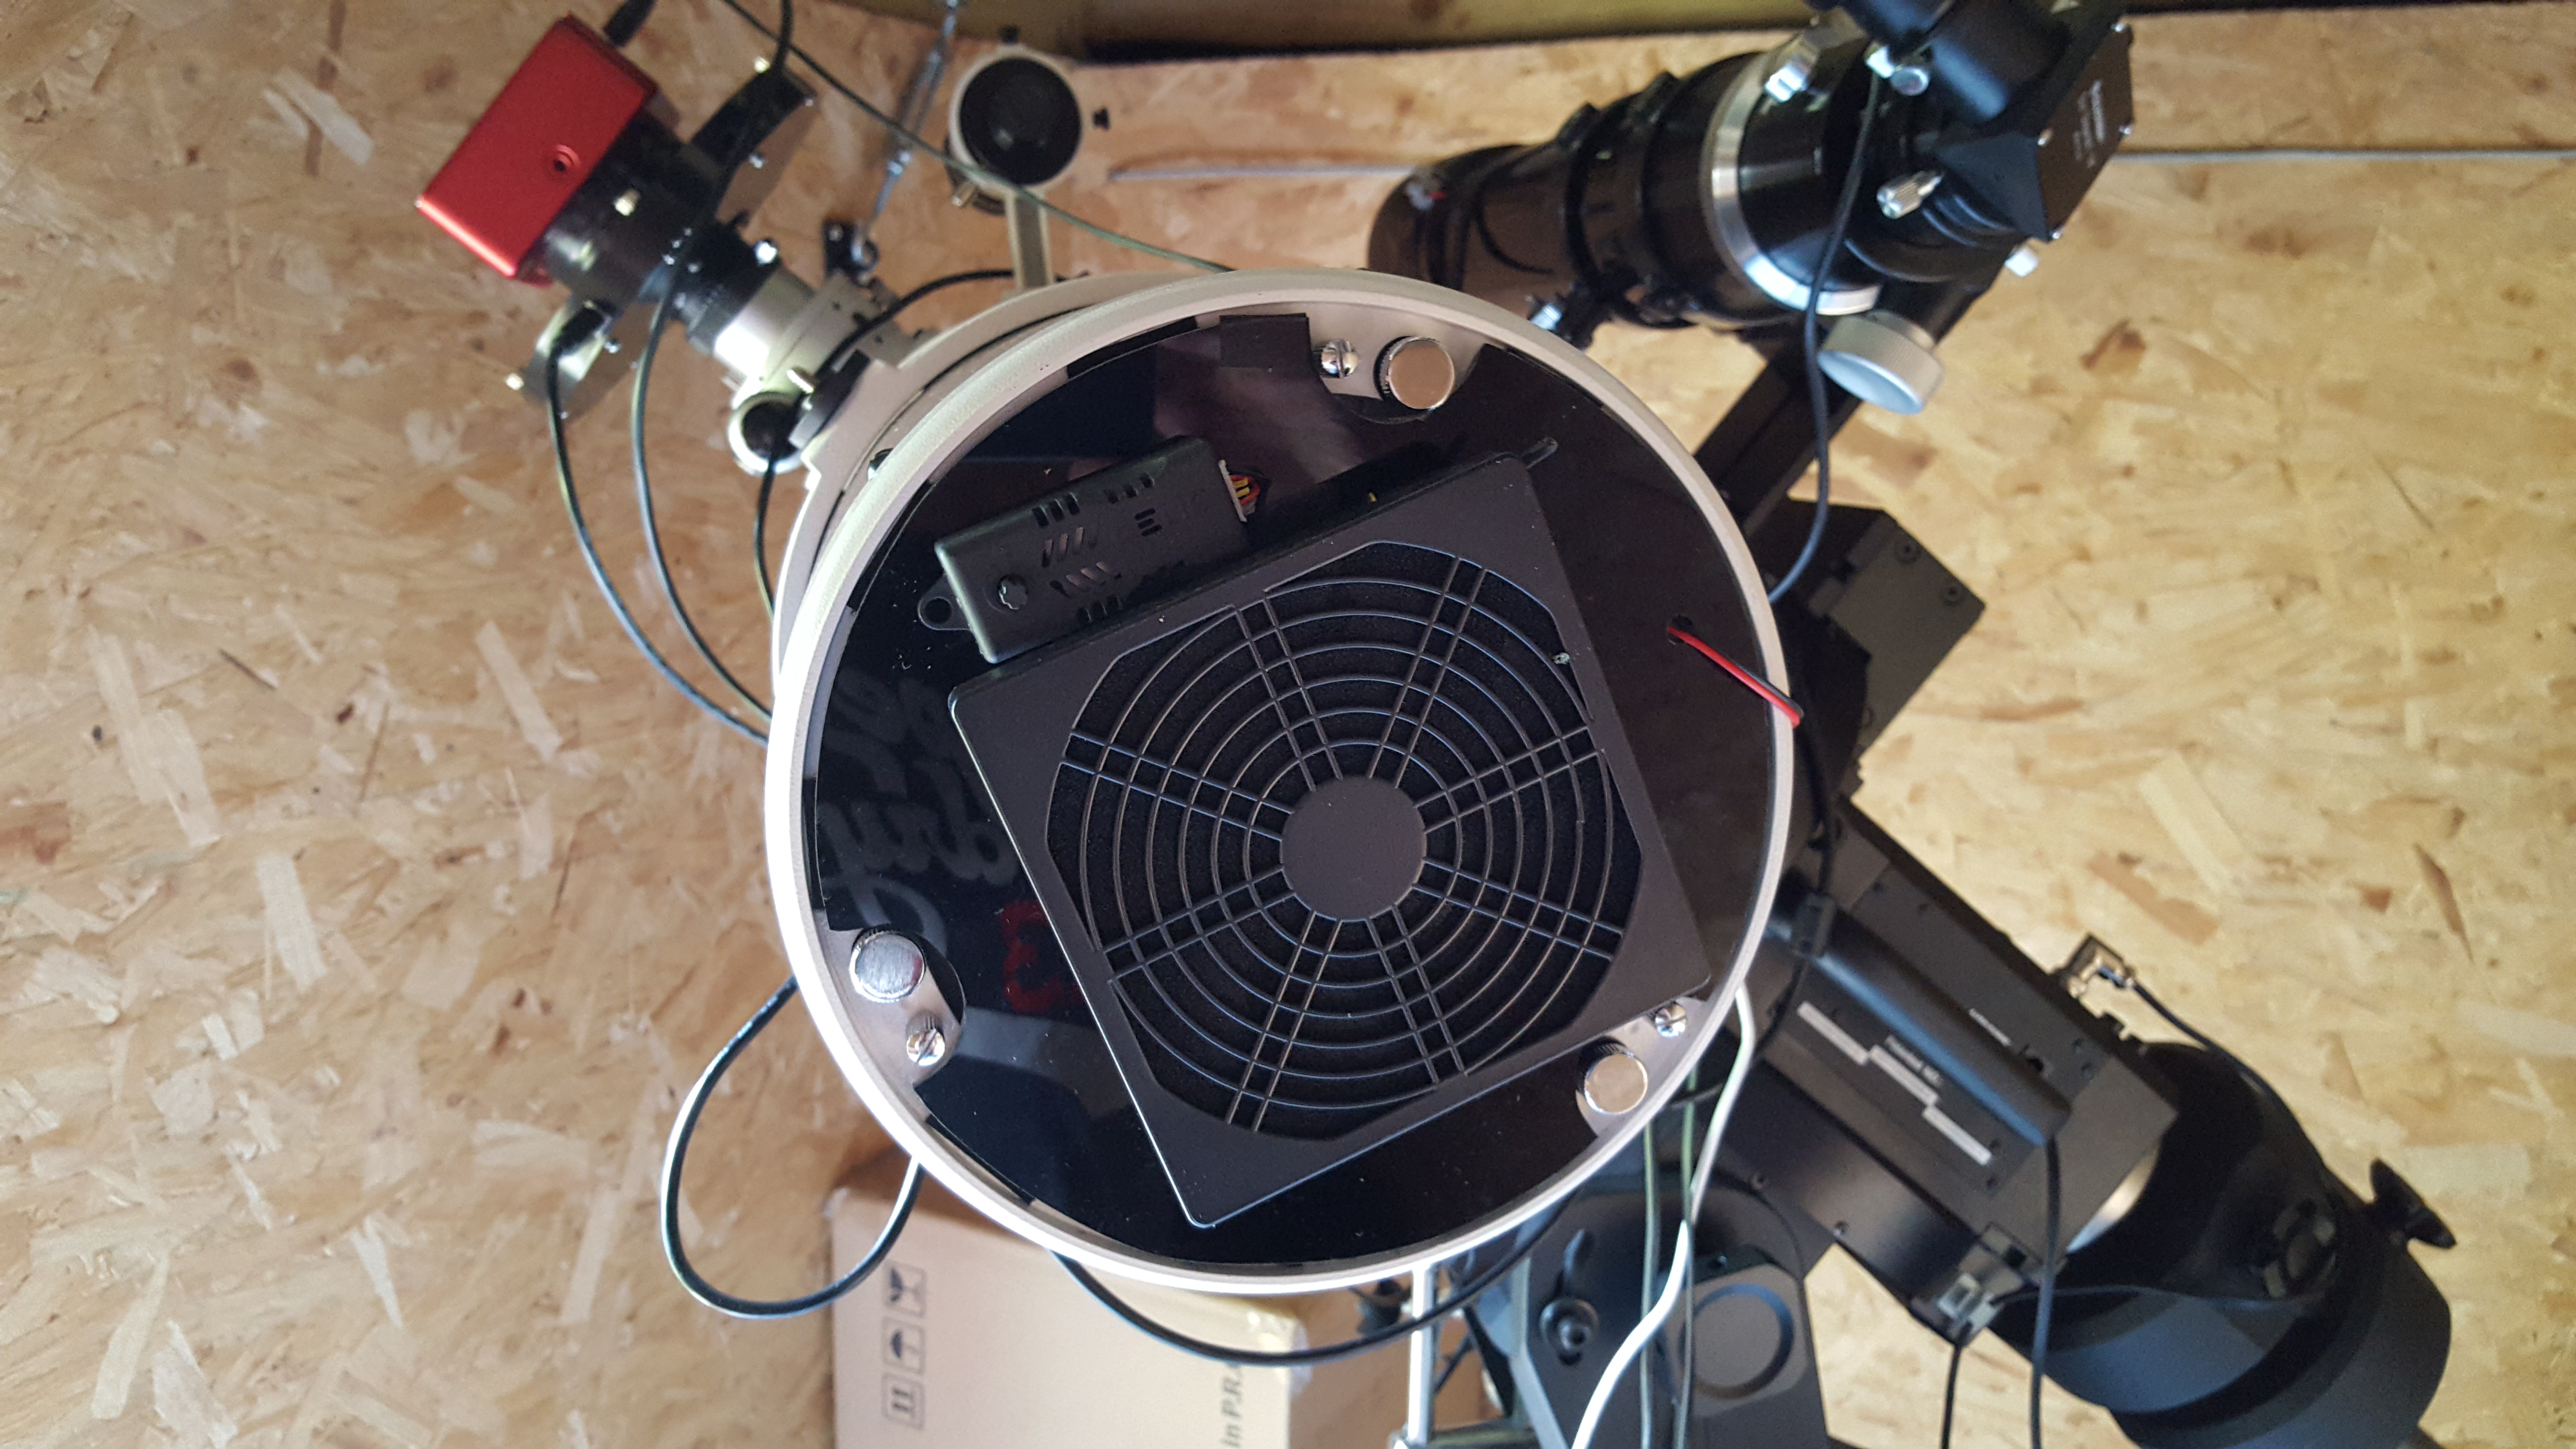
Before I attached my imaging equipment, I had to ensure that the telescope was collimated, so I stumbled across the collimation guide which after speaking with my good friend Terry Hancock over at Grand Mesa Observatory who was also evaluating the same scope, we both agreed that the colimation guide wasn’t very well written as it mentioned nothing about collimating the primary. One thing that it mentioned is to remove the corrector, Sharpstar include a tool for you to remove the mounting plate and corrector, but here is a word of advice……..remove this when the telescope is cold, take that advice from someone who tried to remove it whilst it was warm!

I performed a laser collimation with my Concenter Eyepiece to check the secondary, and then a laser to check the primary, now the collimation guide says to remove the corrector, I have done validation with both the corrector removed and the corrector in place, and it made no difference whatsoever, so my opinion is to leave the corrector in place.

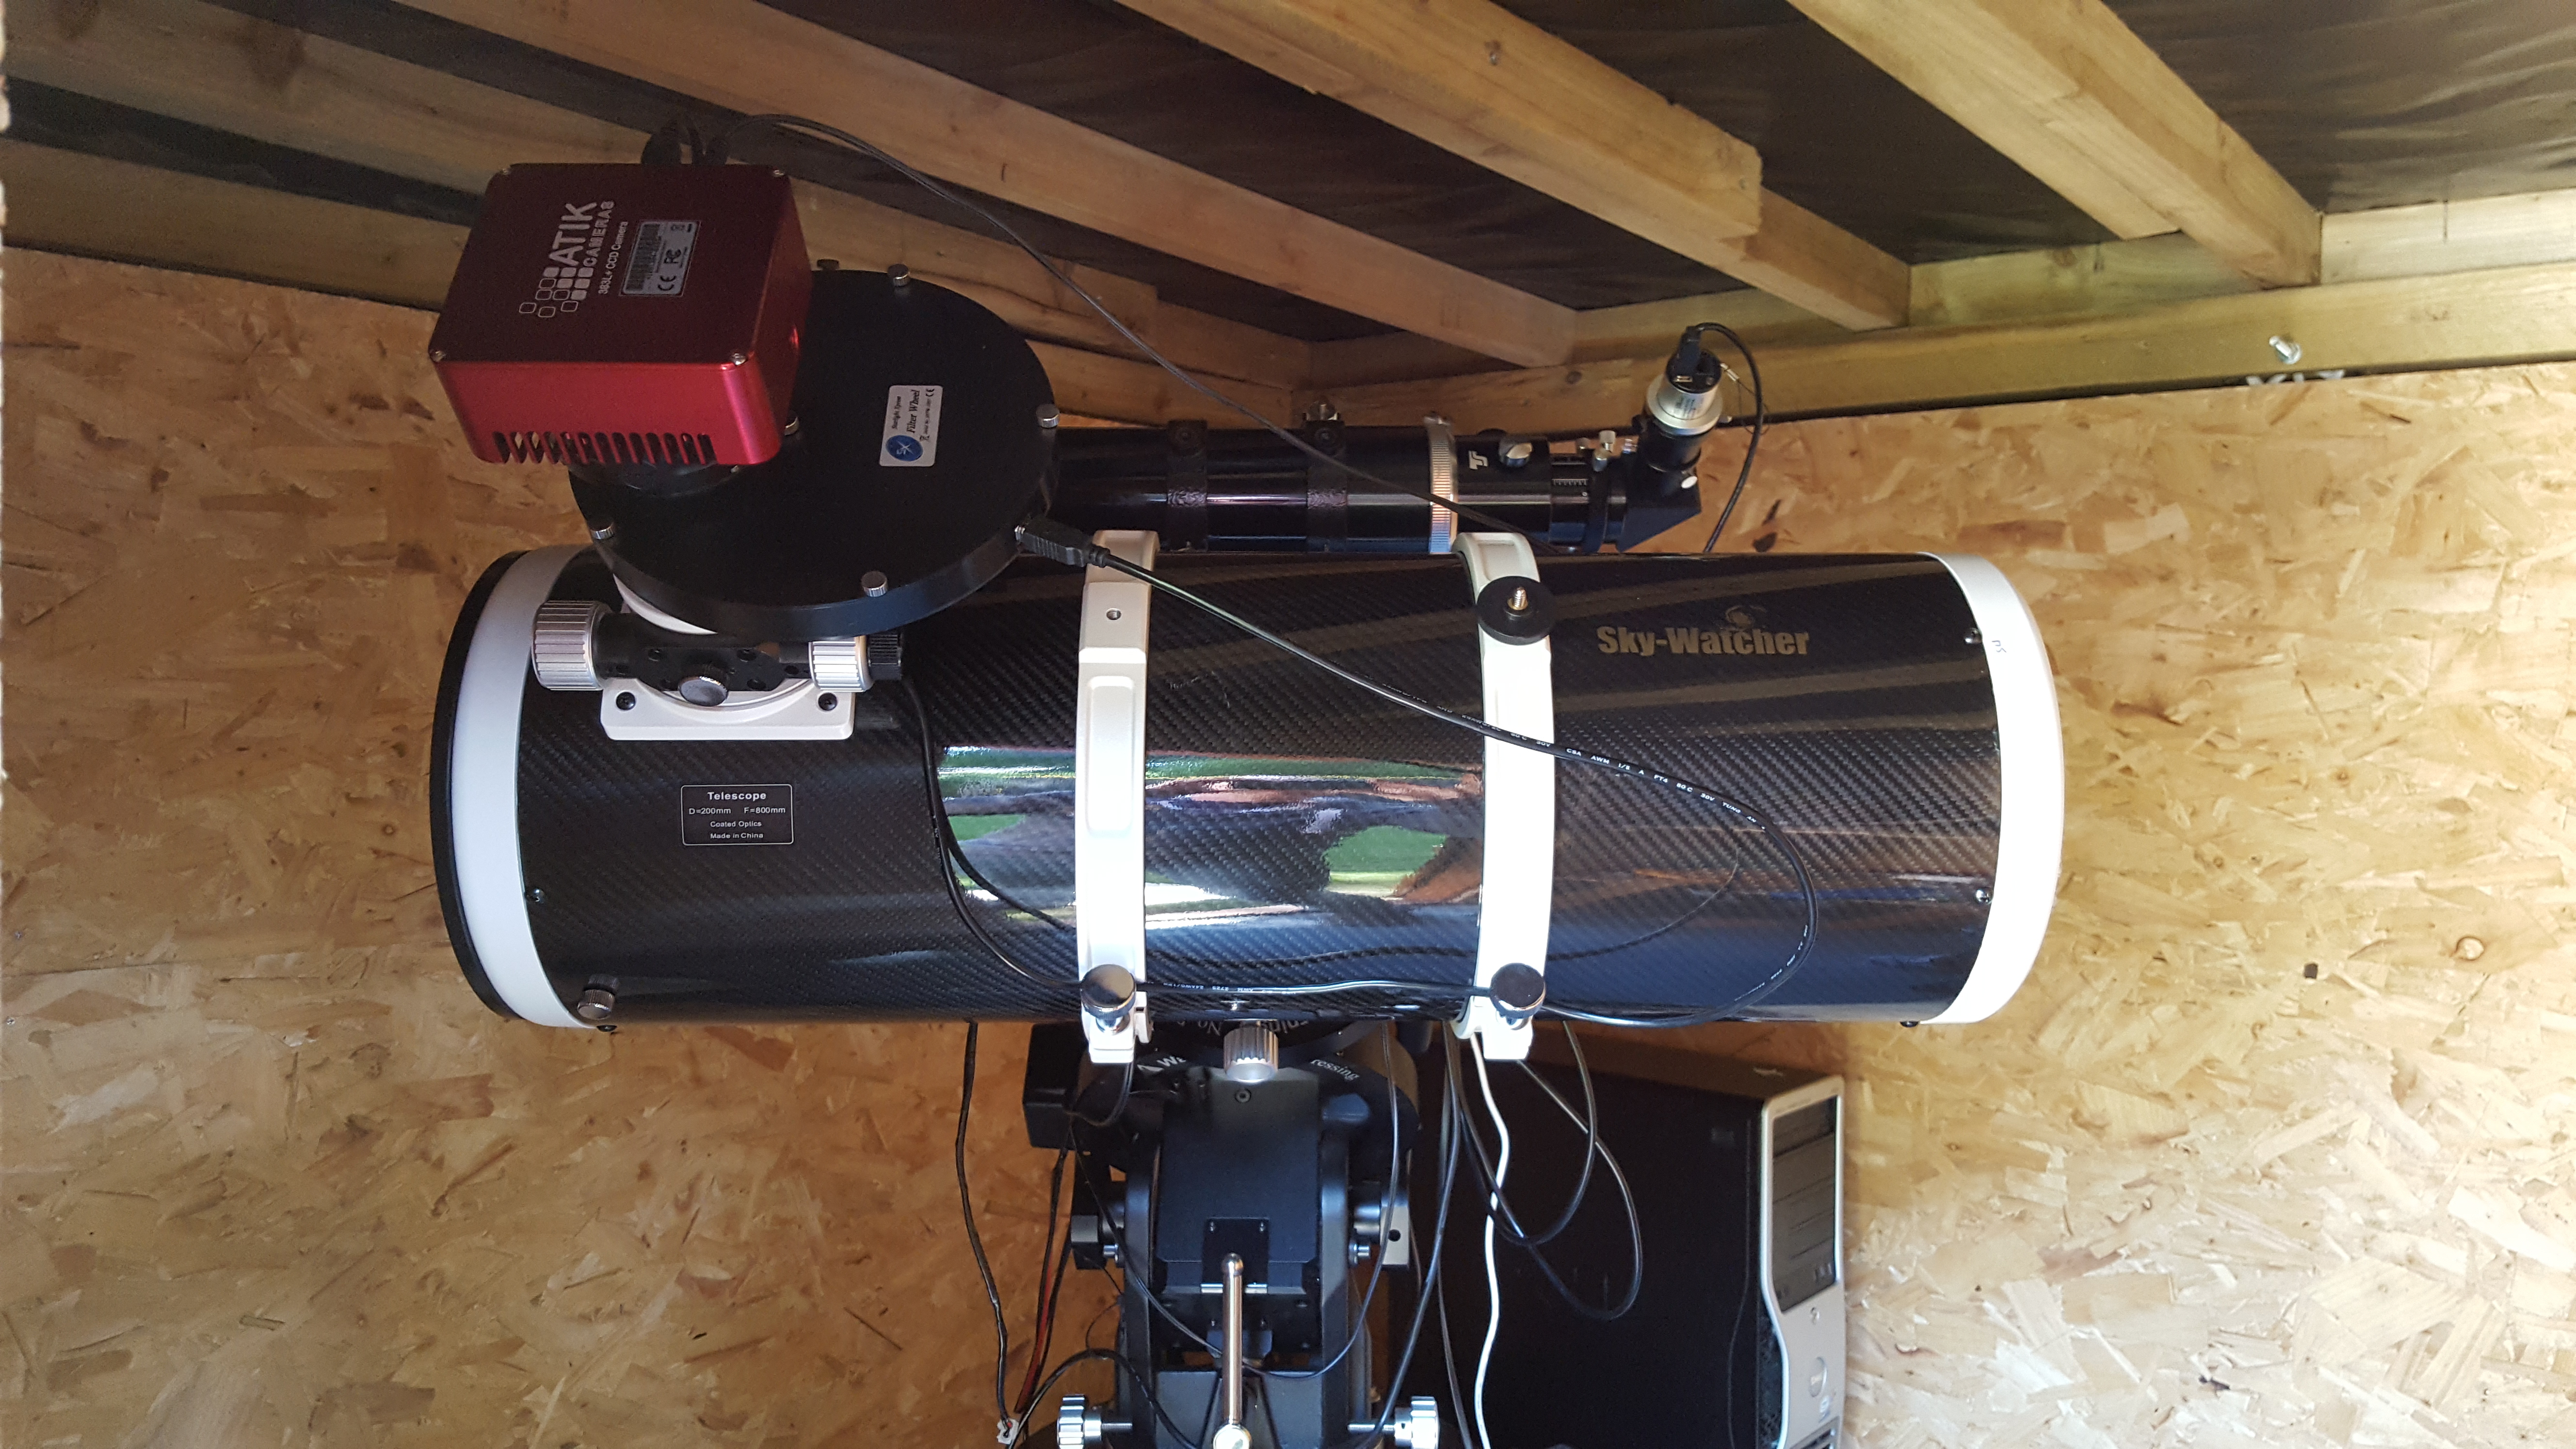
With the scope closely collimated, I mounted my StarlightXpress Filterwheel and Camera which with the 15028HNT is an M48 thread for the gear to screw onto.

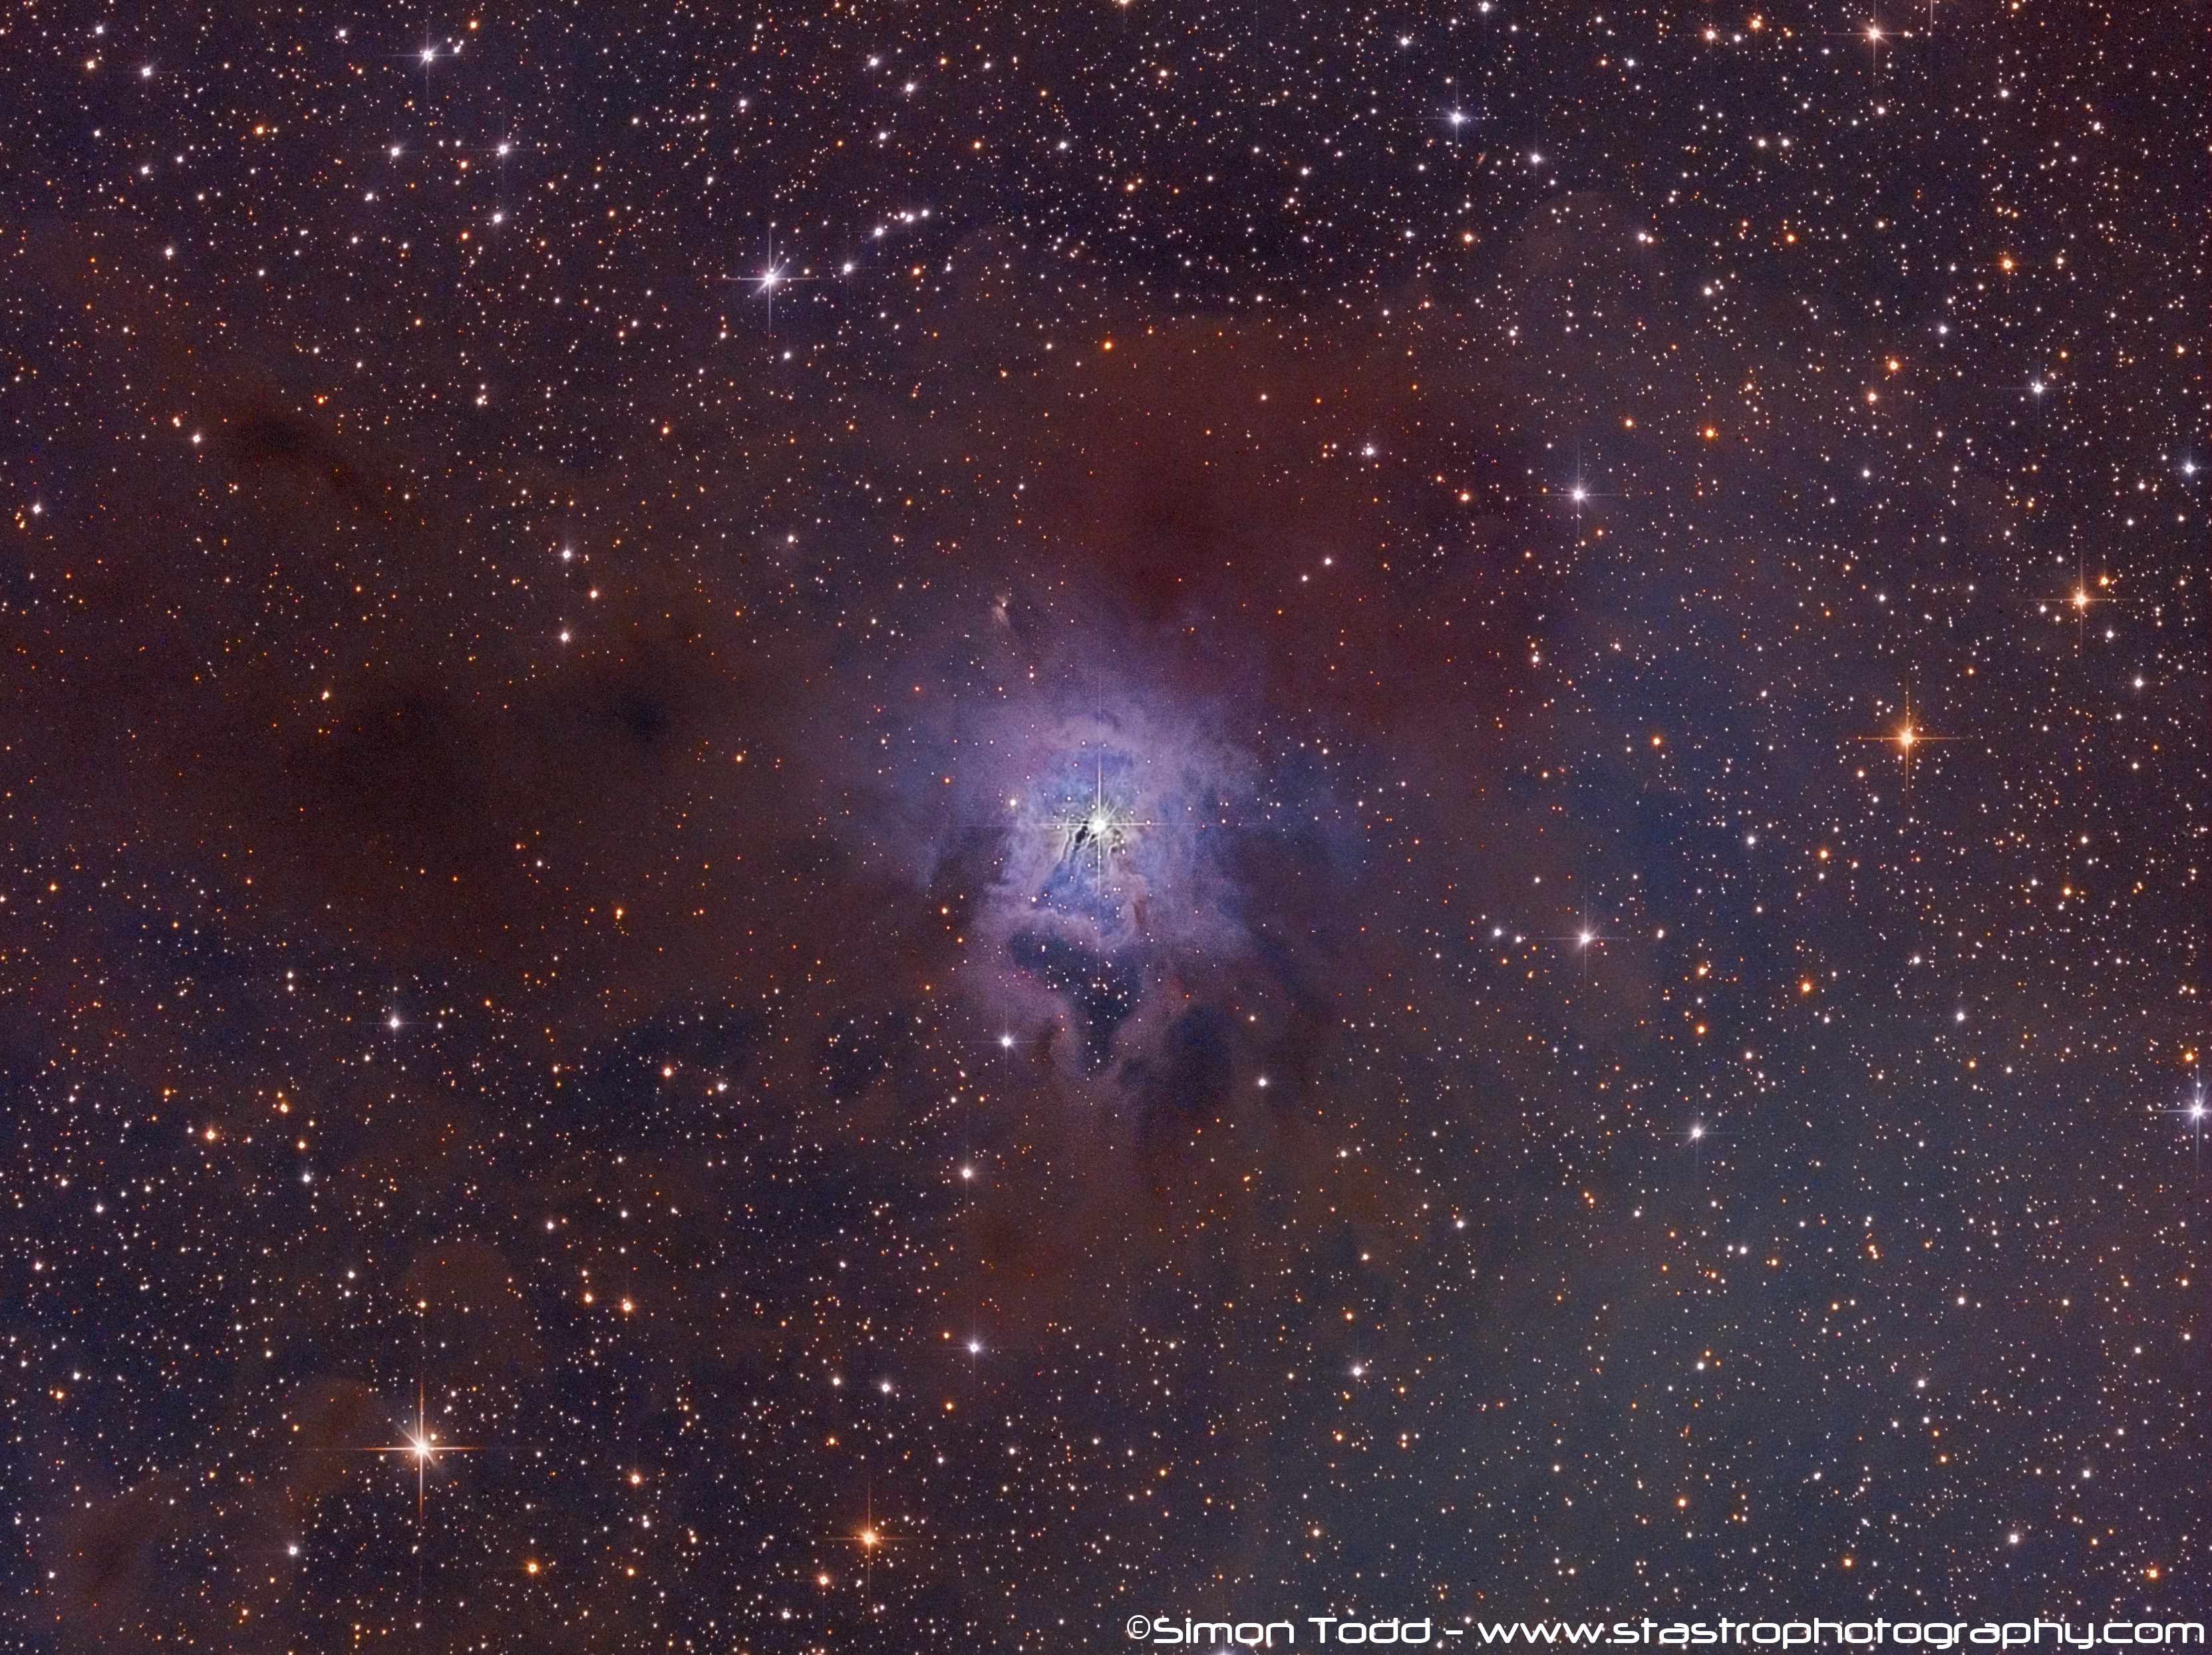
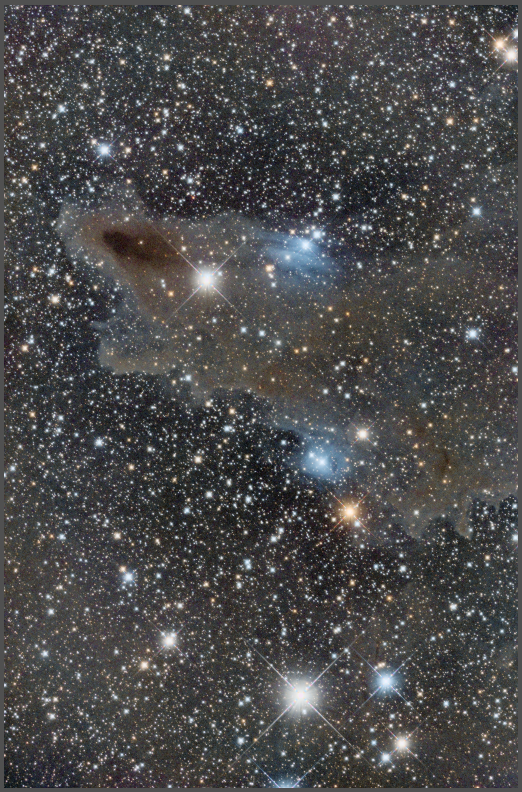
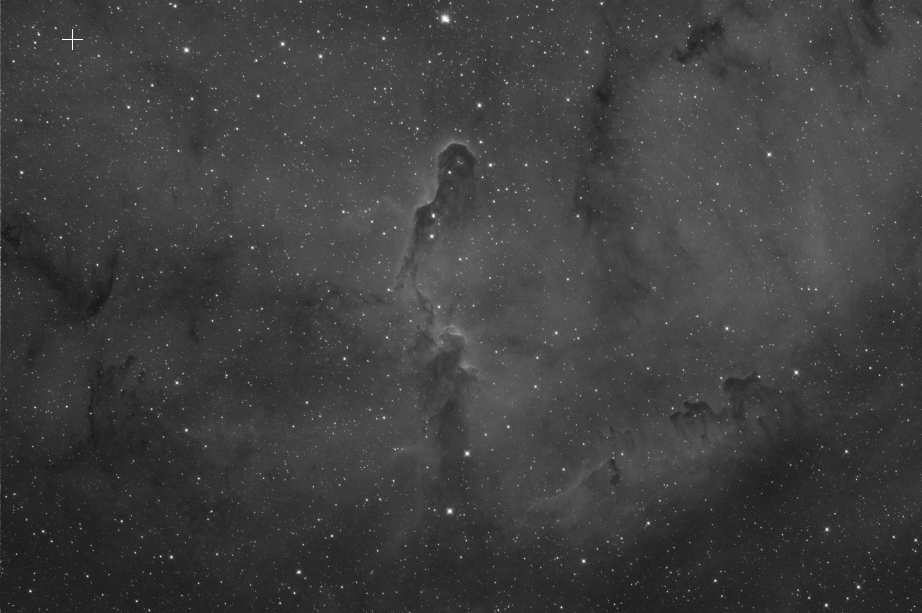
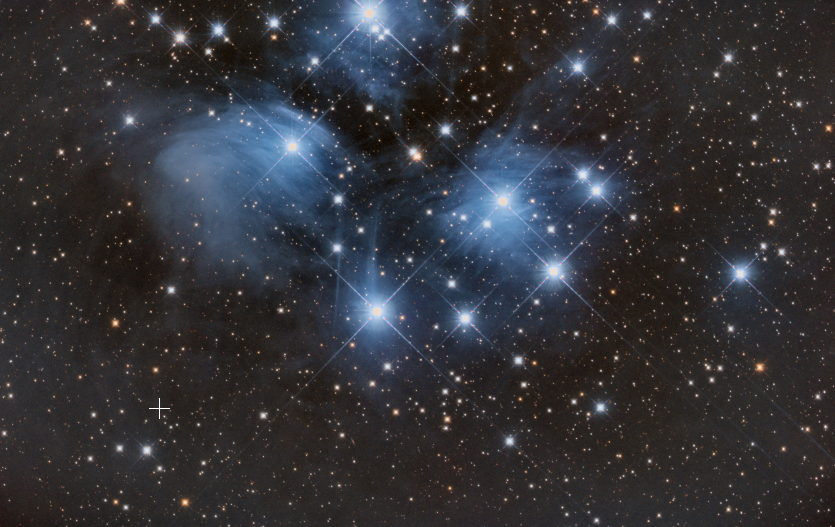
I will post some images as soon as I have completed some, the weather has been pretty poor (probably because I bought a new scope), but the frames I have got so far are very sharp, pinpoint and I can honestly say I have never seen images come directly off the camera so sharp.

My field of view with the QHY183M is around 1.21 Arcsec/Pixel which gives me a FOV or around 1.81°x1.2° and I love the difraction spikes being at 45 degrees compared to the 90 degrees on the skywatcher and I already have a pretty full target list for this scope ready to go this season.

Apart from the couple of product issues I have experienced (Grub screw on focuser and tube clamp thumbscrew being threaded) I am extremely happy with the scope, it is performing really well and here are a couple of work in progress images that I have started

Dark Shark Nebula Moscaic Panel 1 – 51x300S in Red, 25x300S in Green and Blue
Elephant’s Trunk – 51x300S in 6nm Ha
M45 – Mosaic Panel 1 – 12x150S in R, G and B

After a few weeks, the telescope has held collimation very well, I have not had to perform any re-collimation, I will re-evaluate this in the much colder months of winter.

I am so happy with the scope that I am actually considering a second one for an OSC Camera with a bigger sensor.

Skywatcher Quattro 8-CF Imaging Newtonian

After much deliberation and conversations back and forth with Bernard at Modern Astronomy, I finally decided to go for the Skywatcher Quattro 8-CF 8” F4 Reflector, there was a number of factors that helped me reach this decision, most of it was the British weather being so unpredictable that I needed to get as many photons for my images in the shortest available time.  I was used to imaging at F7.5 that the F4 was going to give me significantly faster optics, I also opted for the Carbon Fiber version purely from a thermal expansion perspective as it was going to perform better than the steel tube version.  I also opted for the 8” as the Native focal length of 800mm suited me perfectly, and I plan on getting the Keller reducer to bring it down to 560mm at F2.8.

Setup and Collimation
When I received my telescope and optically matched Aplanatic Coma Corrector, I was impressed with the build quality of the scope itself, internal baffles to boost contrast as well as eliminate stray light, and the focuser is pretty sturdy for a stock focuser, and quite easily handles the weight of my CCD and Filterwheel.  I mounted the telescope next to my Guide scope on my Skywatcher EQ8, I wish they had provided a Losmandy plate with the telescope, but the Vixen style bar still worked out well.  After balancing the scopes on the mount I was ready to check the collimation, for this I used my Farpoint Collimation Kit, firstly the laser to ensure it hits the centre spot of the primary, and the laser return reached the centre point of the laser collimator itself, the adjustments required were very minor.  After this I verified the collimation with the Farpoint Cheshire and it verified that the collimation was correct, only thing left to do was a star test, for this I used a 10mm Eyepiece and a fairly bright defocused star, the star was spot on, I could see all the concentric rings.  I then proceeded to perform the same star test with the CCD and the Aplanatic Corrector to verify, which of course it did.

Scope Details:
Focal Length: 800mm
Apperture: 8 Inch
Focal Ratio: F4
Tube Composition: Carbon Fiber
Focuser: 2″ Dual Speed Linear Power Focuser

First light
My first target for 2016 is the Iris Nebula, my first set of frames came through and for a 5 minute exposure I was impressed with how much data I had collected, data that would have taken over 15 minutes to collect on the F7.5 refractor I now use as a guide scope, I managed to finish a target off within a few days of imaging rather than over a multitude of nights

I have also not had to re-collimate the scope or adjust the focuser on the scope over the few weeks I have had it, so overall I am above and beyond happy with my decision and I am now able to image targets in a shorter timeframe which in the UK you have to grab every clear sky you can

A few months on
I have had to re-collimate the scope 0 times, even after removing the primary mirror assemply for cleaning, the focuser is still rock solid and holds the camera gear extremely well.   I have made an addition to the scope, I have added a fan system to the rear of the primary mirror, the fan also has some nichrome wire which allows the air being blown around the primary to be just above the dew point which prevents dew forming on the primary and believe it or not the secondary also, even in high humidity sessions.

Build Quality: Extremely pleased with the build quality of the scope, even the focuser is sturdy and holds all of my gear really well

Collimation: Extremely easy with the right tools, it has required no further collimation in the months that I have now owned the scope

Improvements: Could have come with a fan assembly, most of the other F4 scopes from other vendors do

Conclusion
After months of usage, I have produced some really good images in short timeframes due to the fast F4 ratio, I am looking forward to using this scope again next season with 3nm NarrowBand filters and possibly the Keller Reducer to bring it down to F2.8