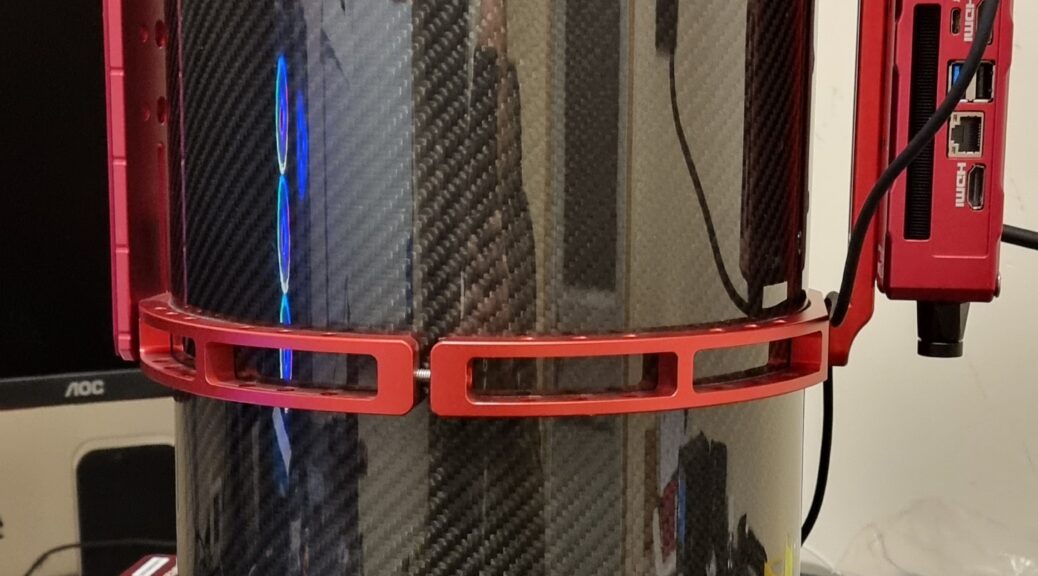
Having owned the Sharpstar 15028HNT, I decided I wanted a larger light bucket without really sacrificing on speed, so I opted for the big brother of the 15028HNT which is the SharpStar 20032PNT.
I picked up my 20032PNT from Zoltan at 365Astronomy, and could not wait to get it home and unbox it, so after removing it from not just one carboard box, but two, I was presented with a very large flight case, which evidently is a larger version than the one that came with the 15028HNT.
Once I had the scope unpacked and inspected everything, the first thing I noticed was the focuser, the 20032PNT has a large focuser, which is big enough to accomodate the reducer/corrector that has an M68 connector thread as well as an M54 and an M48 connector thread.
The scope is well built, as I would expect from the build quality of the 15028HNT, the red annodised alluminium tube rings just give that final touch of finese. The 3 inch focuser is very smooth, and will no doubt be able to handle quite a load of equipment.
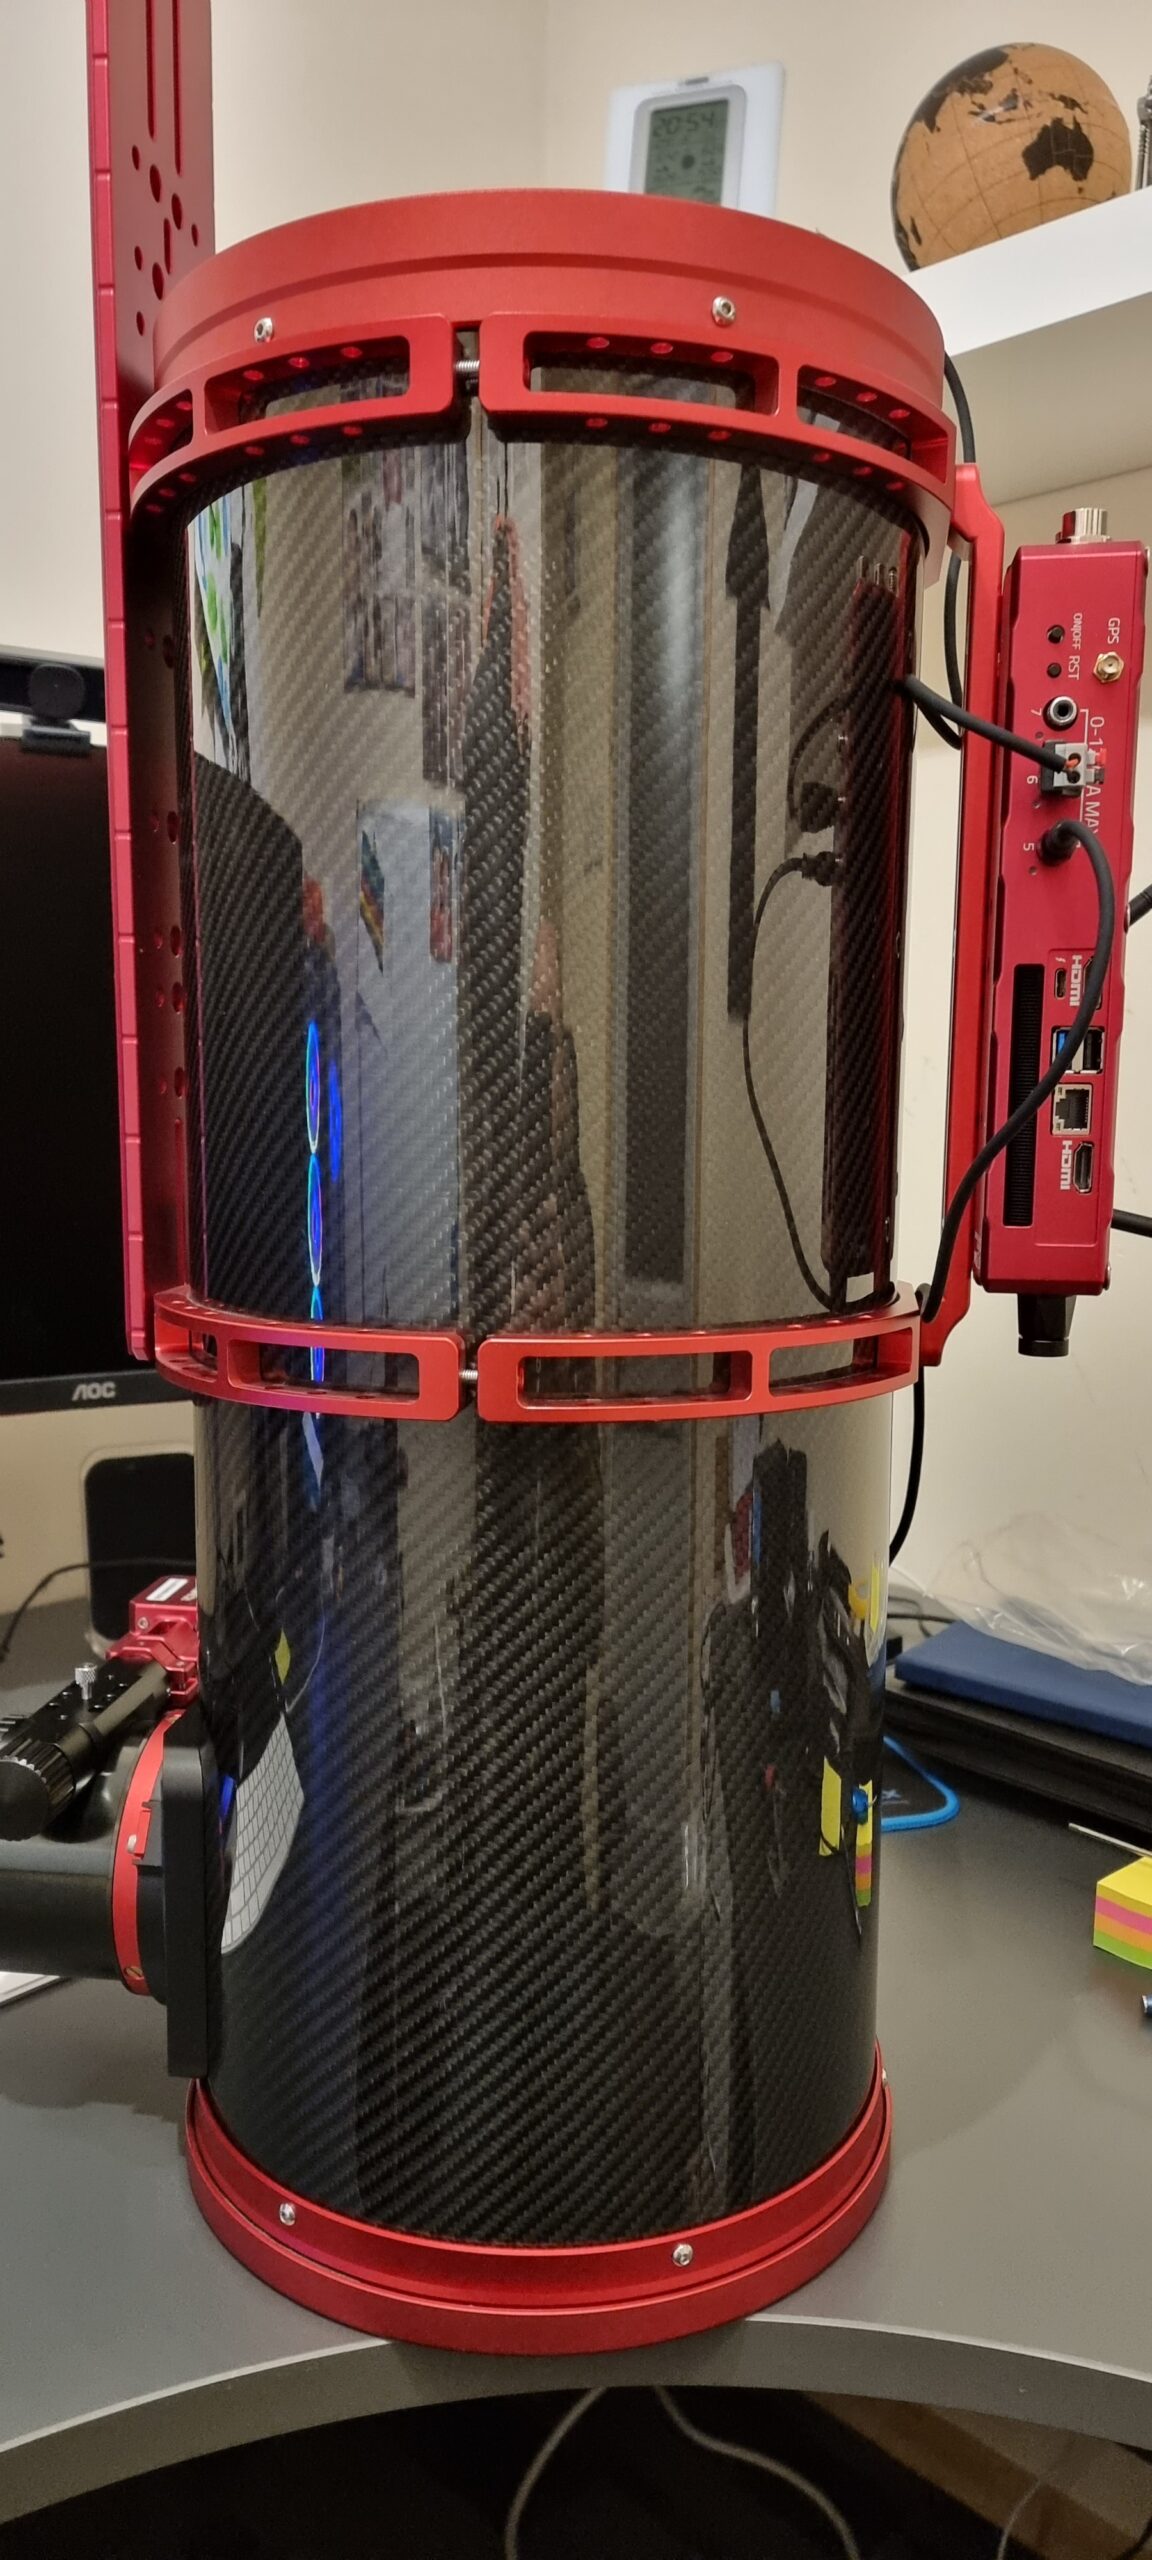
The first thing I planned to do was ensure that the primary mirror was secure and did not rock back and forward as well as replace the stock fan. I have fed back to SharpStar that they should mount the fan externally and also mount it with shock absorbing rubber mounters, and have the airflow into the tube from the back, rather than drawing air down the tube from the secondary. Here are my images of the fan replacement:
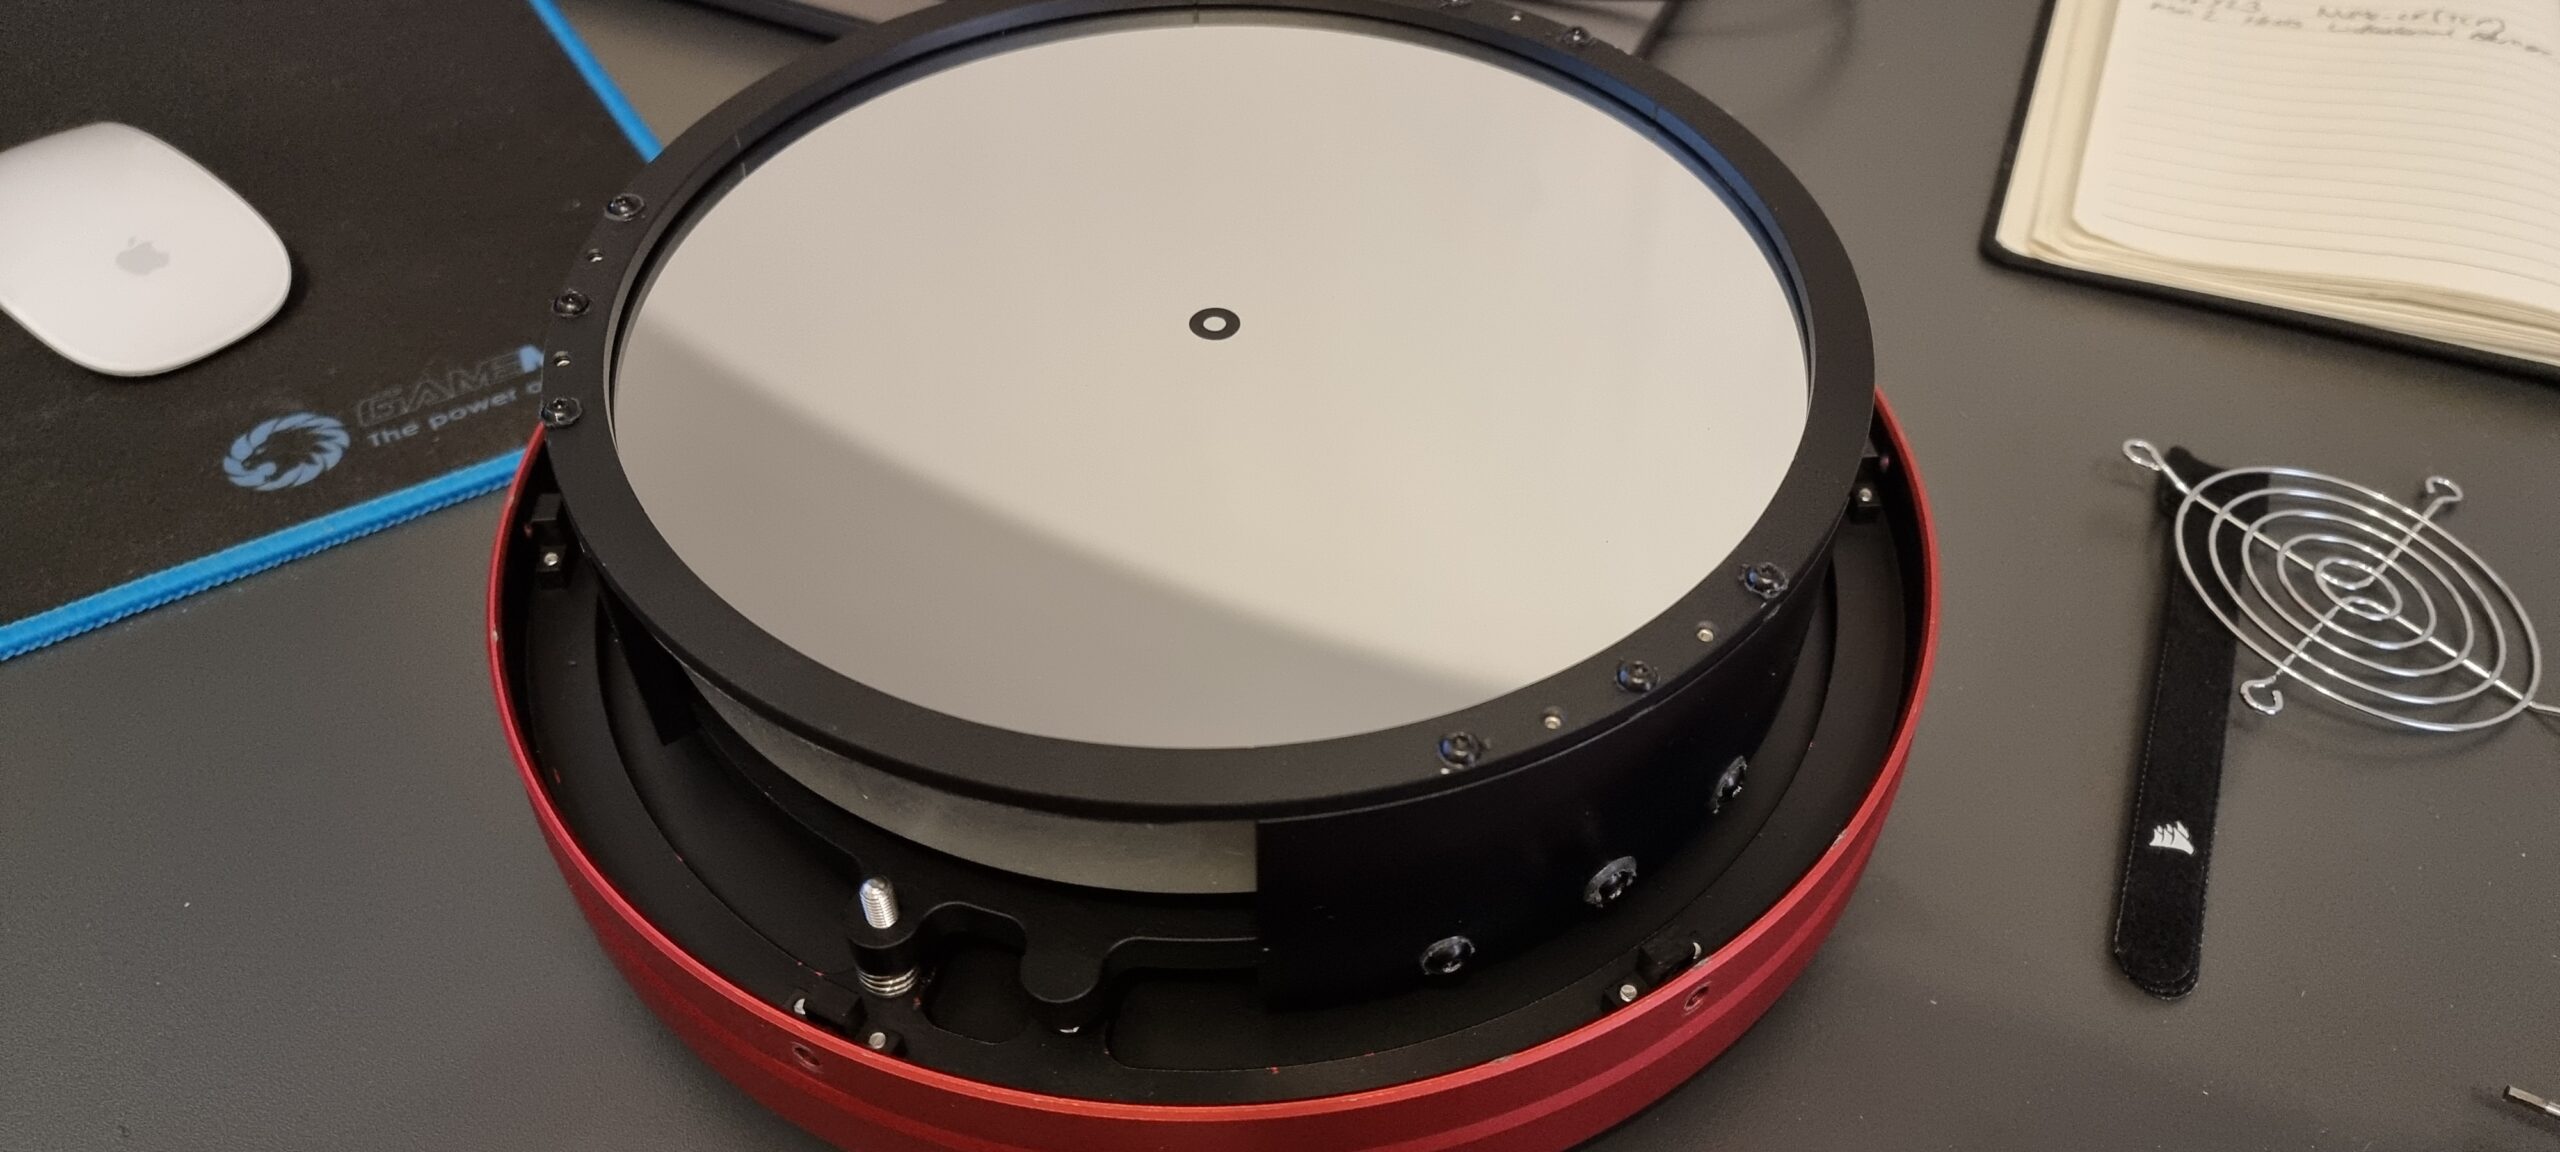
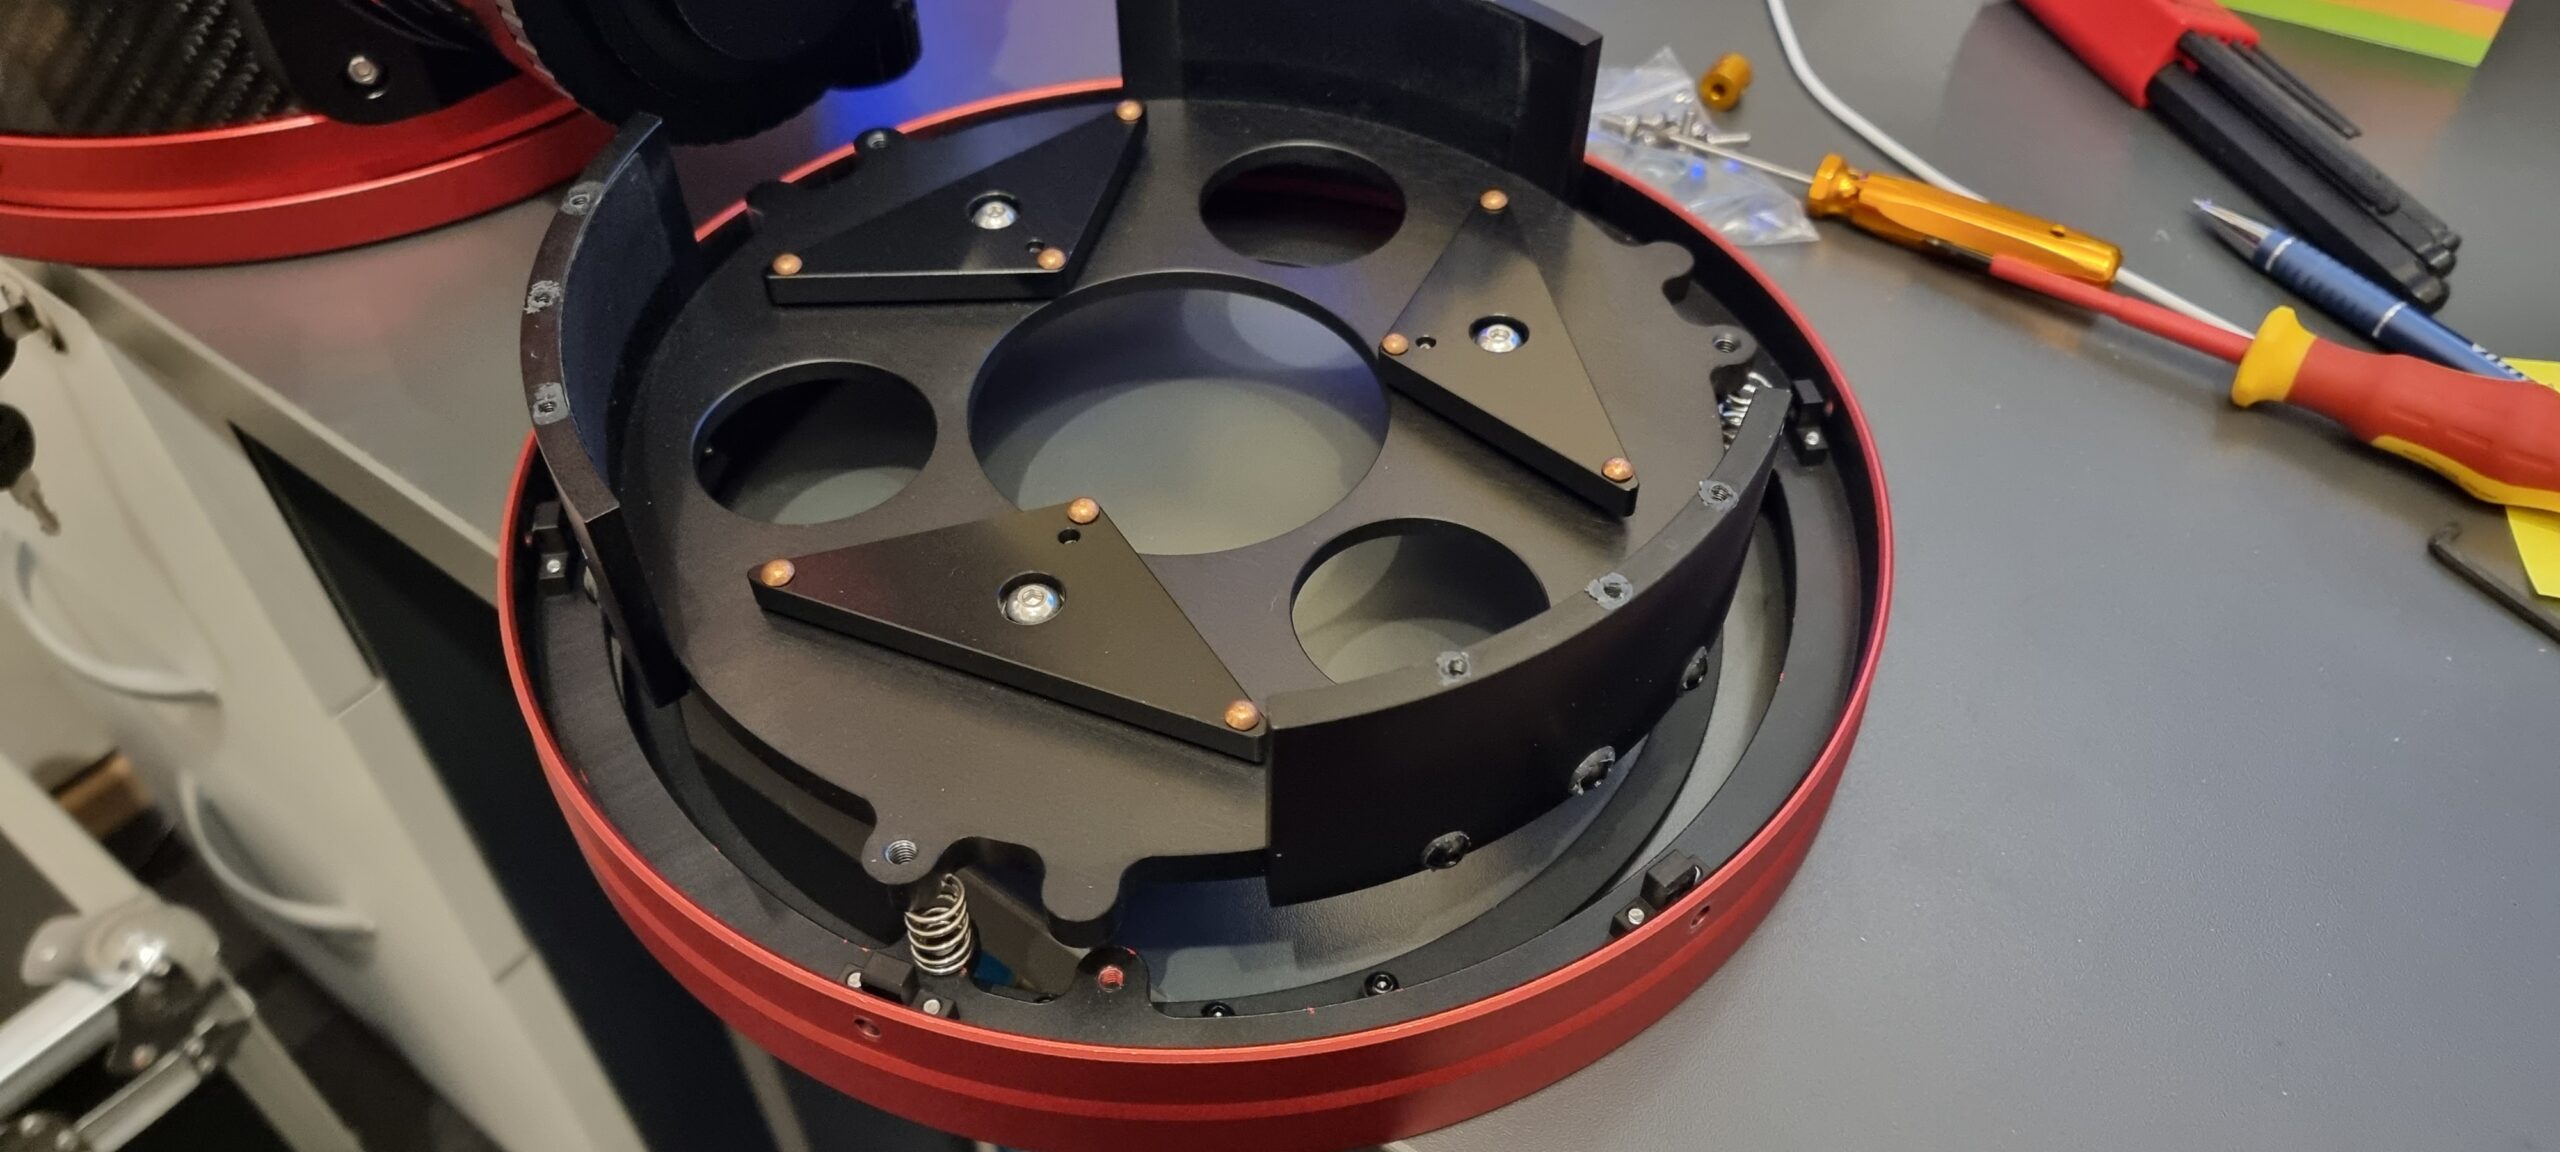
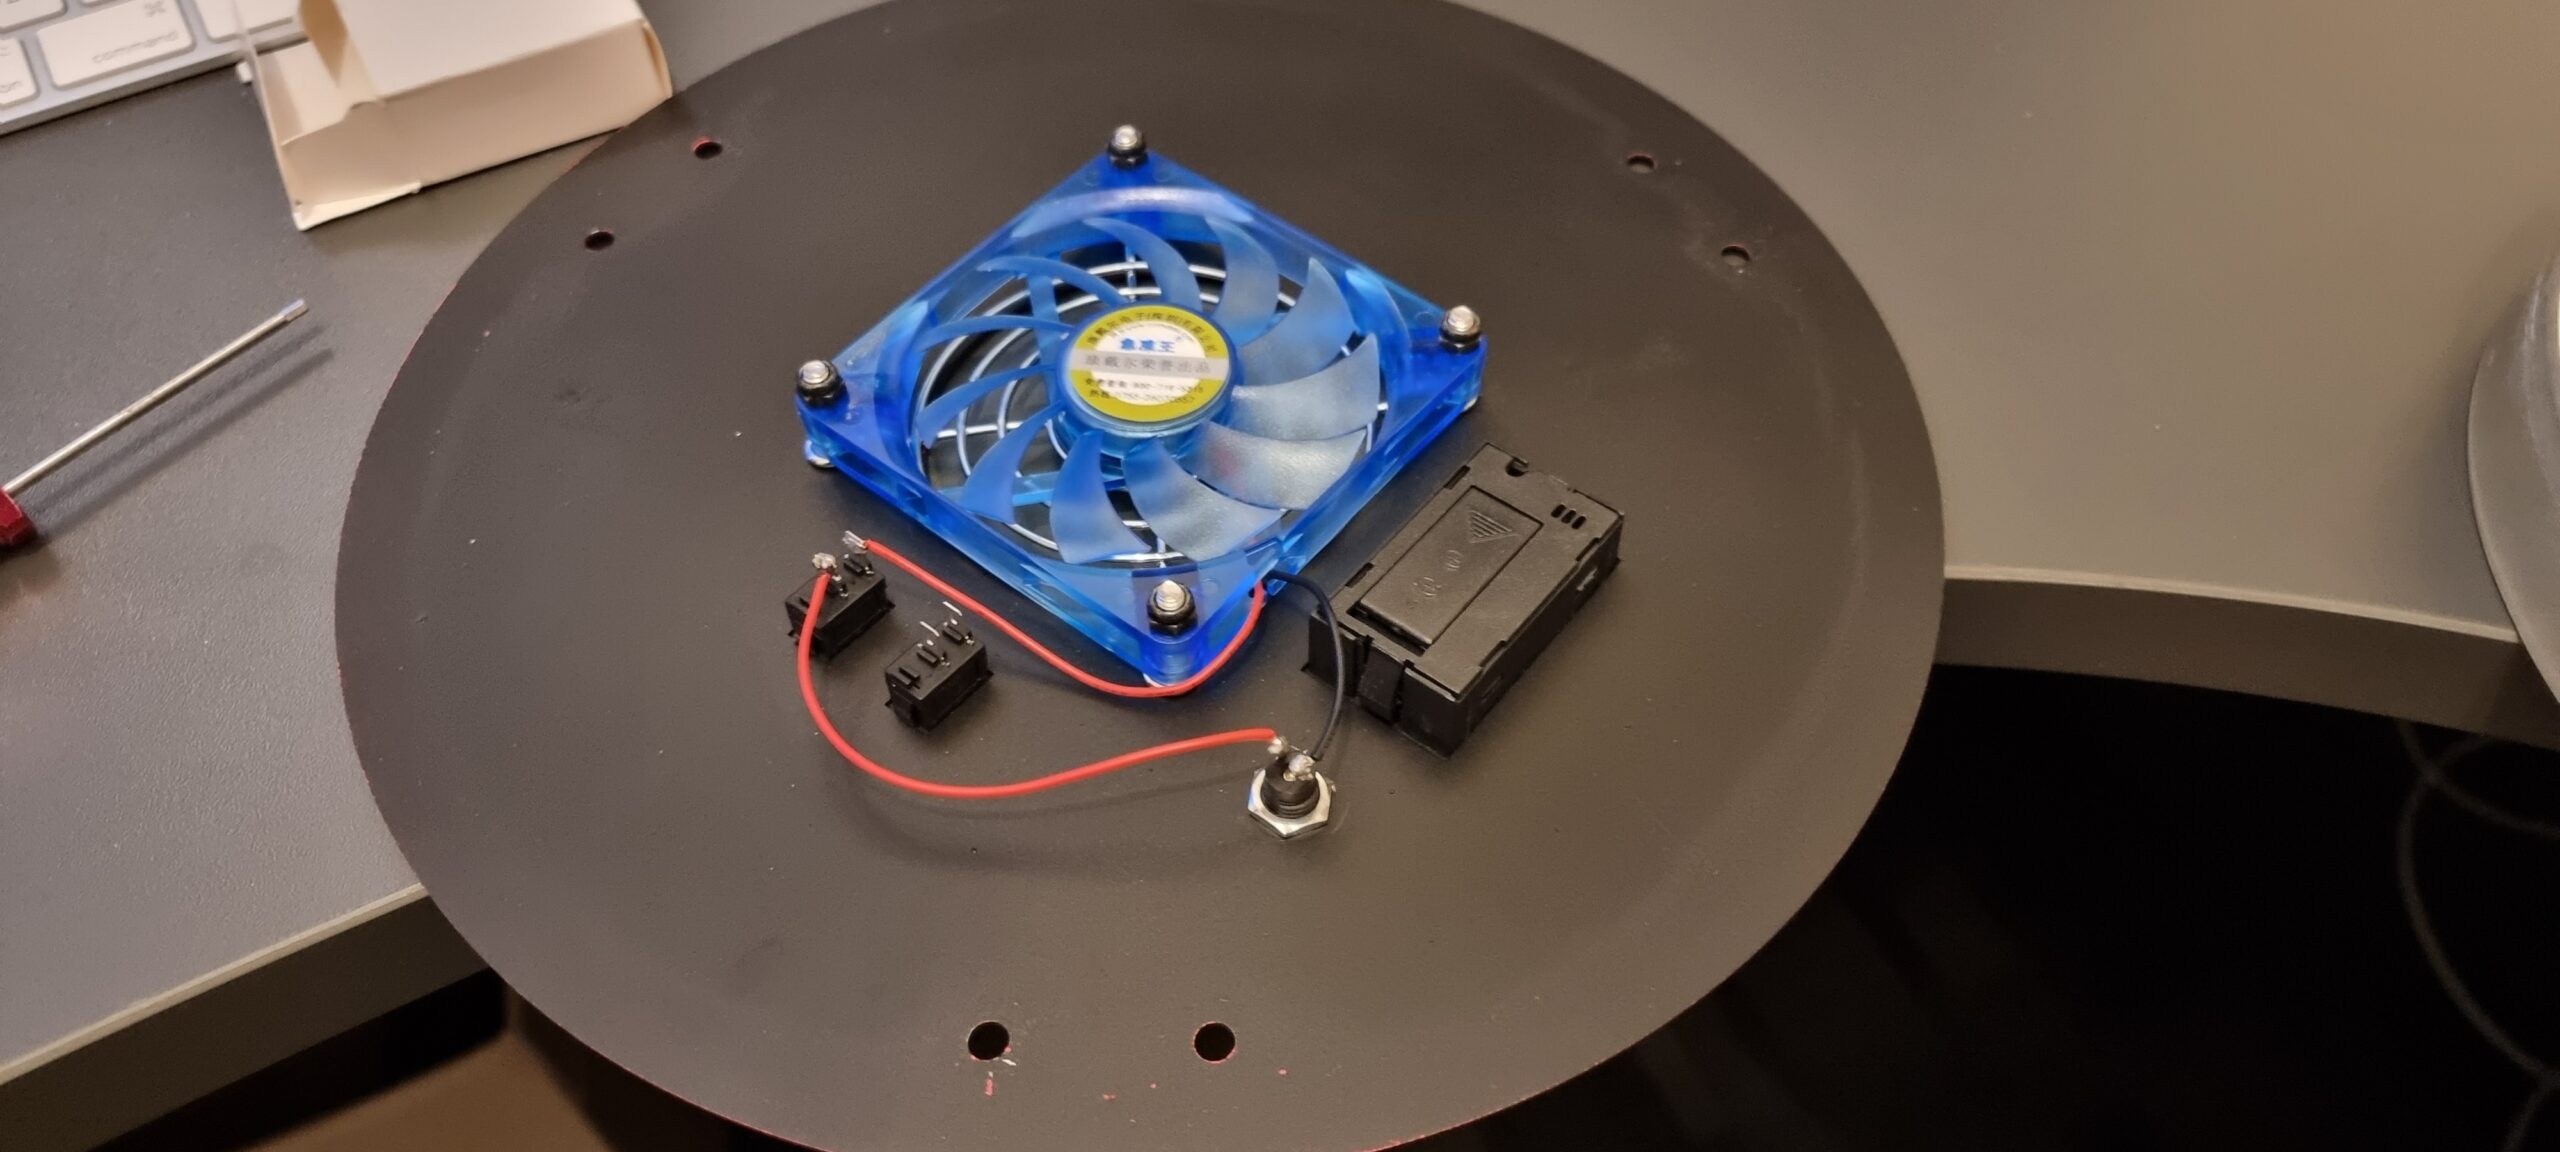
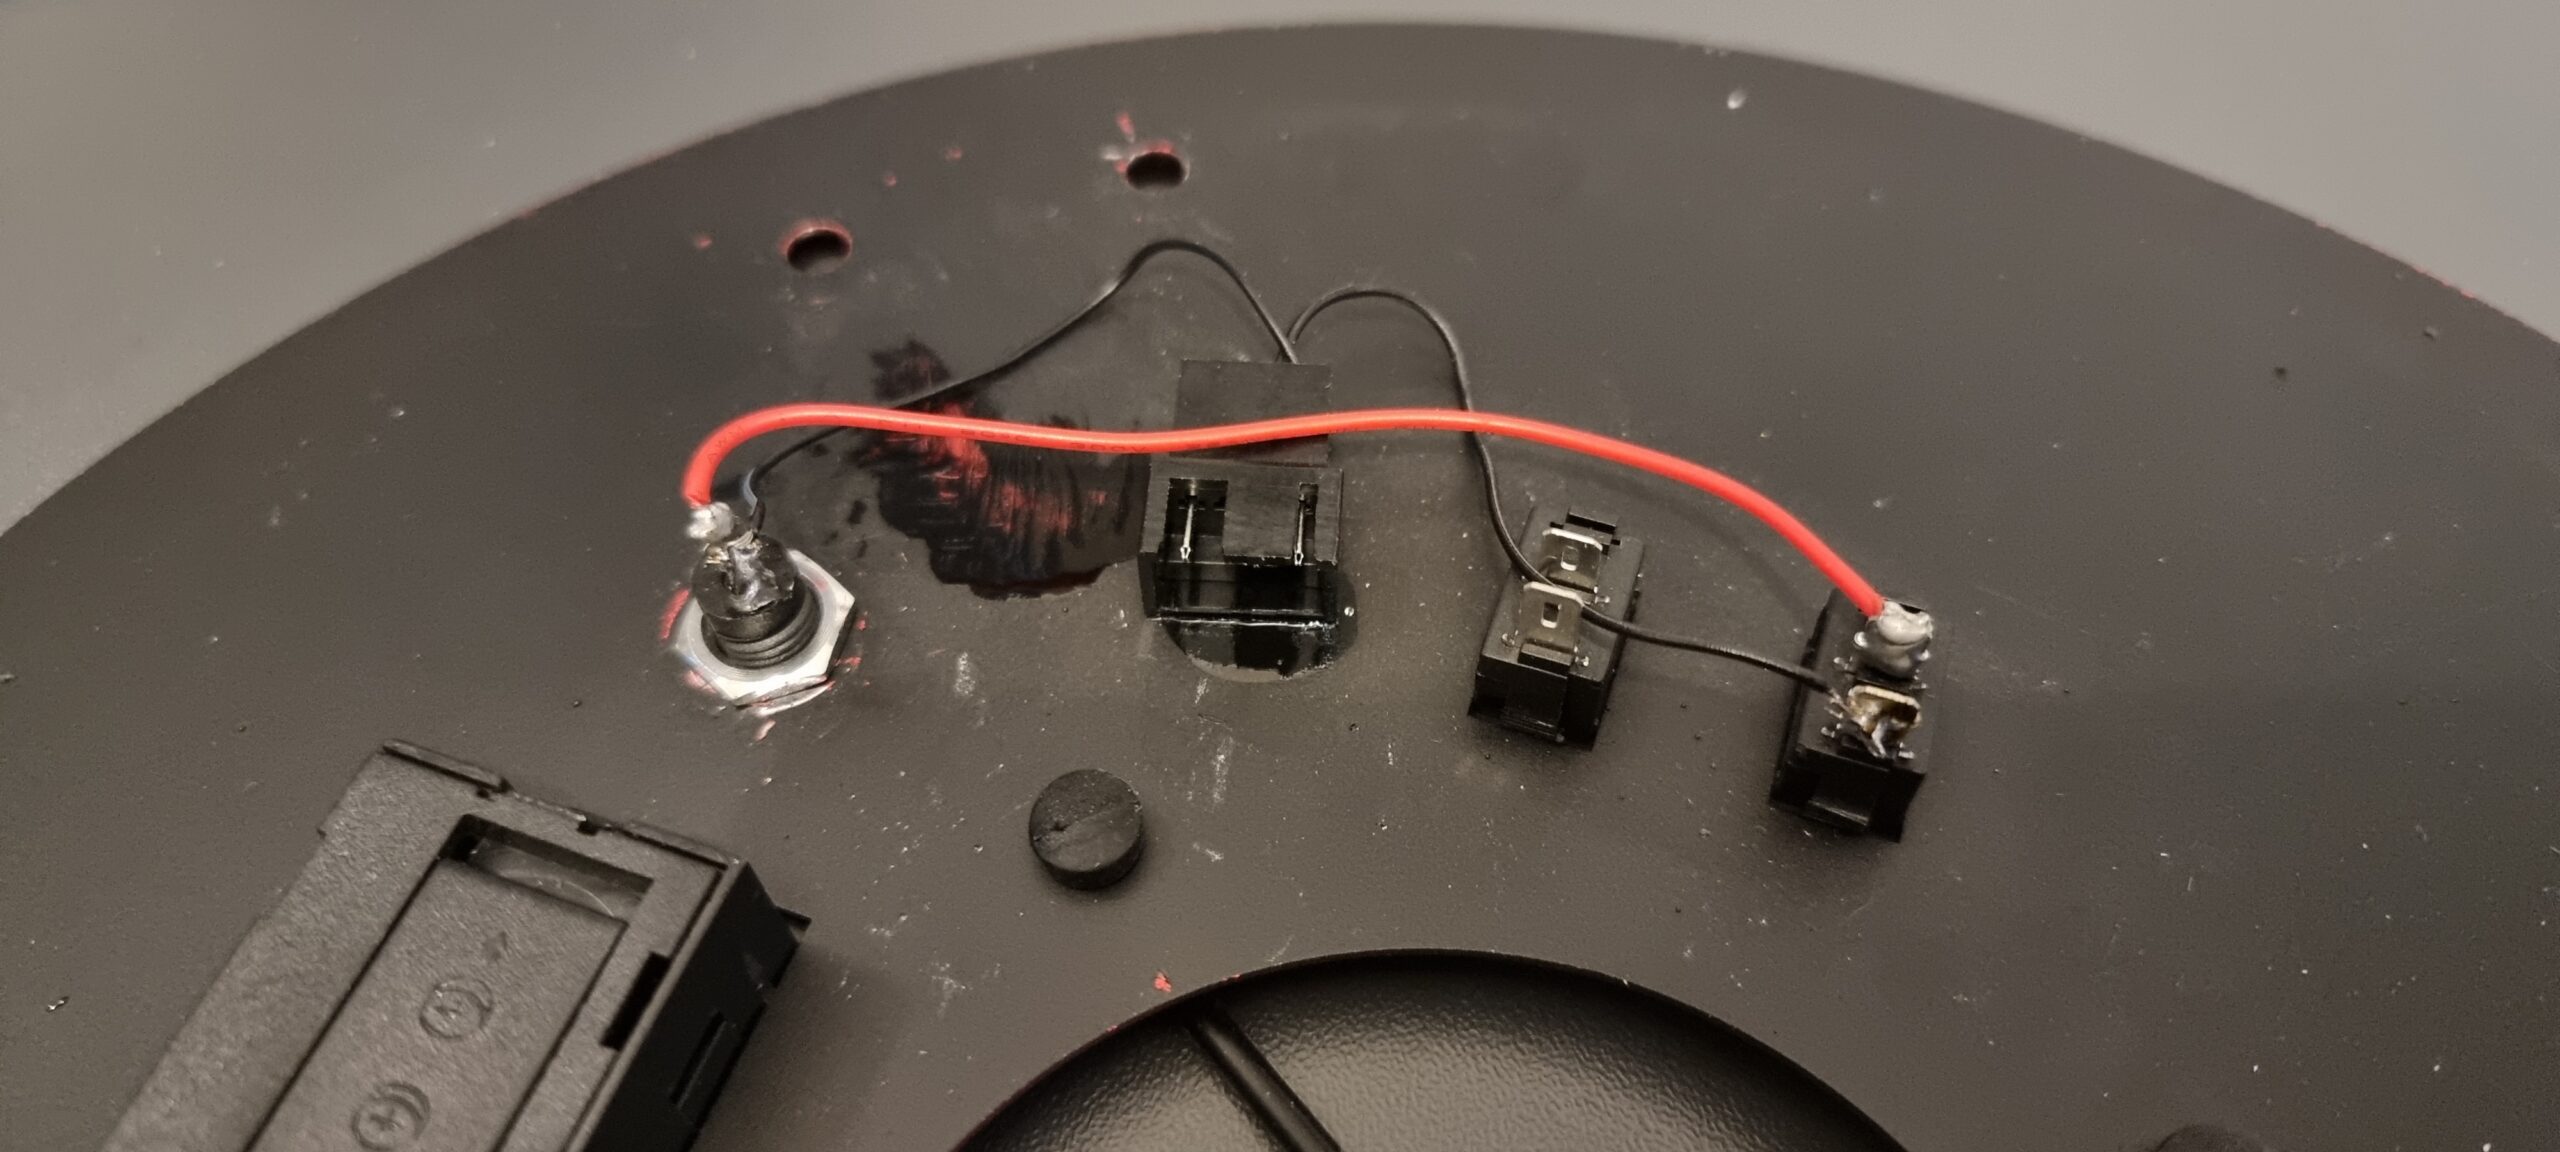
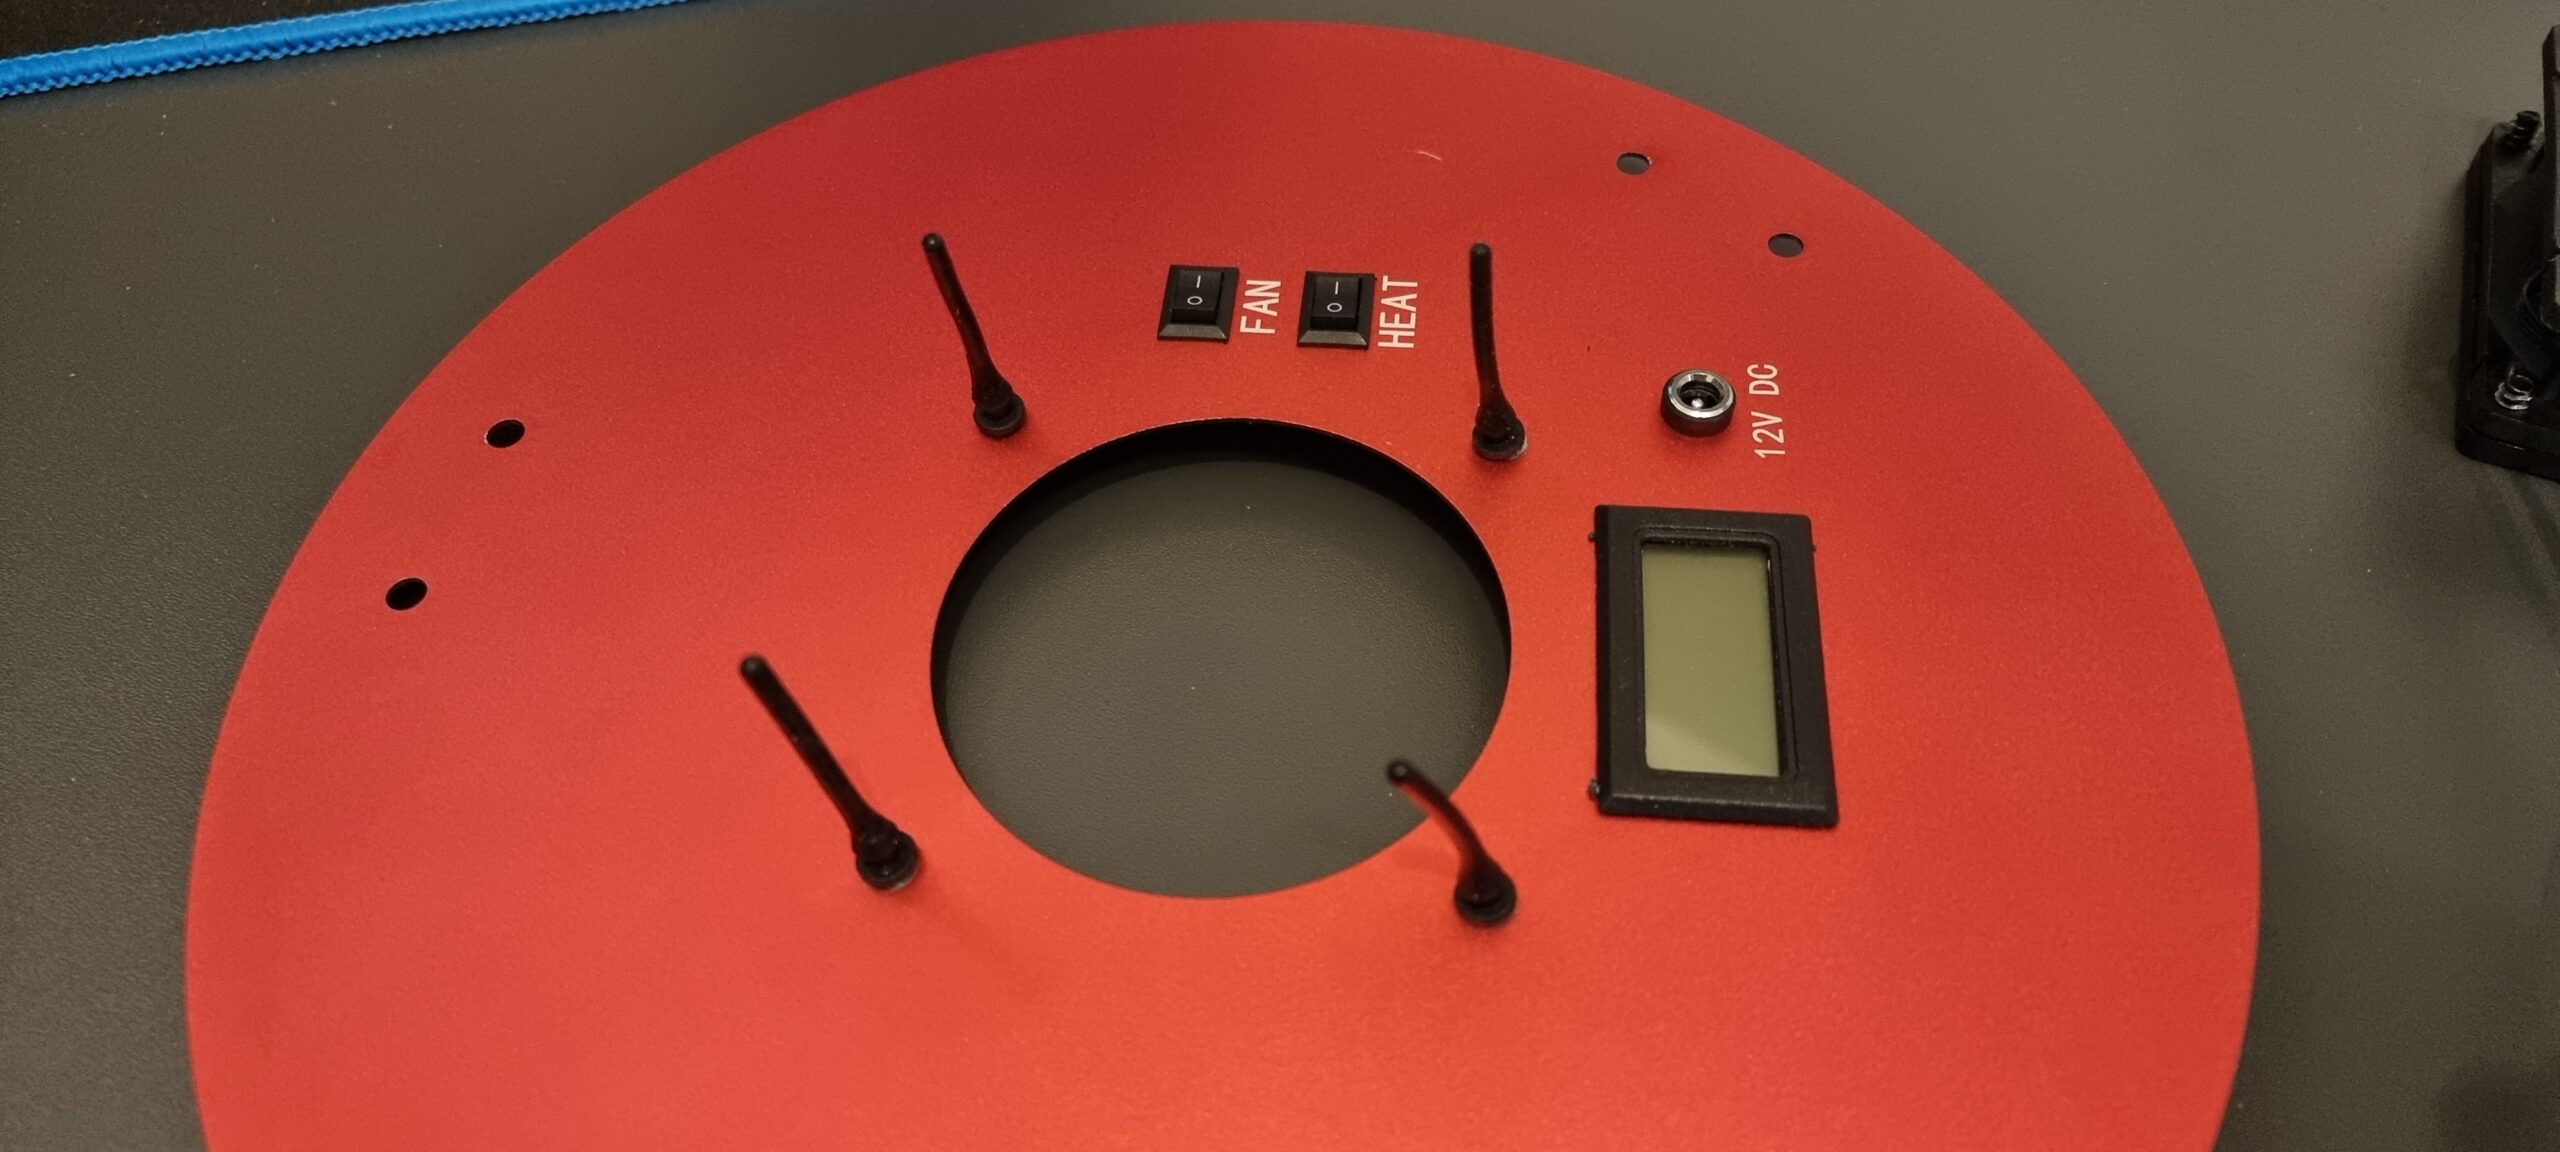
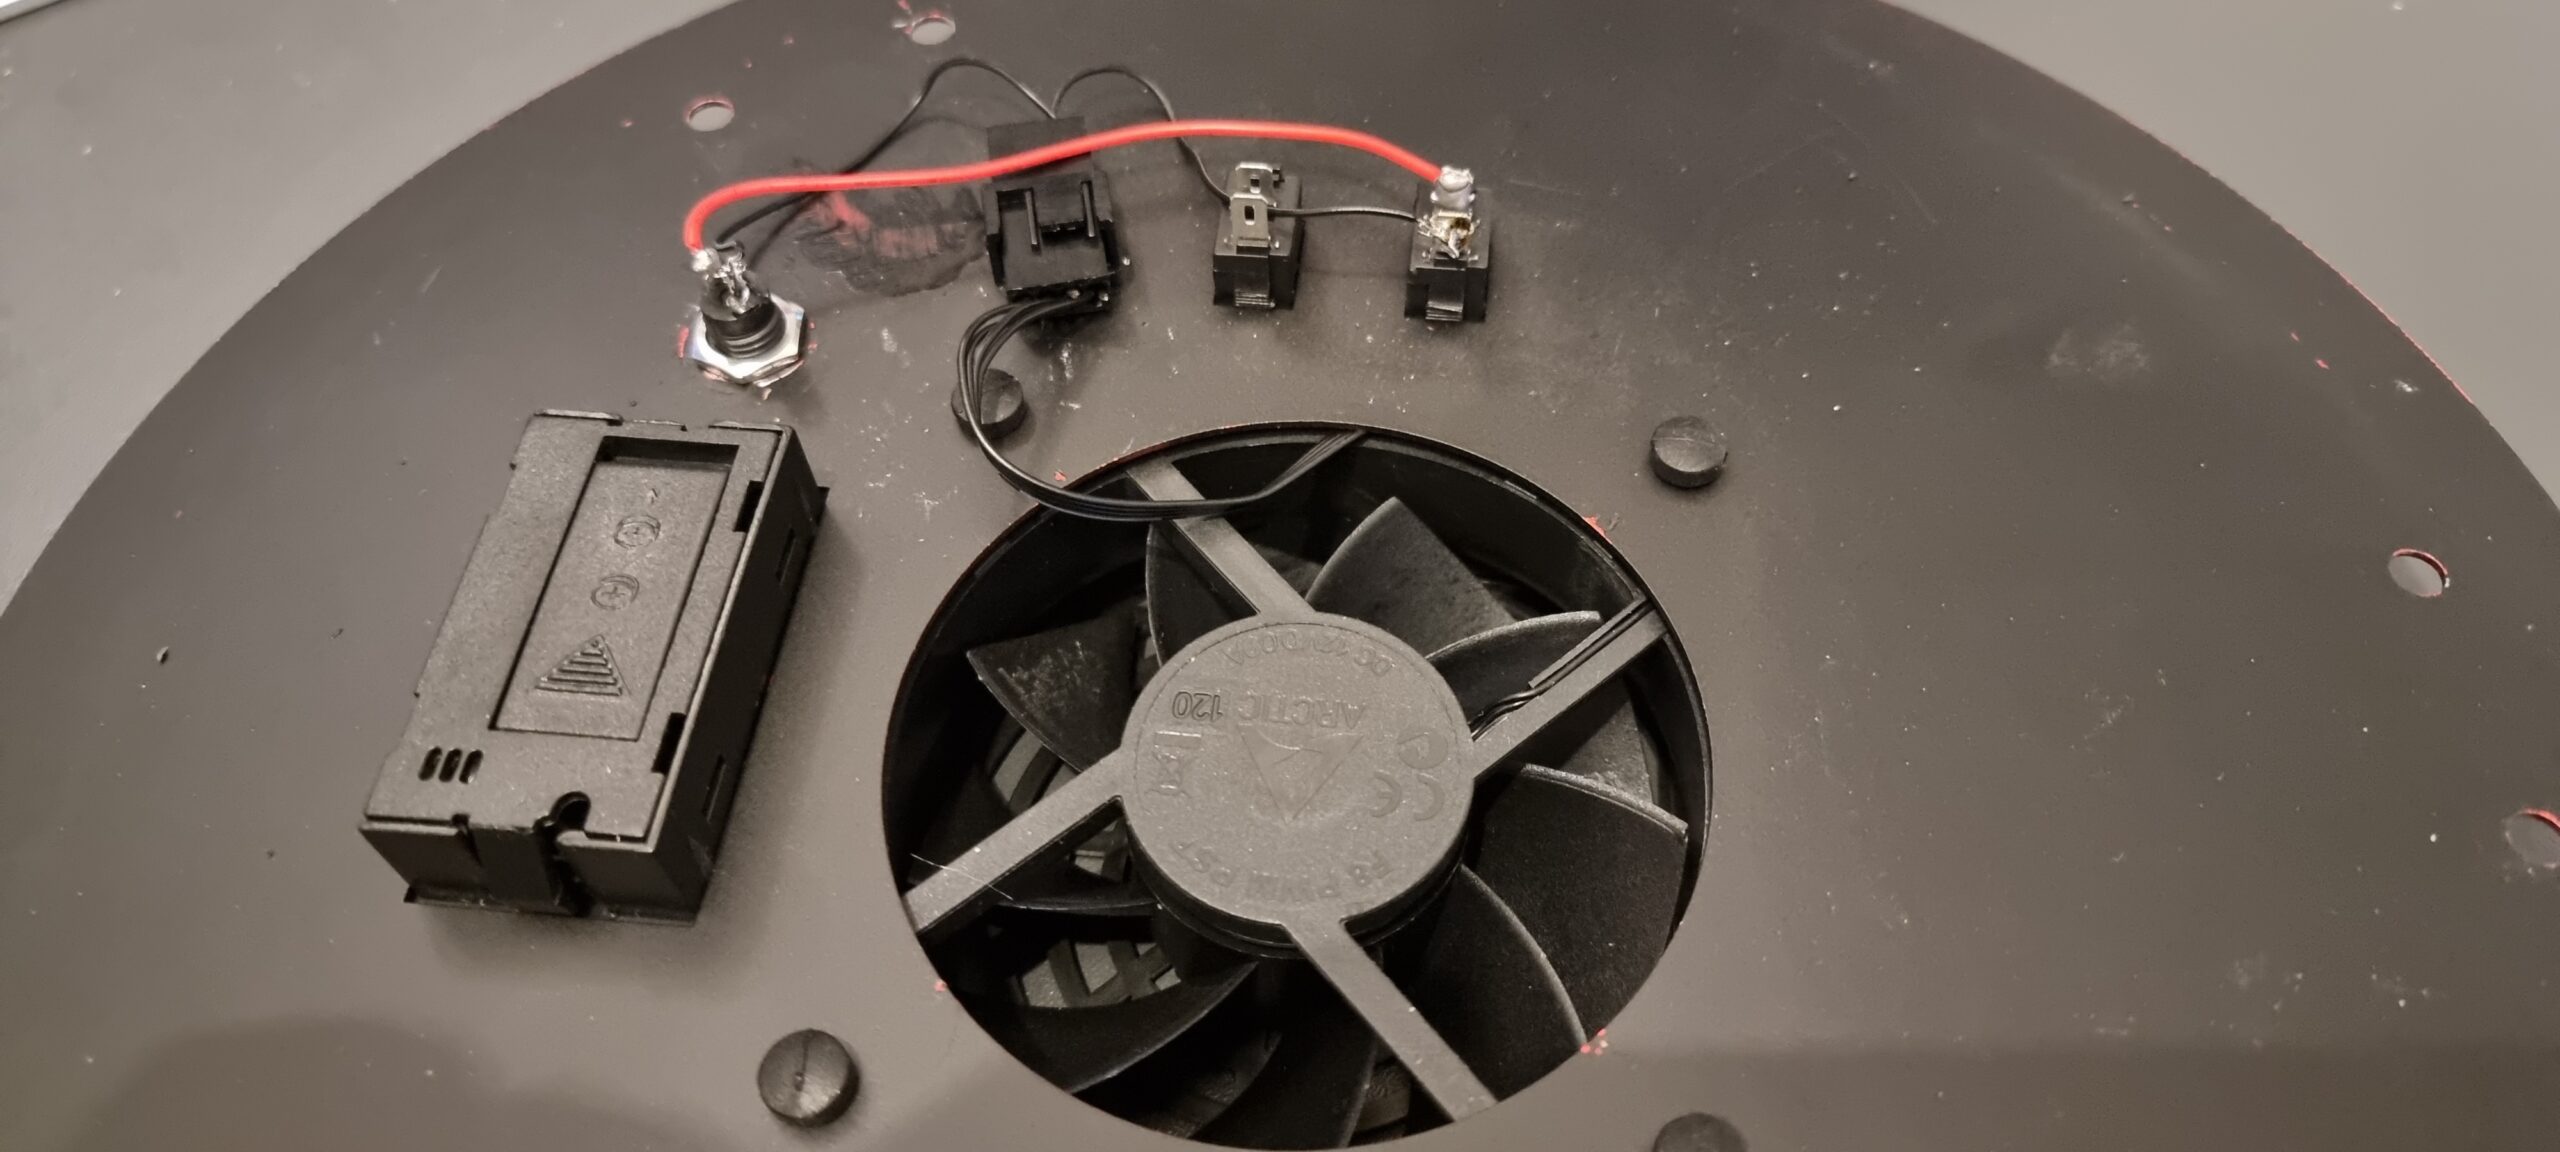
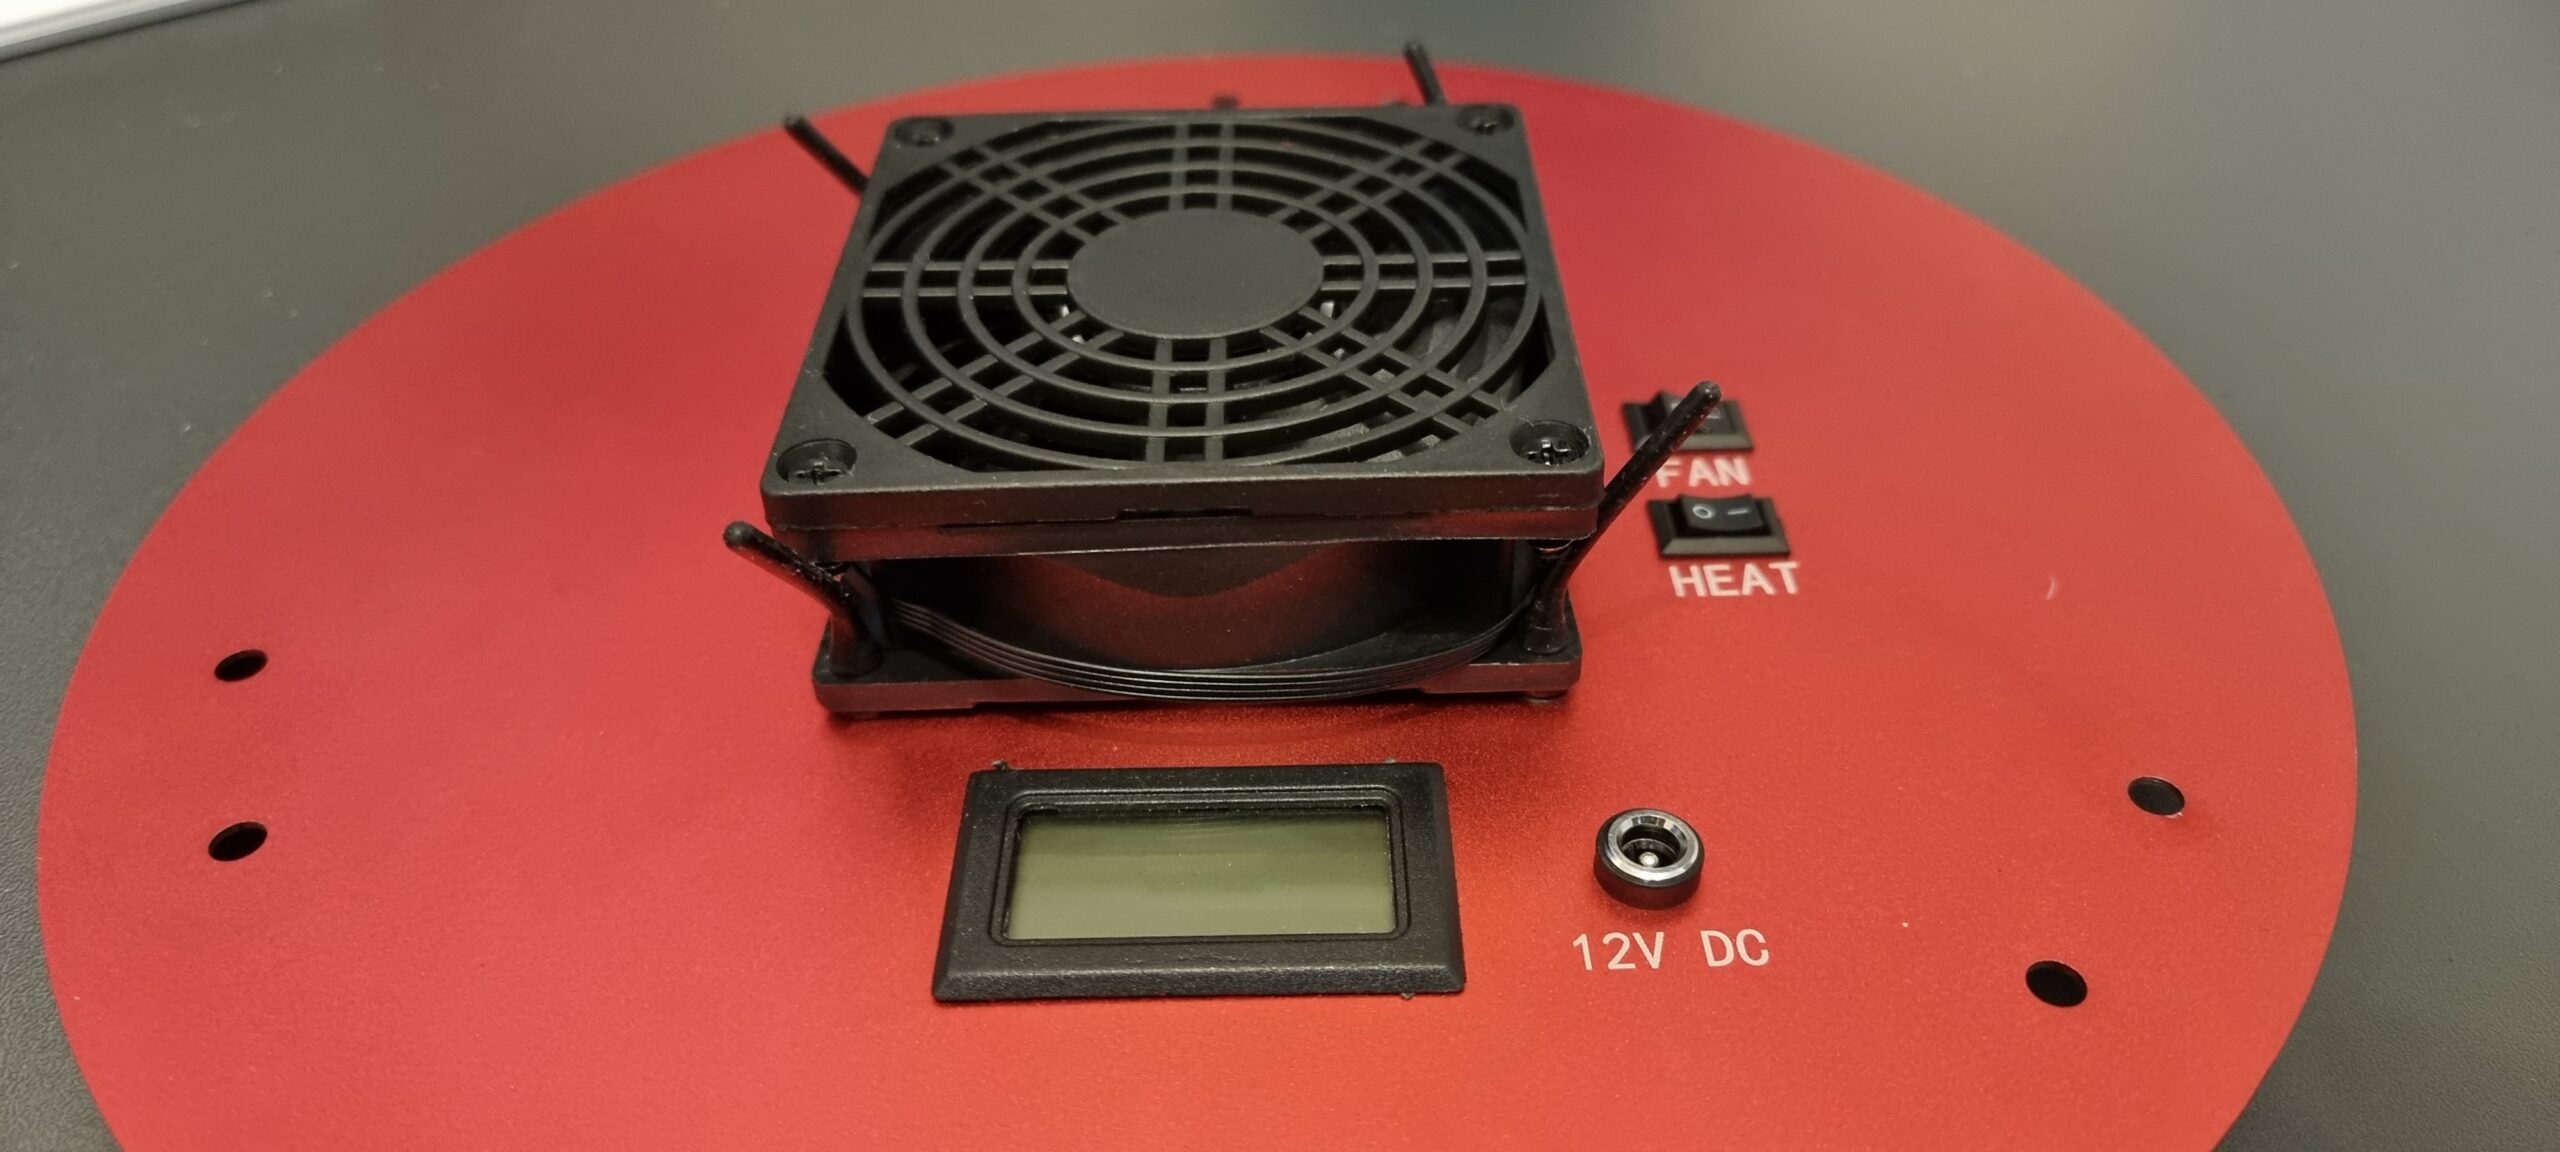
Once everything was back together, I mounted my Eagle4Pro onto the top bar, as well as added an extra long losmandy plate because I wanted the OTA as far forward as I could get it in order to have the camera in the right location without it hitting the mount at all.
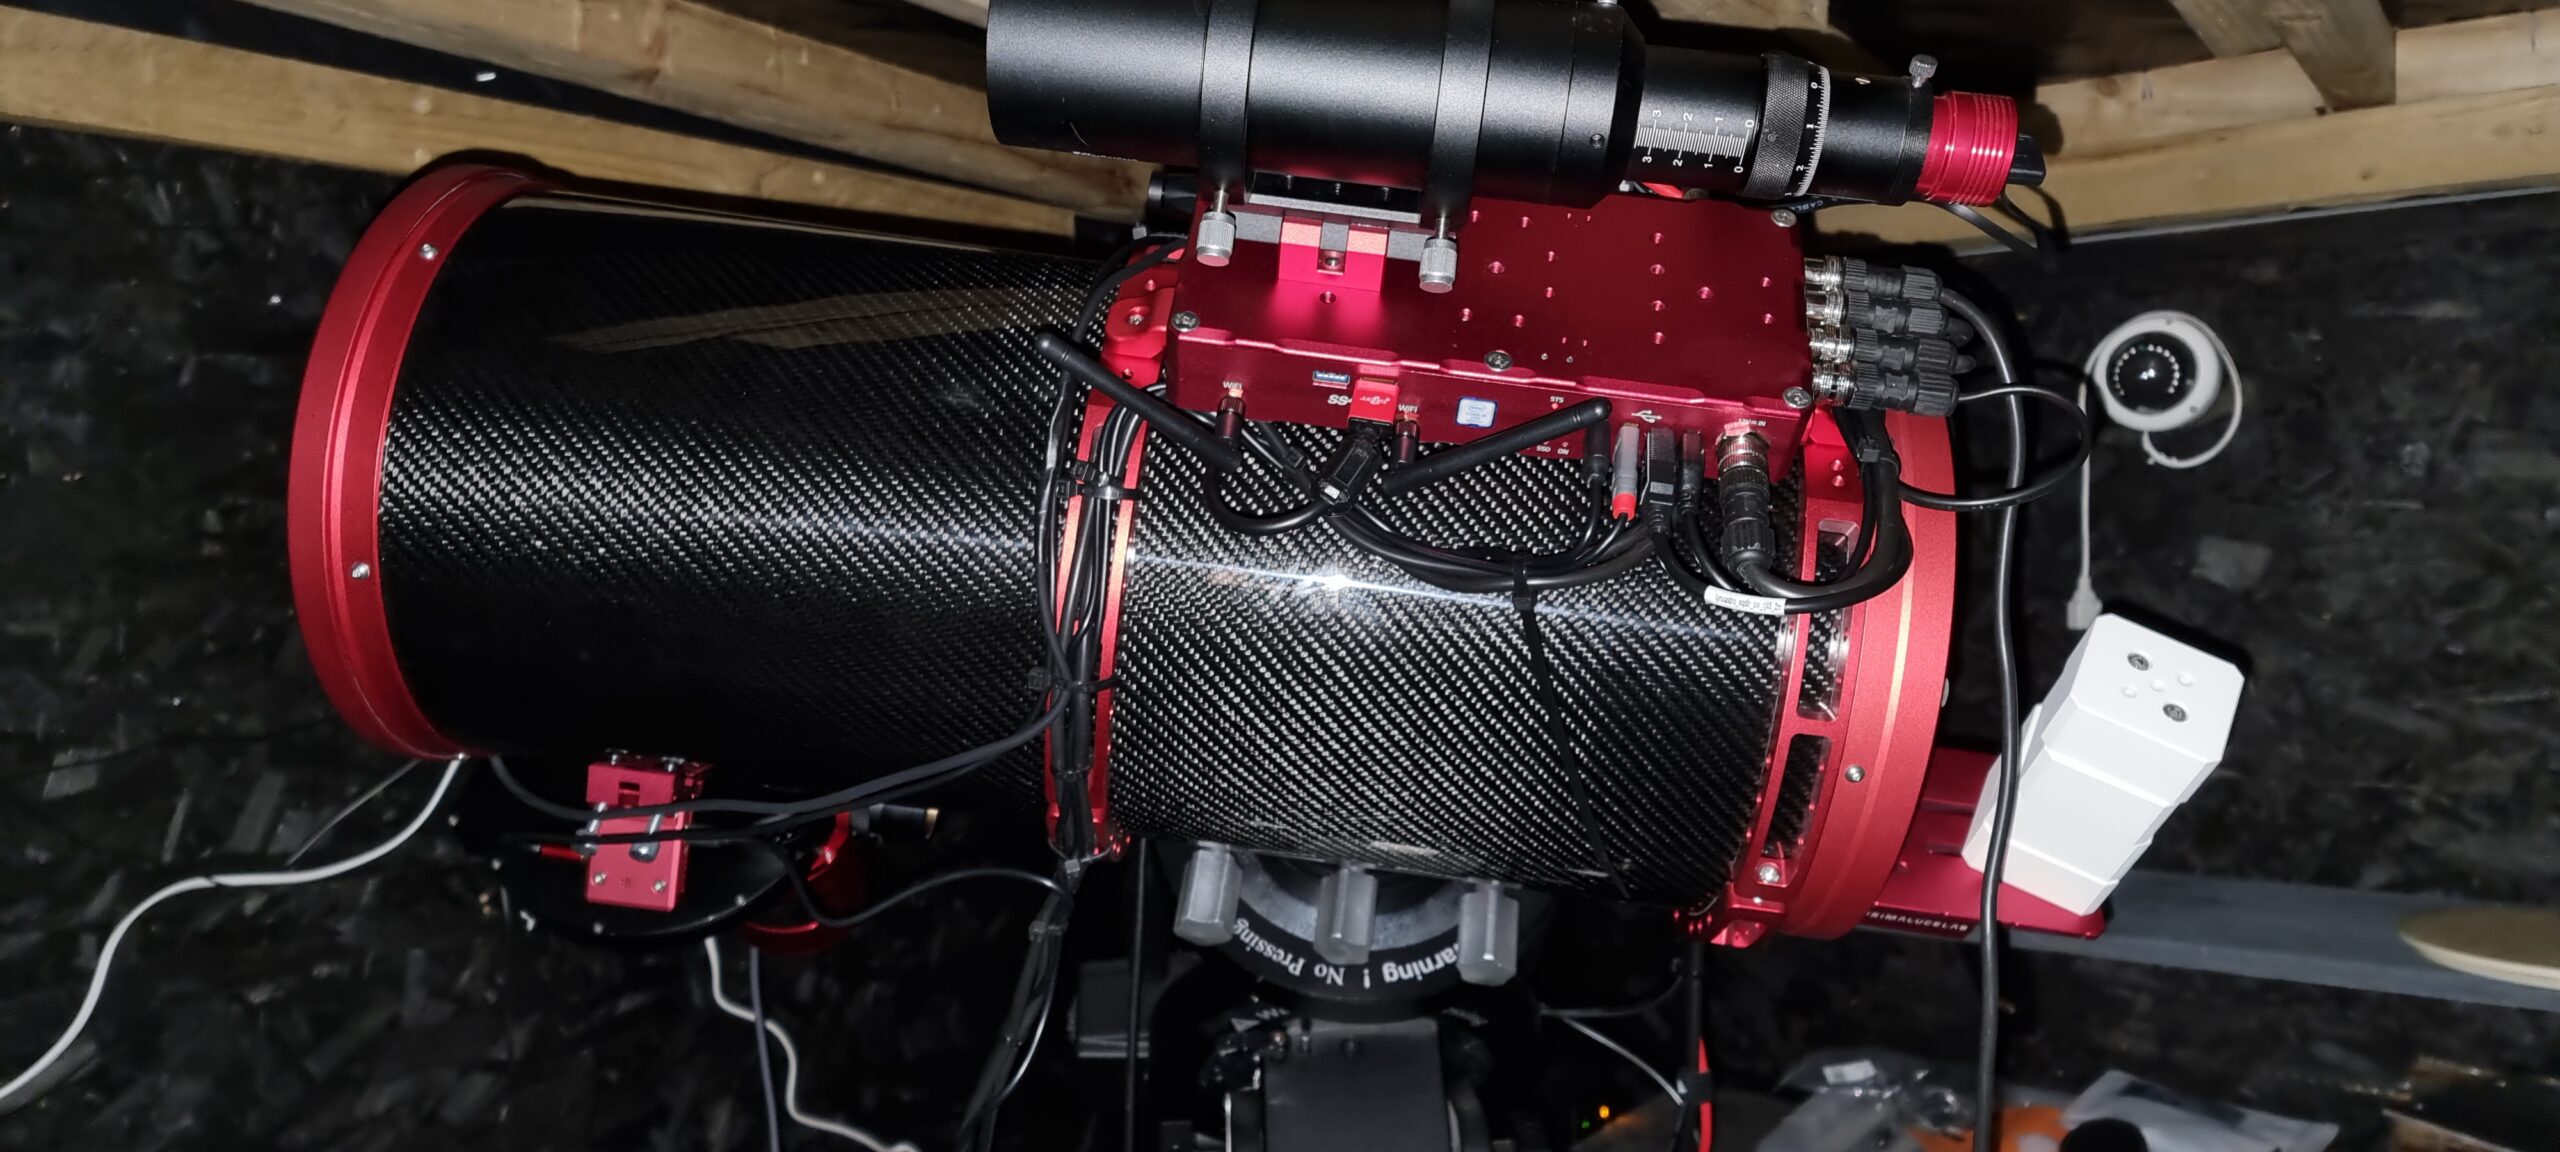
My first set of image testing did not go so well. My previous 15028HNT did not protrude above the walls of the observatory, so despite the fact that the secondary mirrors on both scopes are right up at the top of the tube, the 20032PNT was picking up stray light from my neighbour, so I had to adopt a dew shield that would extend the OTA by around 5 inches:

Flats
I first started to have issues with my flats that was taken with a flat panel, the flat frames would “Overcorrect” the images, but one thing I noticed that there was a lot of vignetting happening. Sky flats seemed to work better, but I was not happy with the vignetting. Now since I am using a full frame sensor on the ASI6200MM Pro, and the scope supports full frame, I was a little intrigued as to why I was getting so much vignetting, you can see from the master flat below that there was indeed a significant amount of vignetting.

I did some calculations and found what my problem was. Since my camera is full frame, it has a diameter of 44mm. The M54 connector on the telescope is 55mm away from the sensor, so a simple equation tells me that my light cone is larger than the M54 connector:
Sensor diameter + (distance from sensor / focal ratio)
44 + (55/3.2) =61.1875mm
The internal diameter of the M54 connector is around 51mm, so the light cone was being restricted by around 10mm. So I had a custom M68 to M54 adapter made which is 28.5mm in length, the reason for this is because the backfocus from the M68 connector is 61mm, so if we apply our formula:
44 + (61/3.2) = 63.06mm, this is way below the internal diameter of the M68 connector male thread, so vignetting should be minimised. Now because I do have some M54 in my image train, I know I would not completely elliminate vignetting and this is why, using the above formula, we can work out the light cone at varying part of the imaging train:
12.5mm (EFW mating to camera) = 47.9mm
18mm (50.4mm Filters distance from sensor) = 49.62mm
32.5mm (Light entrance to EFW distance from sensor) = 54.15mm
As you can see, I should expect some vignetting to occur because the light cone at the EFW M54 connector (with around 51mm internal) is 54.15mm, so I would be clipping the light cone slightly, but the result is as follows, again red filter, you can see that the vignetting is significantly reduced:

Collimation was done using the exact same process I used on the 15028HNT, you can read the guide here.
Conclusion:
SharpStar have again produced an outstanding quality astrograph, with a massive focuser to take on the largest of imaging trains, as well as finishing off the product with high quality annodised OTA rings. I am extremely happy with the performance of the telescope, below is my first image which happens to be a 2 panel mosaic:

Backfocus information:
M42 connector: 53mm
M54 connector: 55mm
M68 connector: 61mm
Focal Length (With Reducer/Corrector): 640mm
Focal Ratio: F3.2
Newtonian Type: Paraboloid
Focuser Size: 3″
The only complaint I have is with regards to the fan, which I have made a suggestion to SharpStar on that. Good job again SharpStar!

