Tag Archives: Paraboloid

Heart and Soul 3 Panel Mosaic

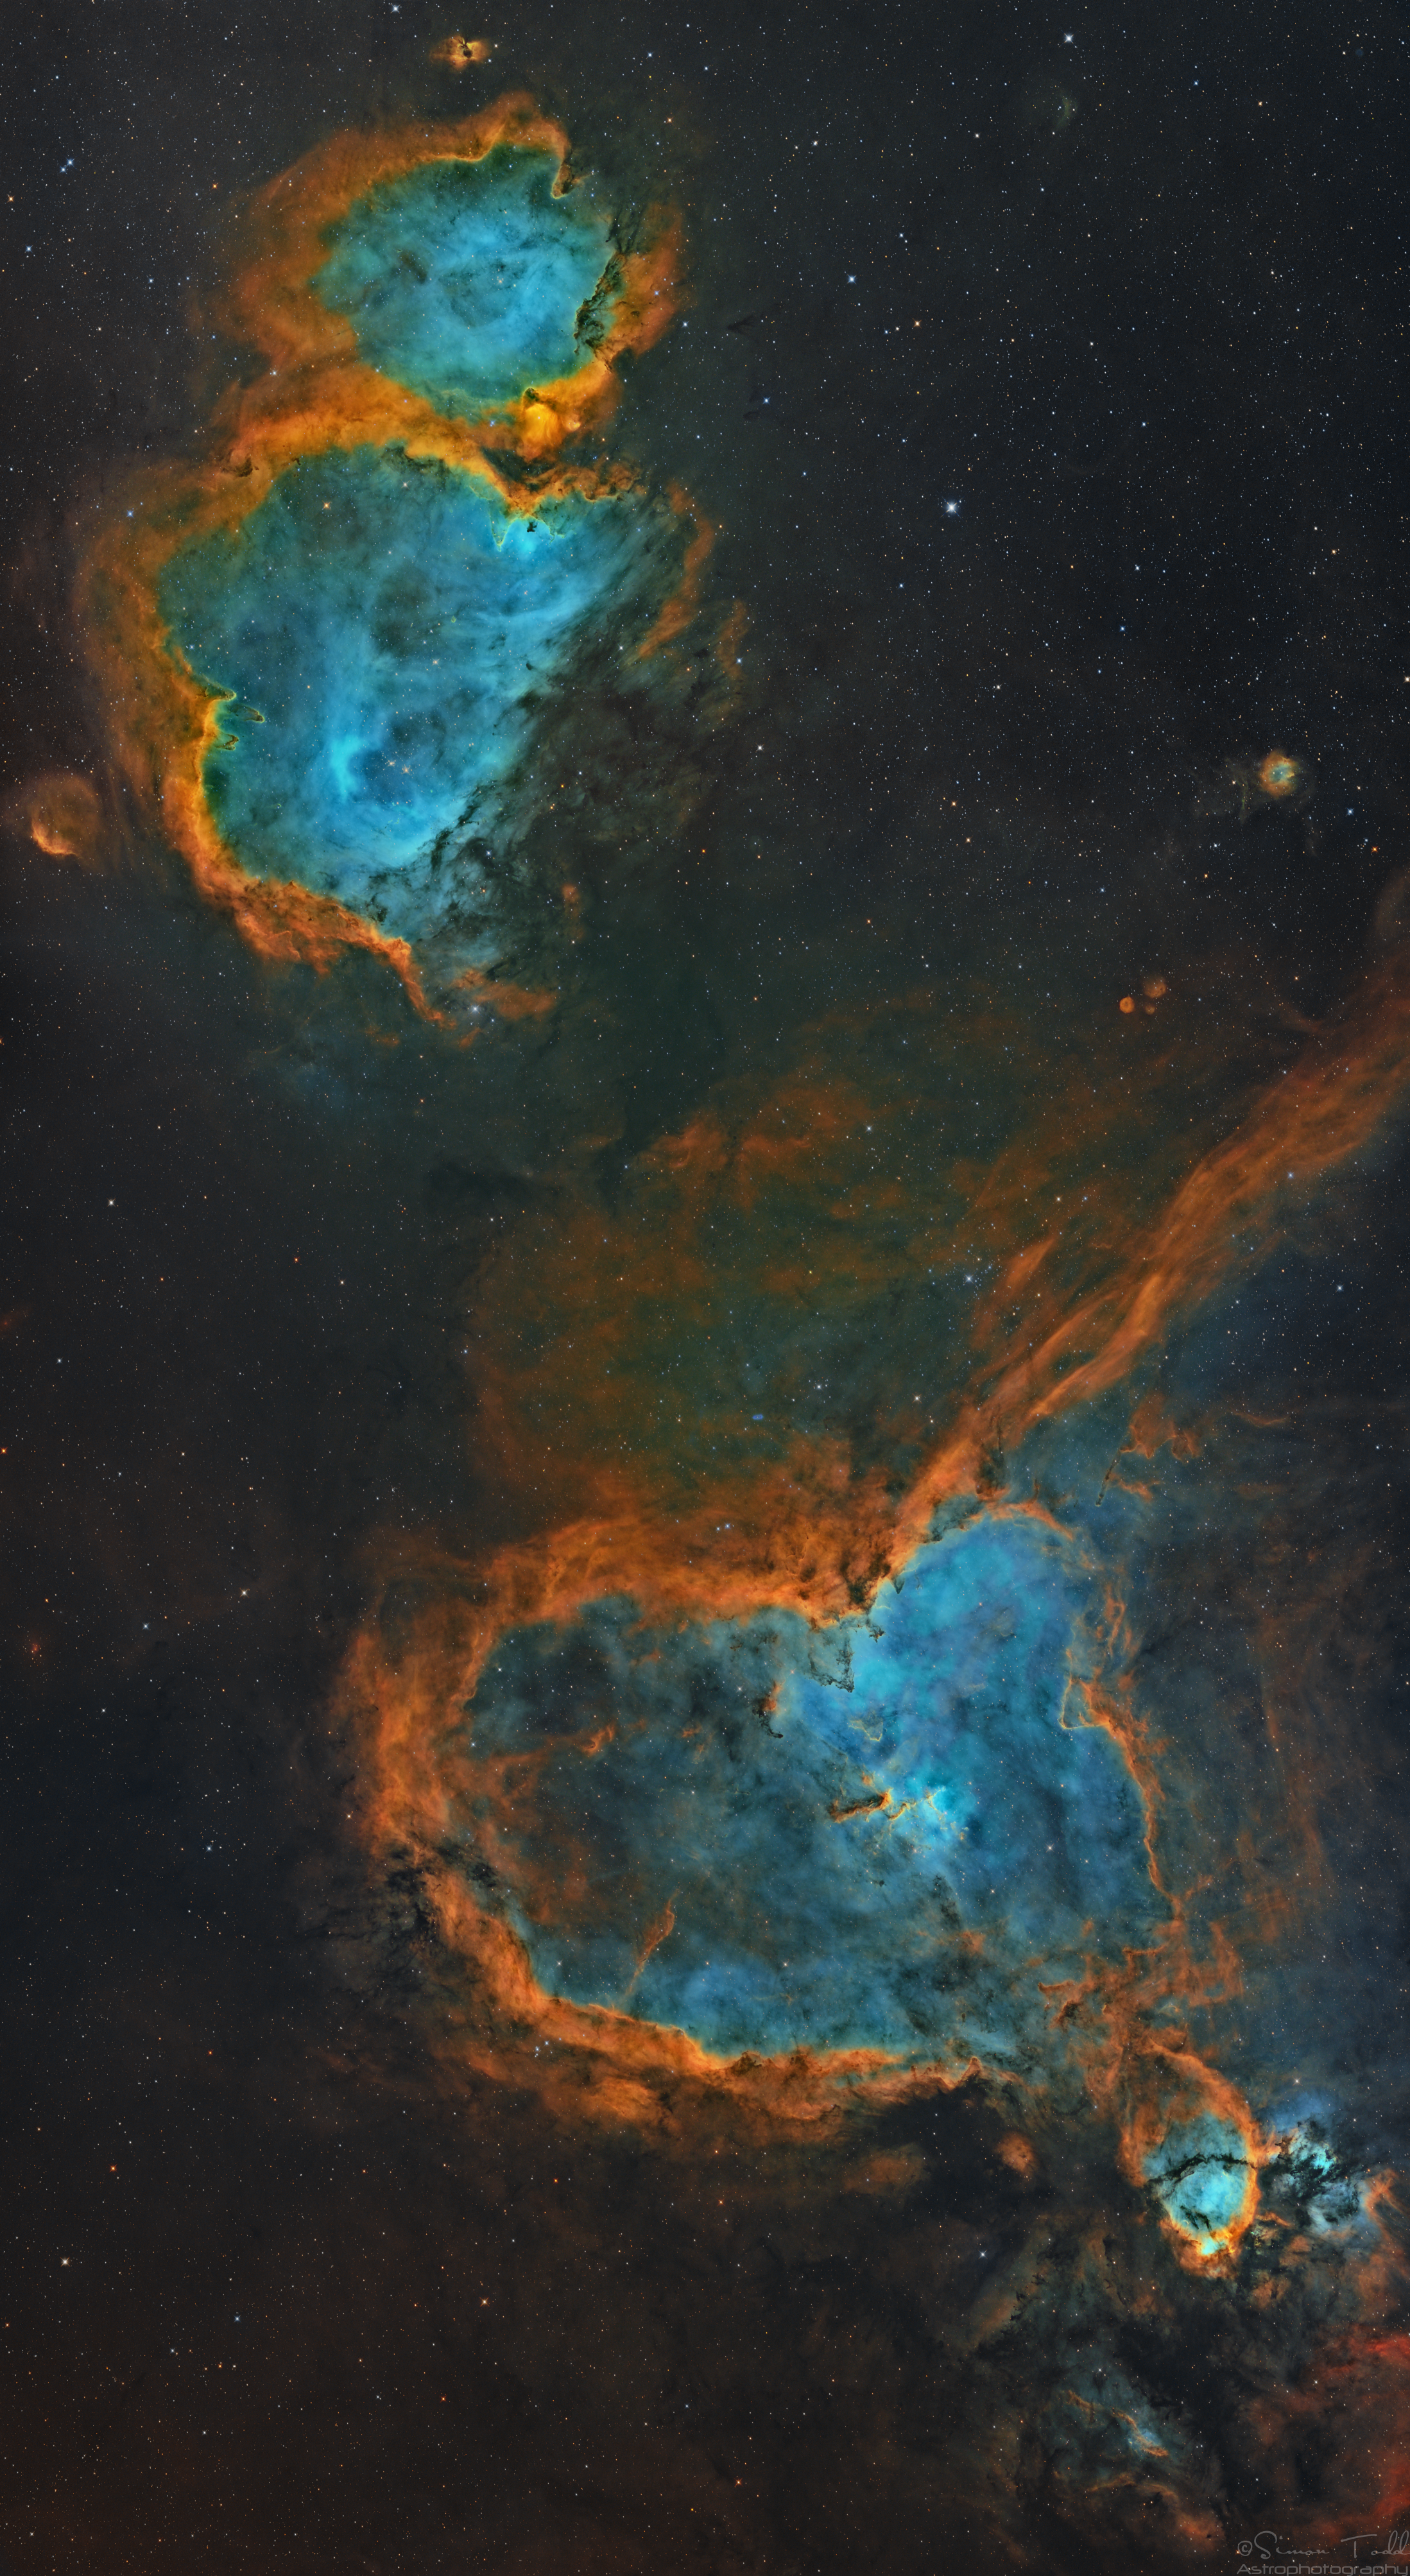
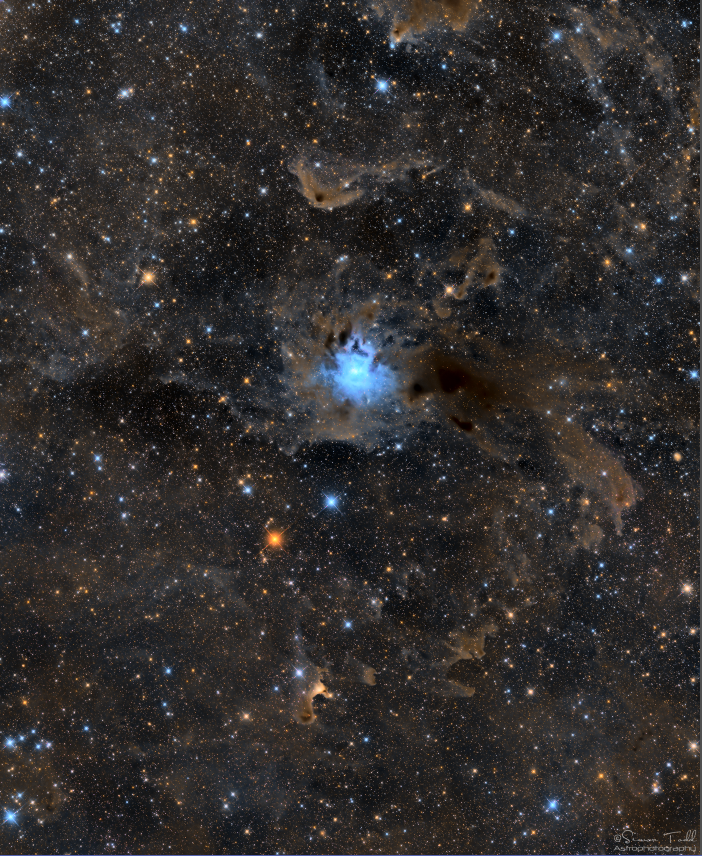
In the boundless theatre of the night sky, a spectacle of cosmic proportions gently unfolds. Here, through the unblinking eye of my camera, we witness the Heart and Soul Nebulae, celestial bodies of unimaginable scale and beauty. Captured in the vivid hues of the Hubble Palette, this image is the culmination of over 68 hours of patient vigil over the course of six months, a testament to the relentless march of time and space.

The Heart Nebula, known as IC 1805, and its companion, the Soul Nebula, IC 1848, are more than mere clusters of gas and dust. They are incubators of stars, cosmic nurseries where new celestial lives begin. Nestled within is the charmingly named Fish Head Nebula, a smaller star-forming region within this grand cosmic landscape.

Each pixel of this mosaic is a story, a tiny fragment of the universe’s narrative, captured through the artful blend of sulfur, hydrogen, and oxygen emissions. As we gaze upon this image, we are not merely observers but voyagers, embarking on an odyssey across the galaxy. It invites us to ponder our place in this magnificent universe, a reminder of both our insignificance and our profound connection to the cosmos.

In the grand scheme of things, this image is but a fleeting glimpse into the eternal dance of the cosmos. It is a humble offering to the beauty and complexity of the universe, a universe that continues to captivate and inspire us with its endless mysteries.

Catalog Names:
IC 1805 (Heart Nebula)
IC 1848 (Soul Nebula)
Fish Head Nebula (Part of the Heart Nebula)

Acquisition Dates:
16 May 2023, 17 May 2023, 20 May 2023, 21 May 2023, 25 May 2023, 26 May 2023, 27 May 2023, 28 May 2023, 15 Jun 2023, 16 Jun 2023, 24 Jun 2023, 25 Jun 2023, 26 Jun 2023, 13 Jul 2023, 16 Jul 2023, 17 Jul 2023, 19 Jul 2023, 20 Jul 2023, 25 Jul 2023, 26 Jul 2023, 6 Aug 2023, 7 Aug 2023, 9 Aug 2023, 10 Aug 2023, 17 Aug 2023, 20 Aug 2023, 22 Aug 2023, 5 Sep 2023, 9 Sep 2023, 15 Sep 2023, 23 Sep 2023, 29 Sep 2023, 8 Oct 2023, 9 Oct 2023, 14 Oct 2023, 15 Oct 2023, 6 Nov 2023, 7 Nov 2023, 10 Nov 2023, 11 Nov 2023, 14 Nov 2023, 15 Nov 2023, 19 Nov 2023, 20 Nov 2023, 22 Nov 2023, 24 Nov 2023, 25 Nov 2023

Frames:

Chroma H-alpha 3nm Bandpass 50 mm: 213×300″(17h 45′) (gain: 100.00) -10°C bin 1×1
Chroma OIII 3nm Bandpass 50 mm: 303×300″(25h 15′) (gain: 100.00) -10°C bin 1×1
Chroma SII 3nm Bandpass 50 mm: 303×300″(25h 15′) (gain: 100.00) -10°C bin 1×1

To see the image in all its glory, use the link

Equipment:
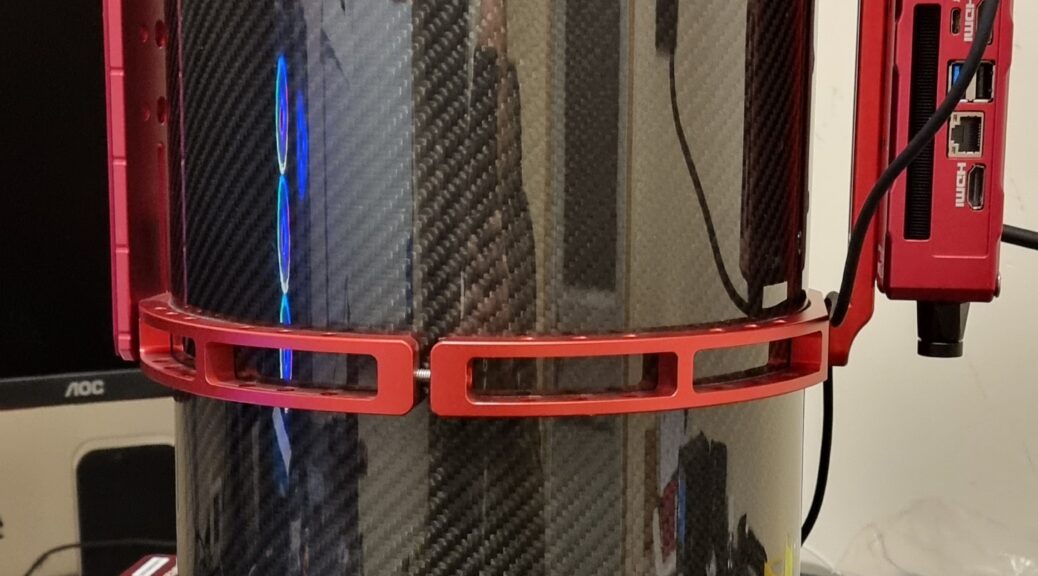
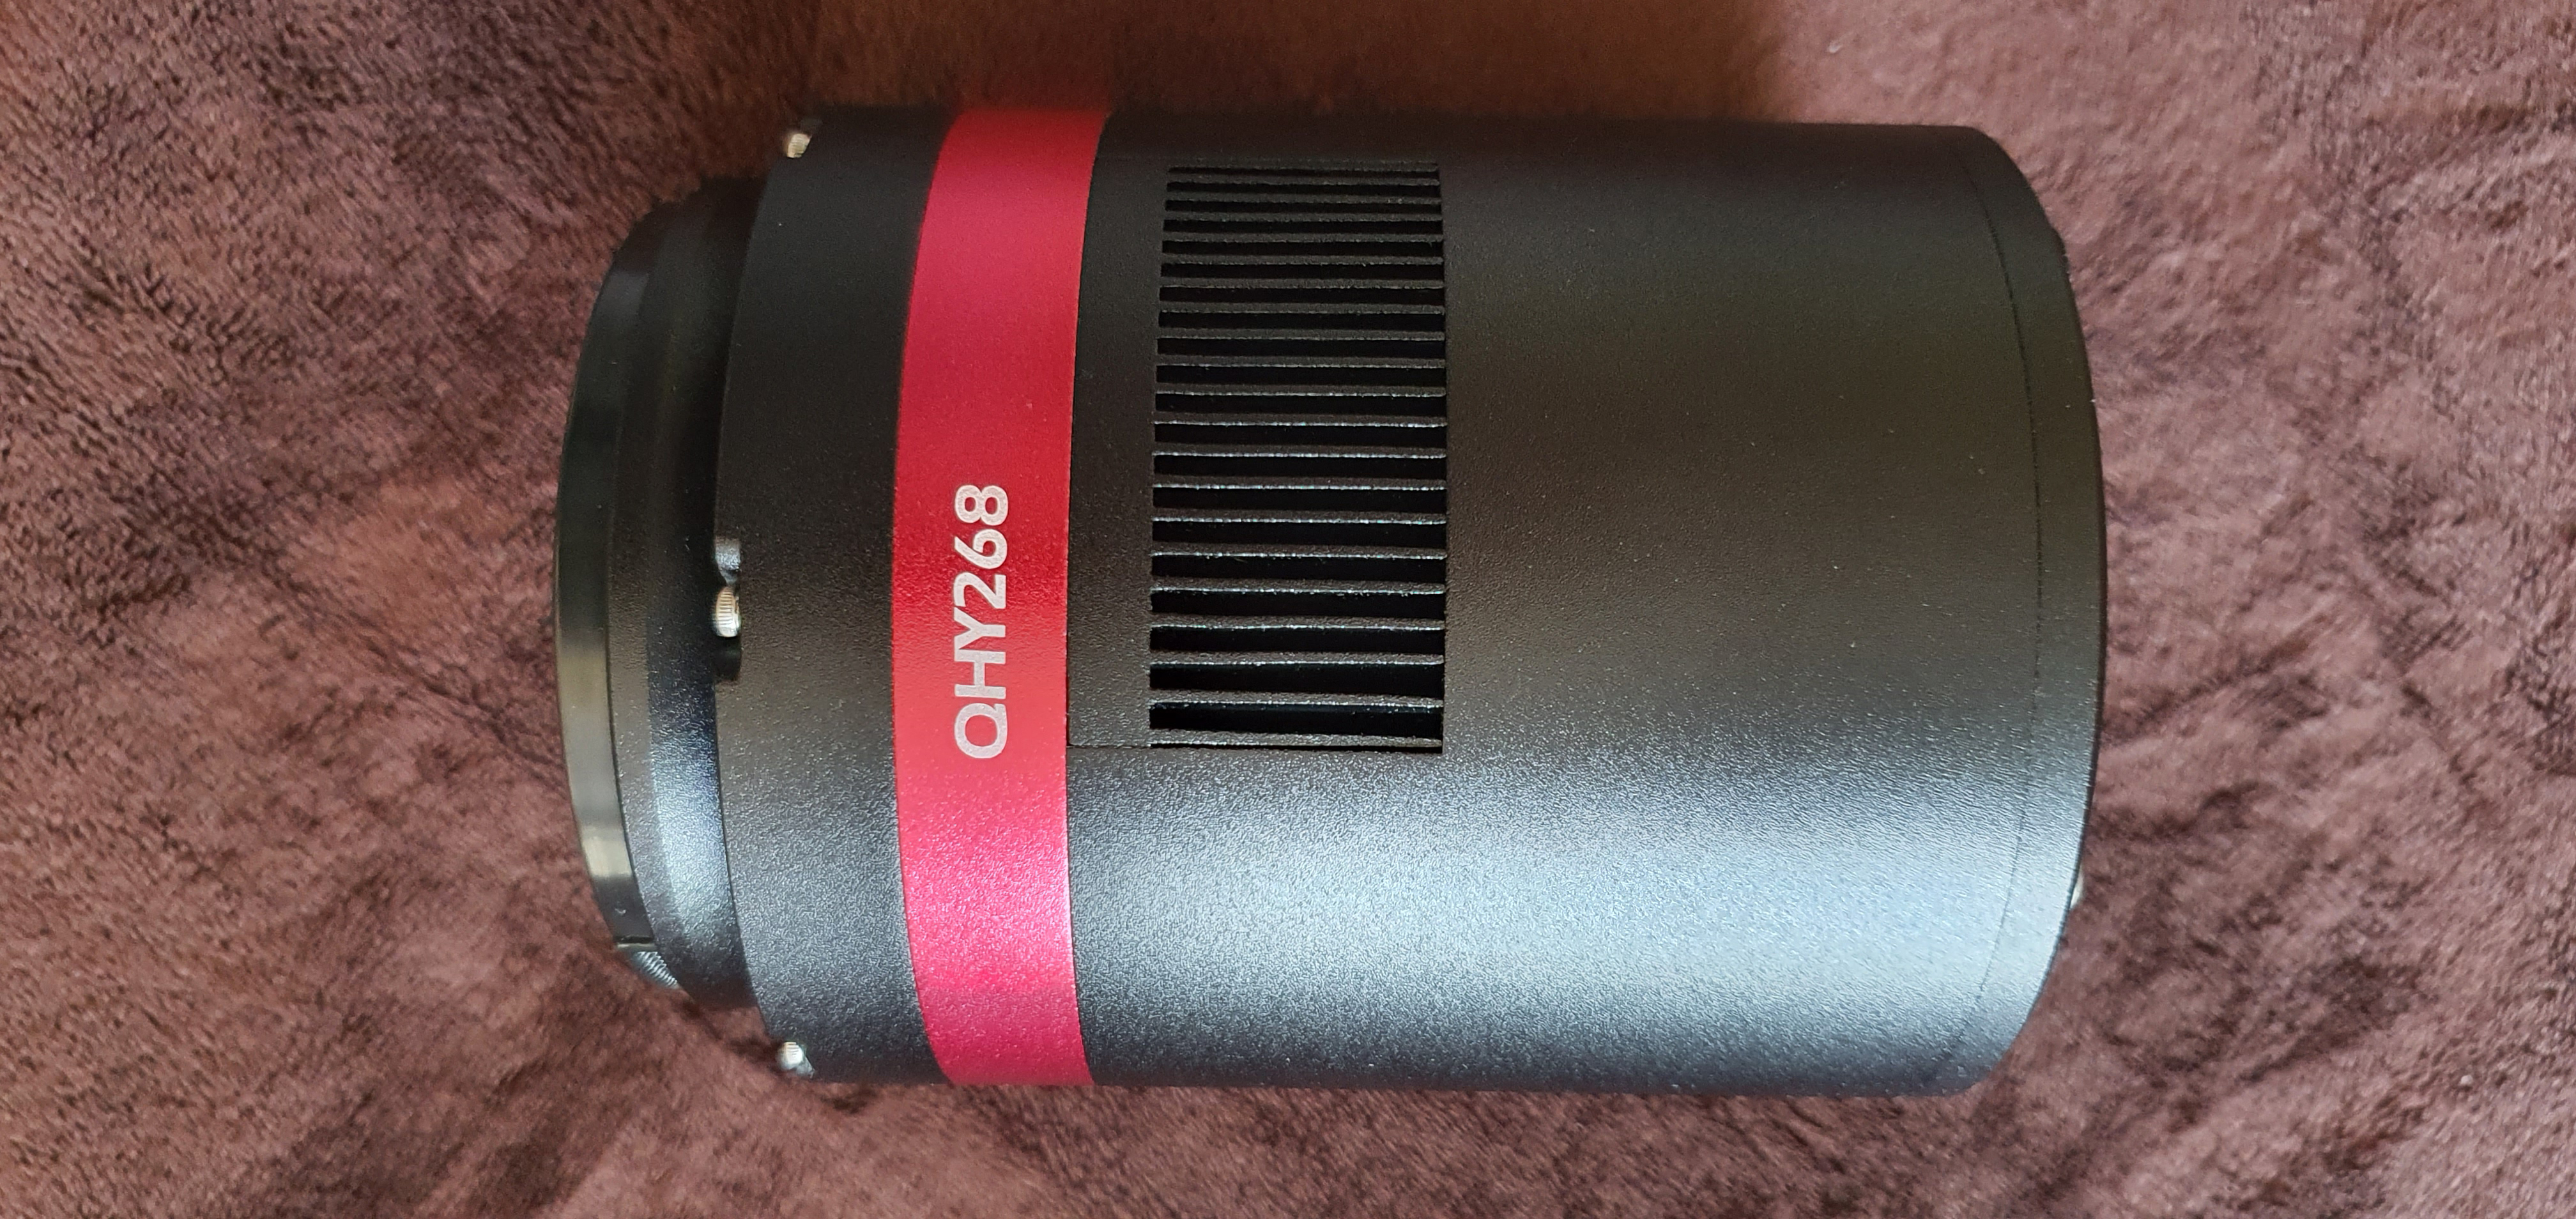
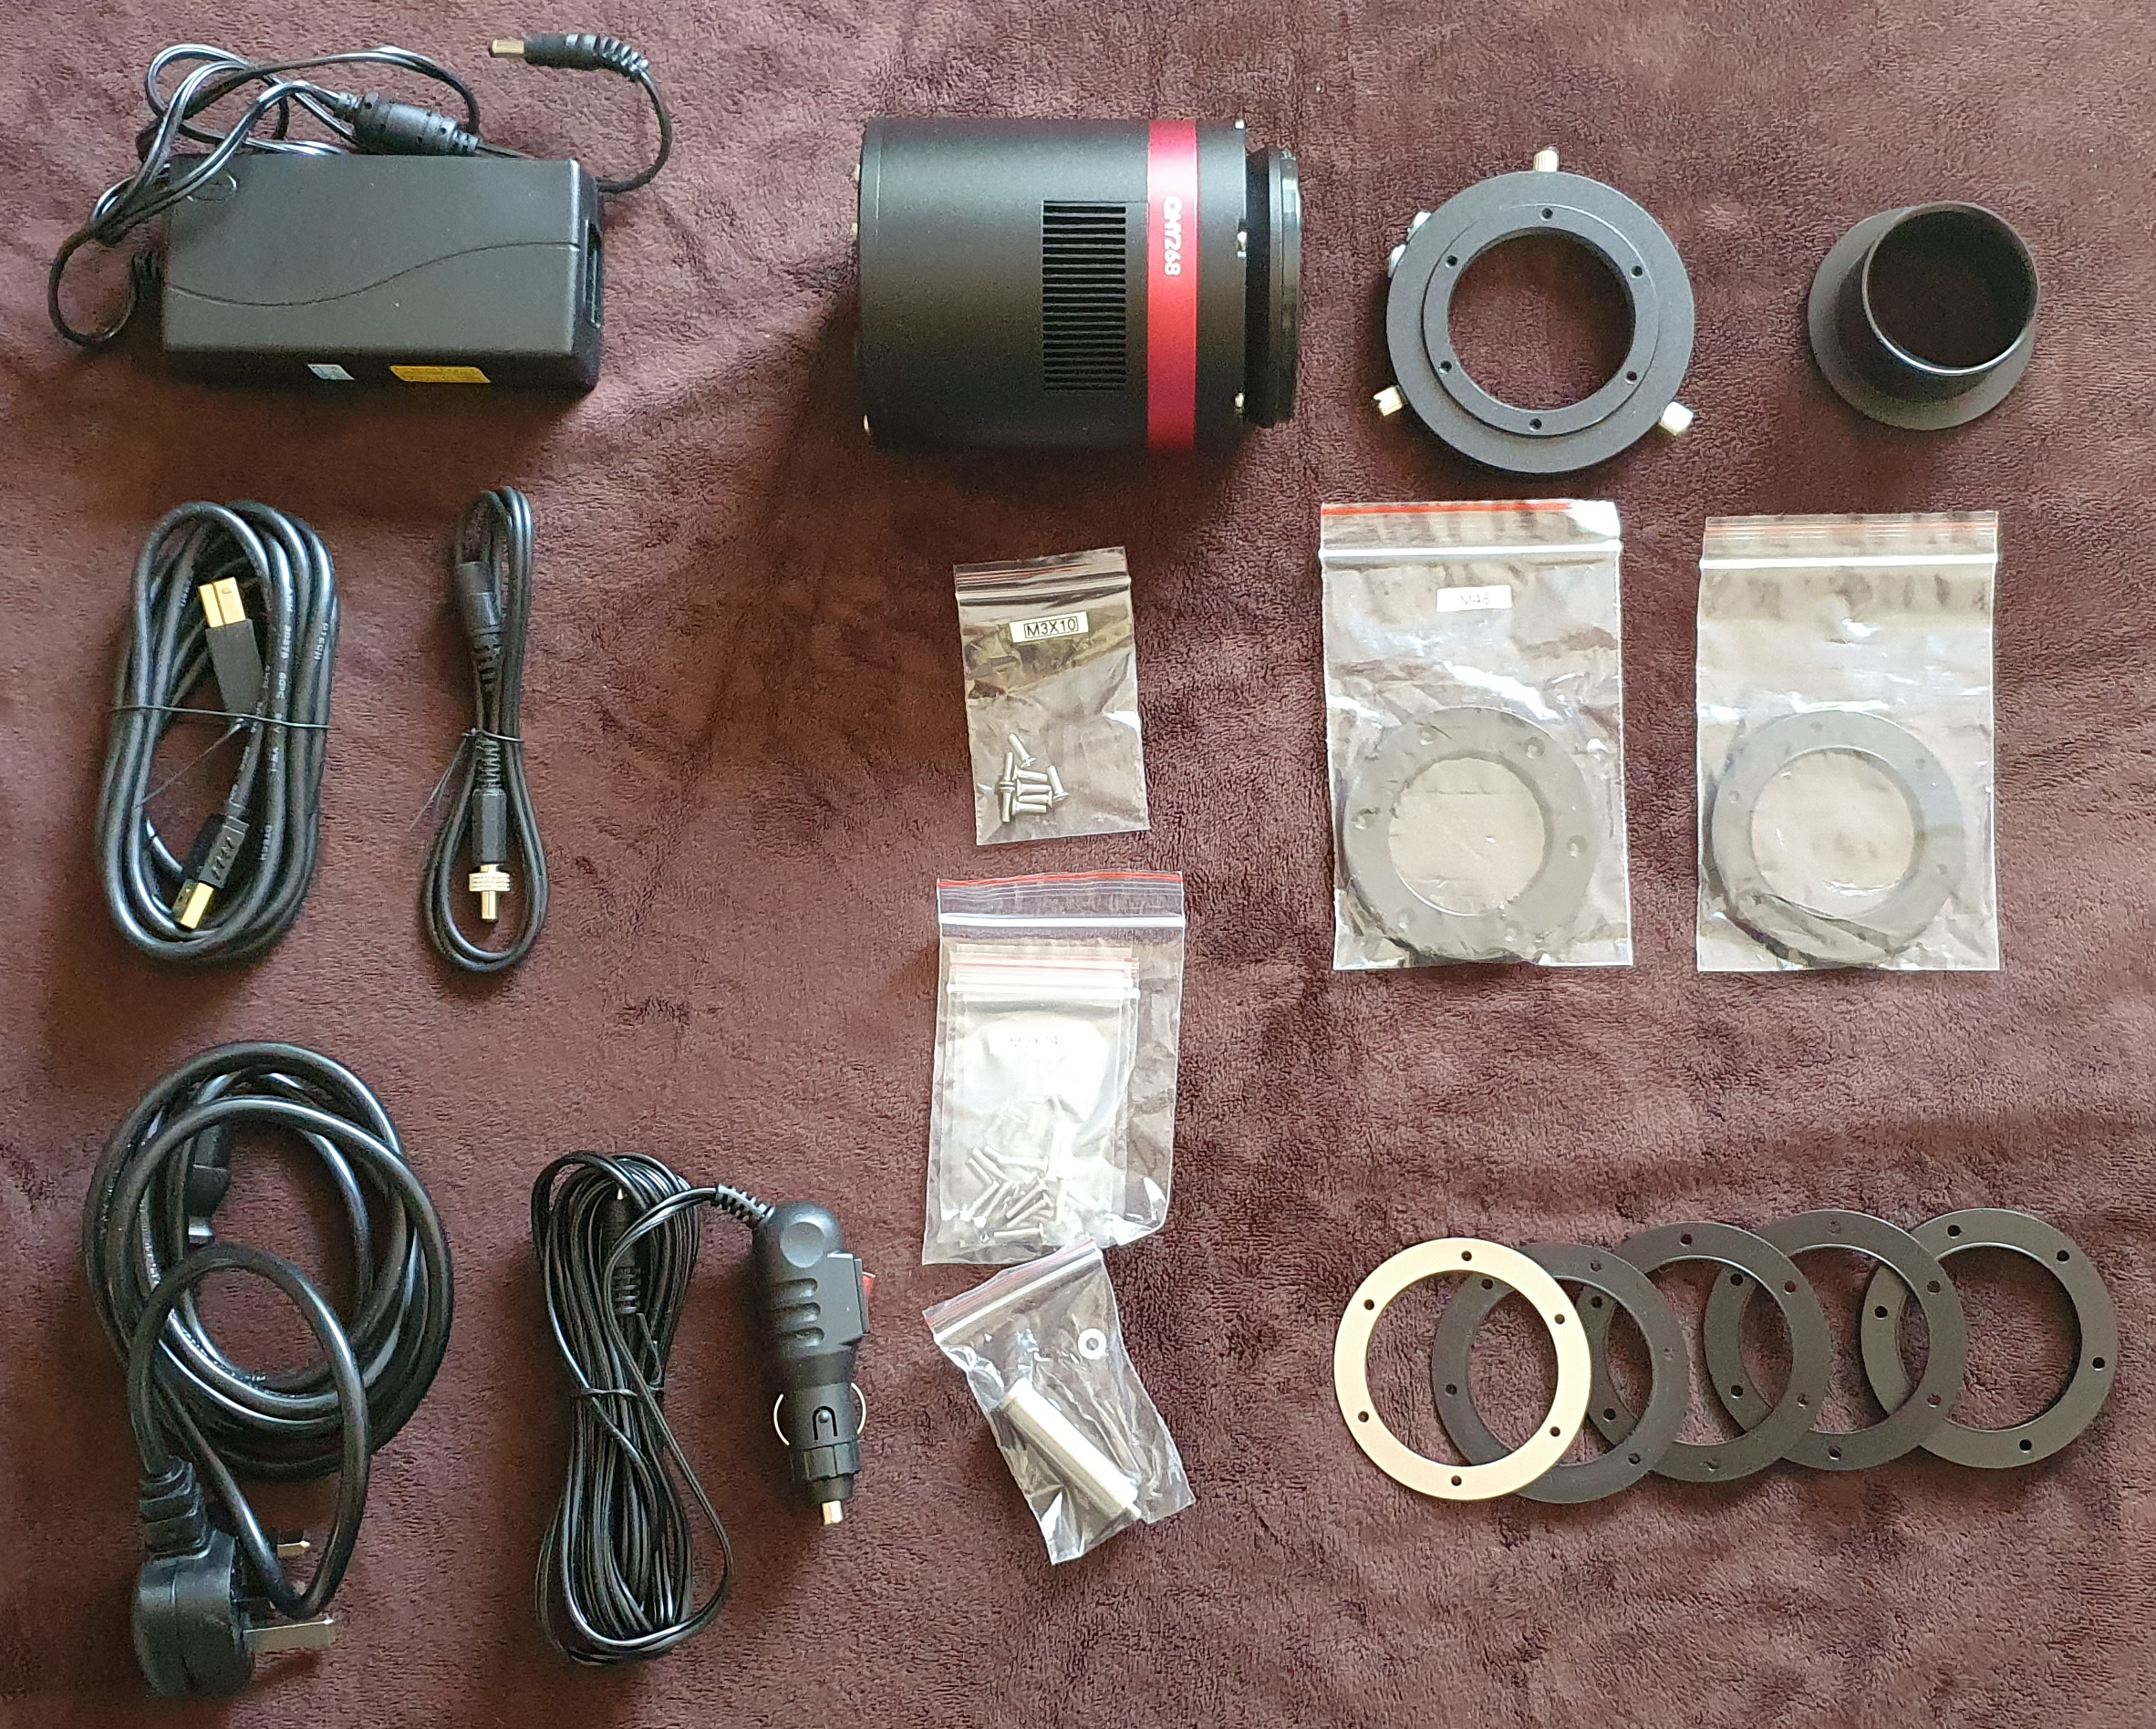
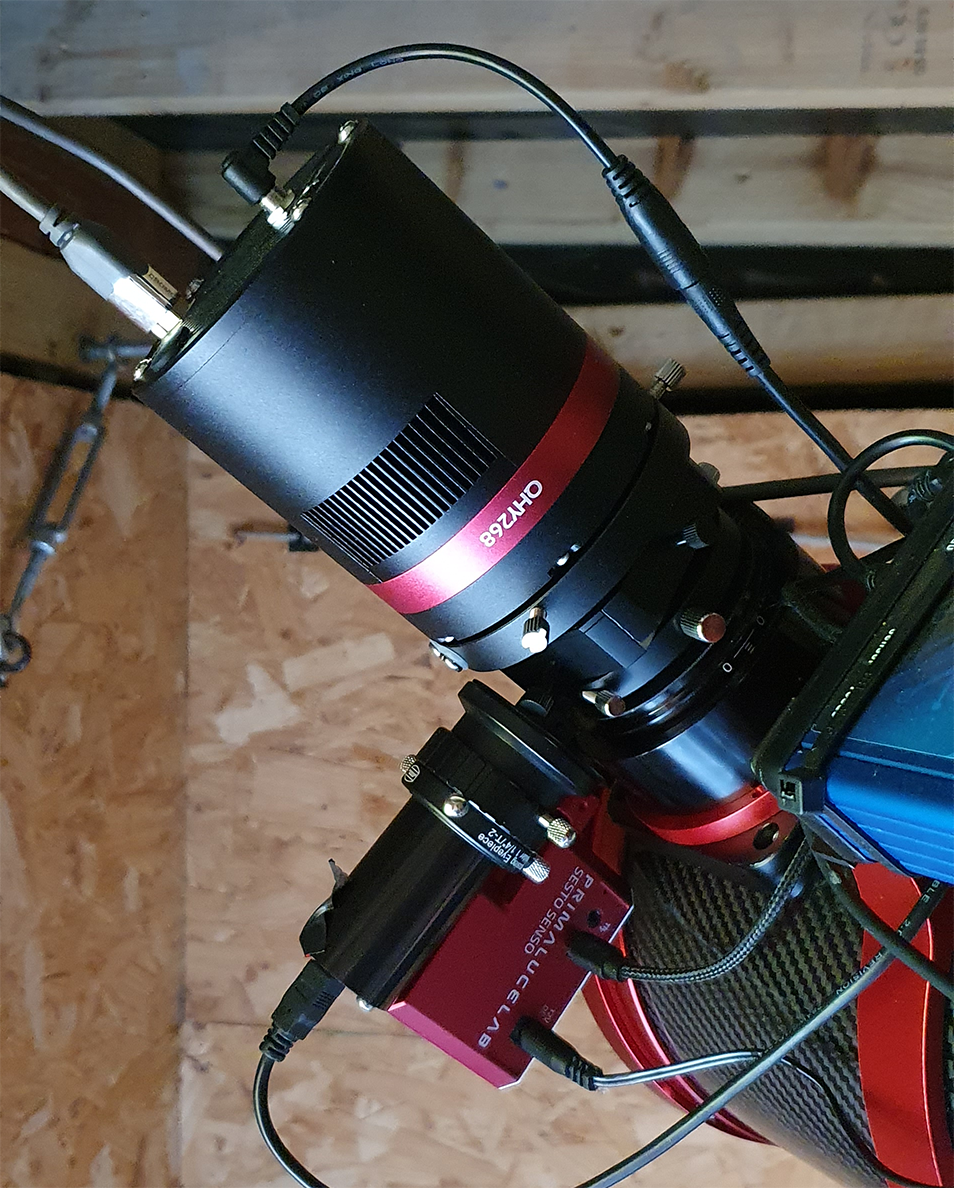
Imaging Camera: ZWO Astronomy Cameras ASI6200MM Pro Gain 100 -10C
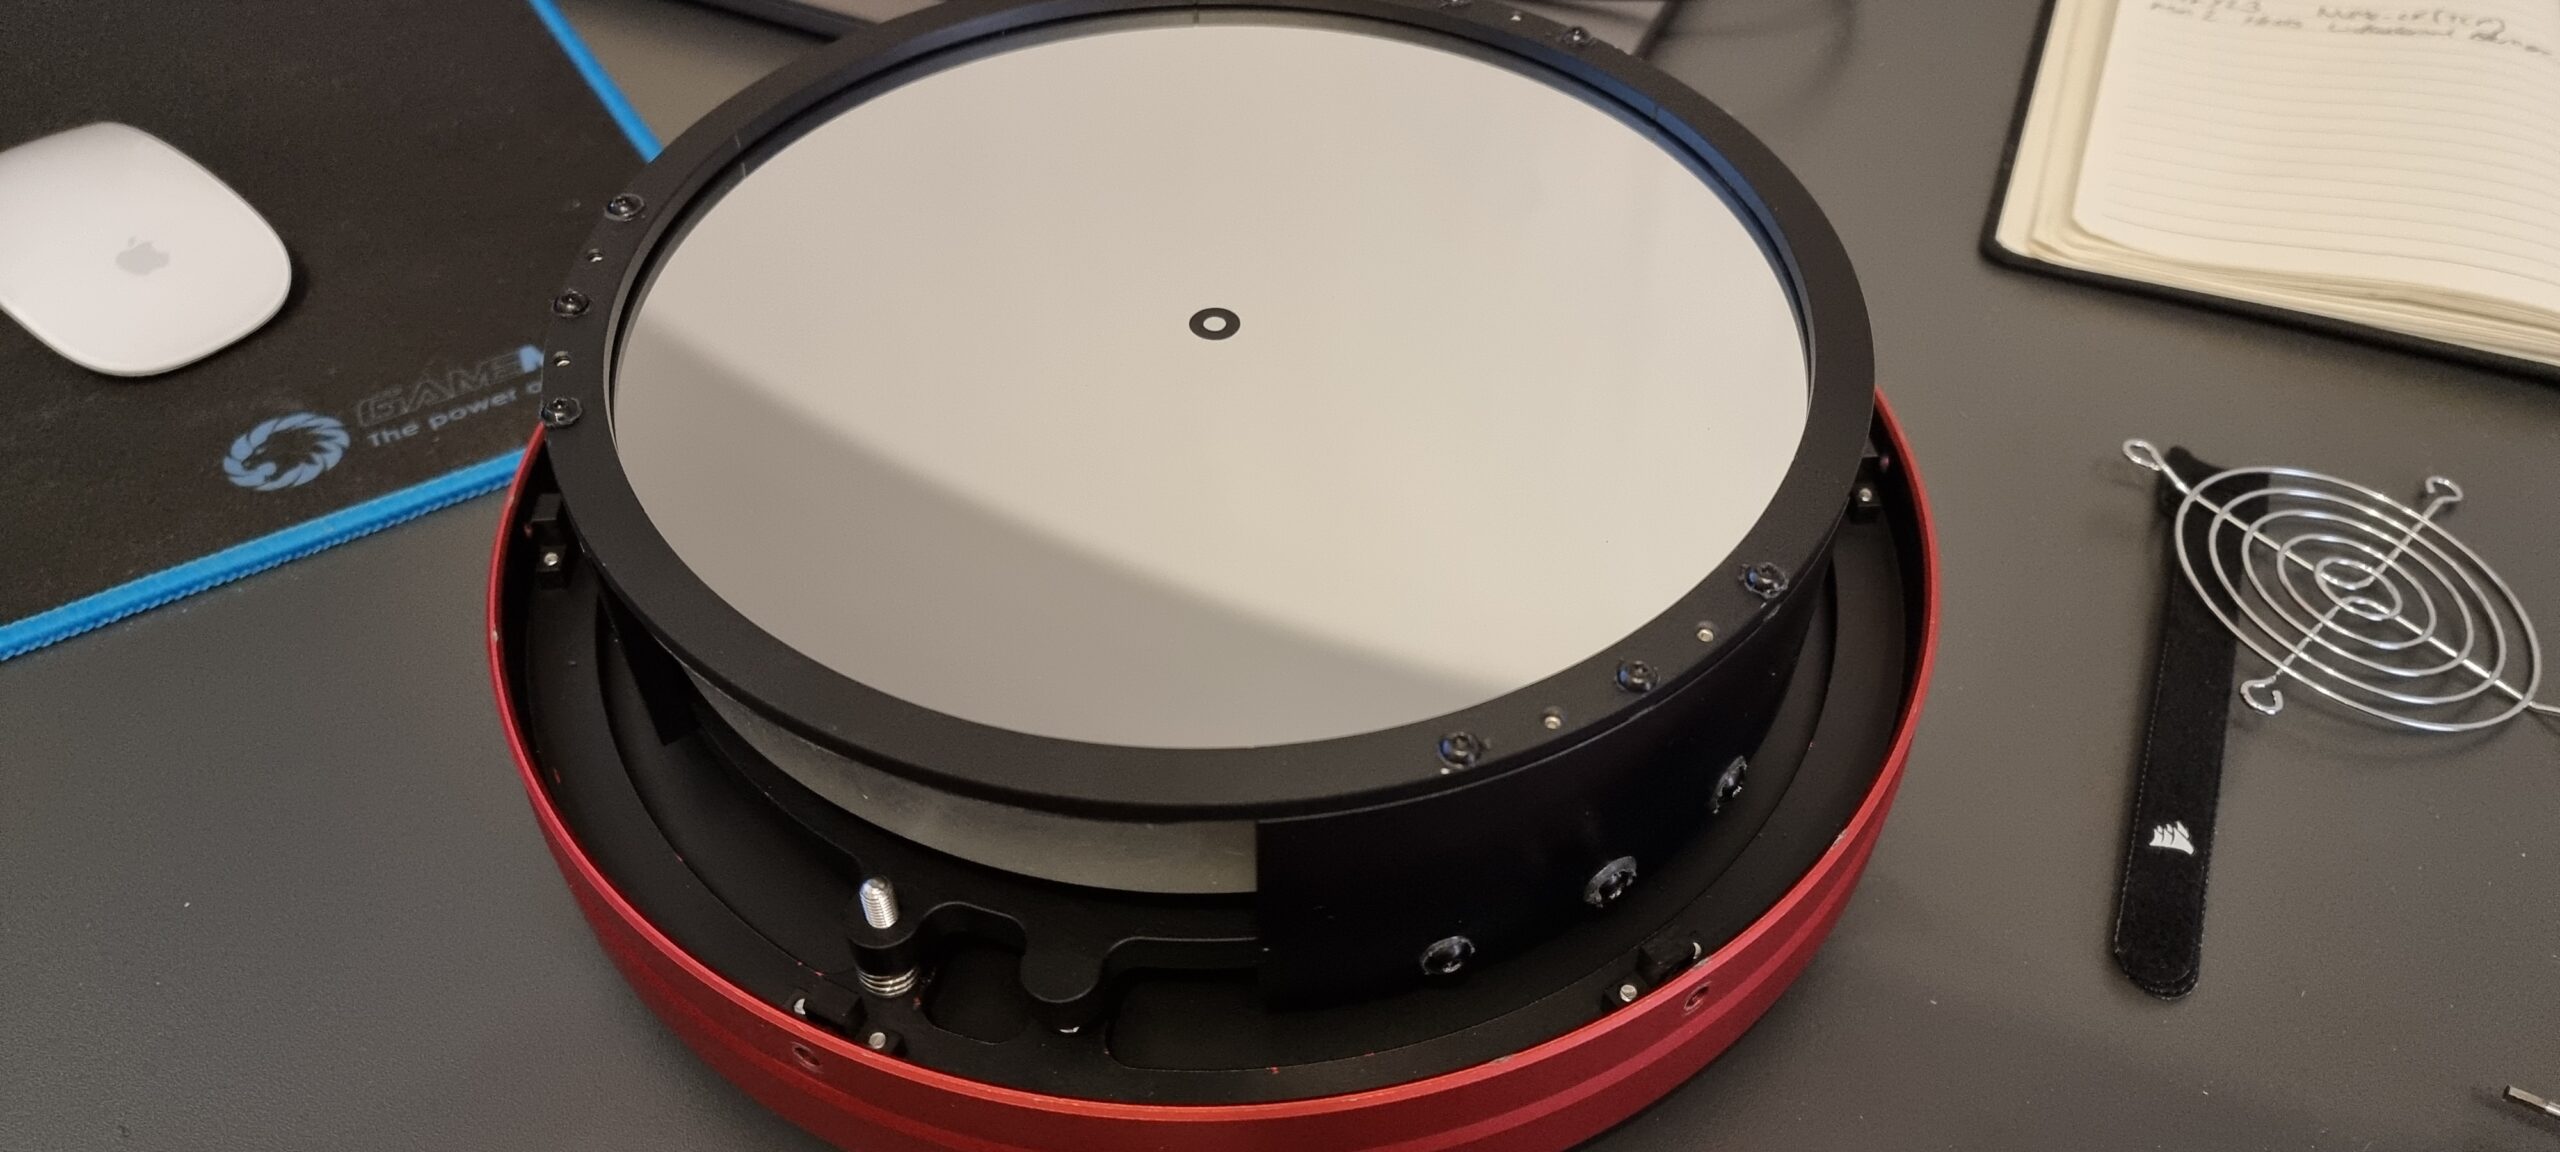
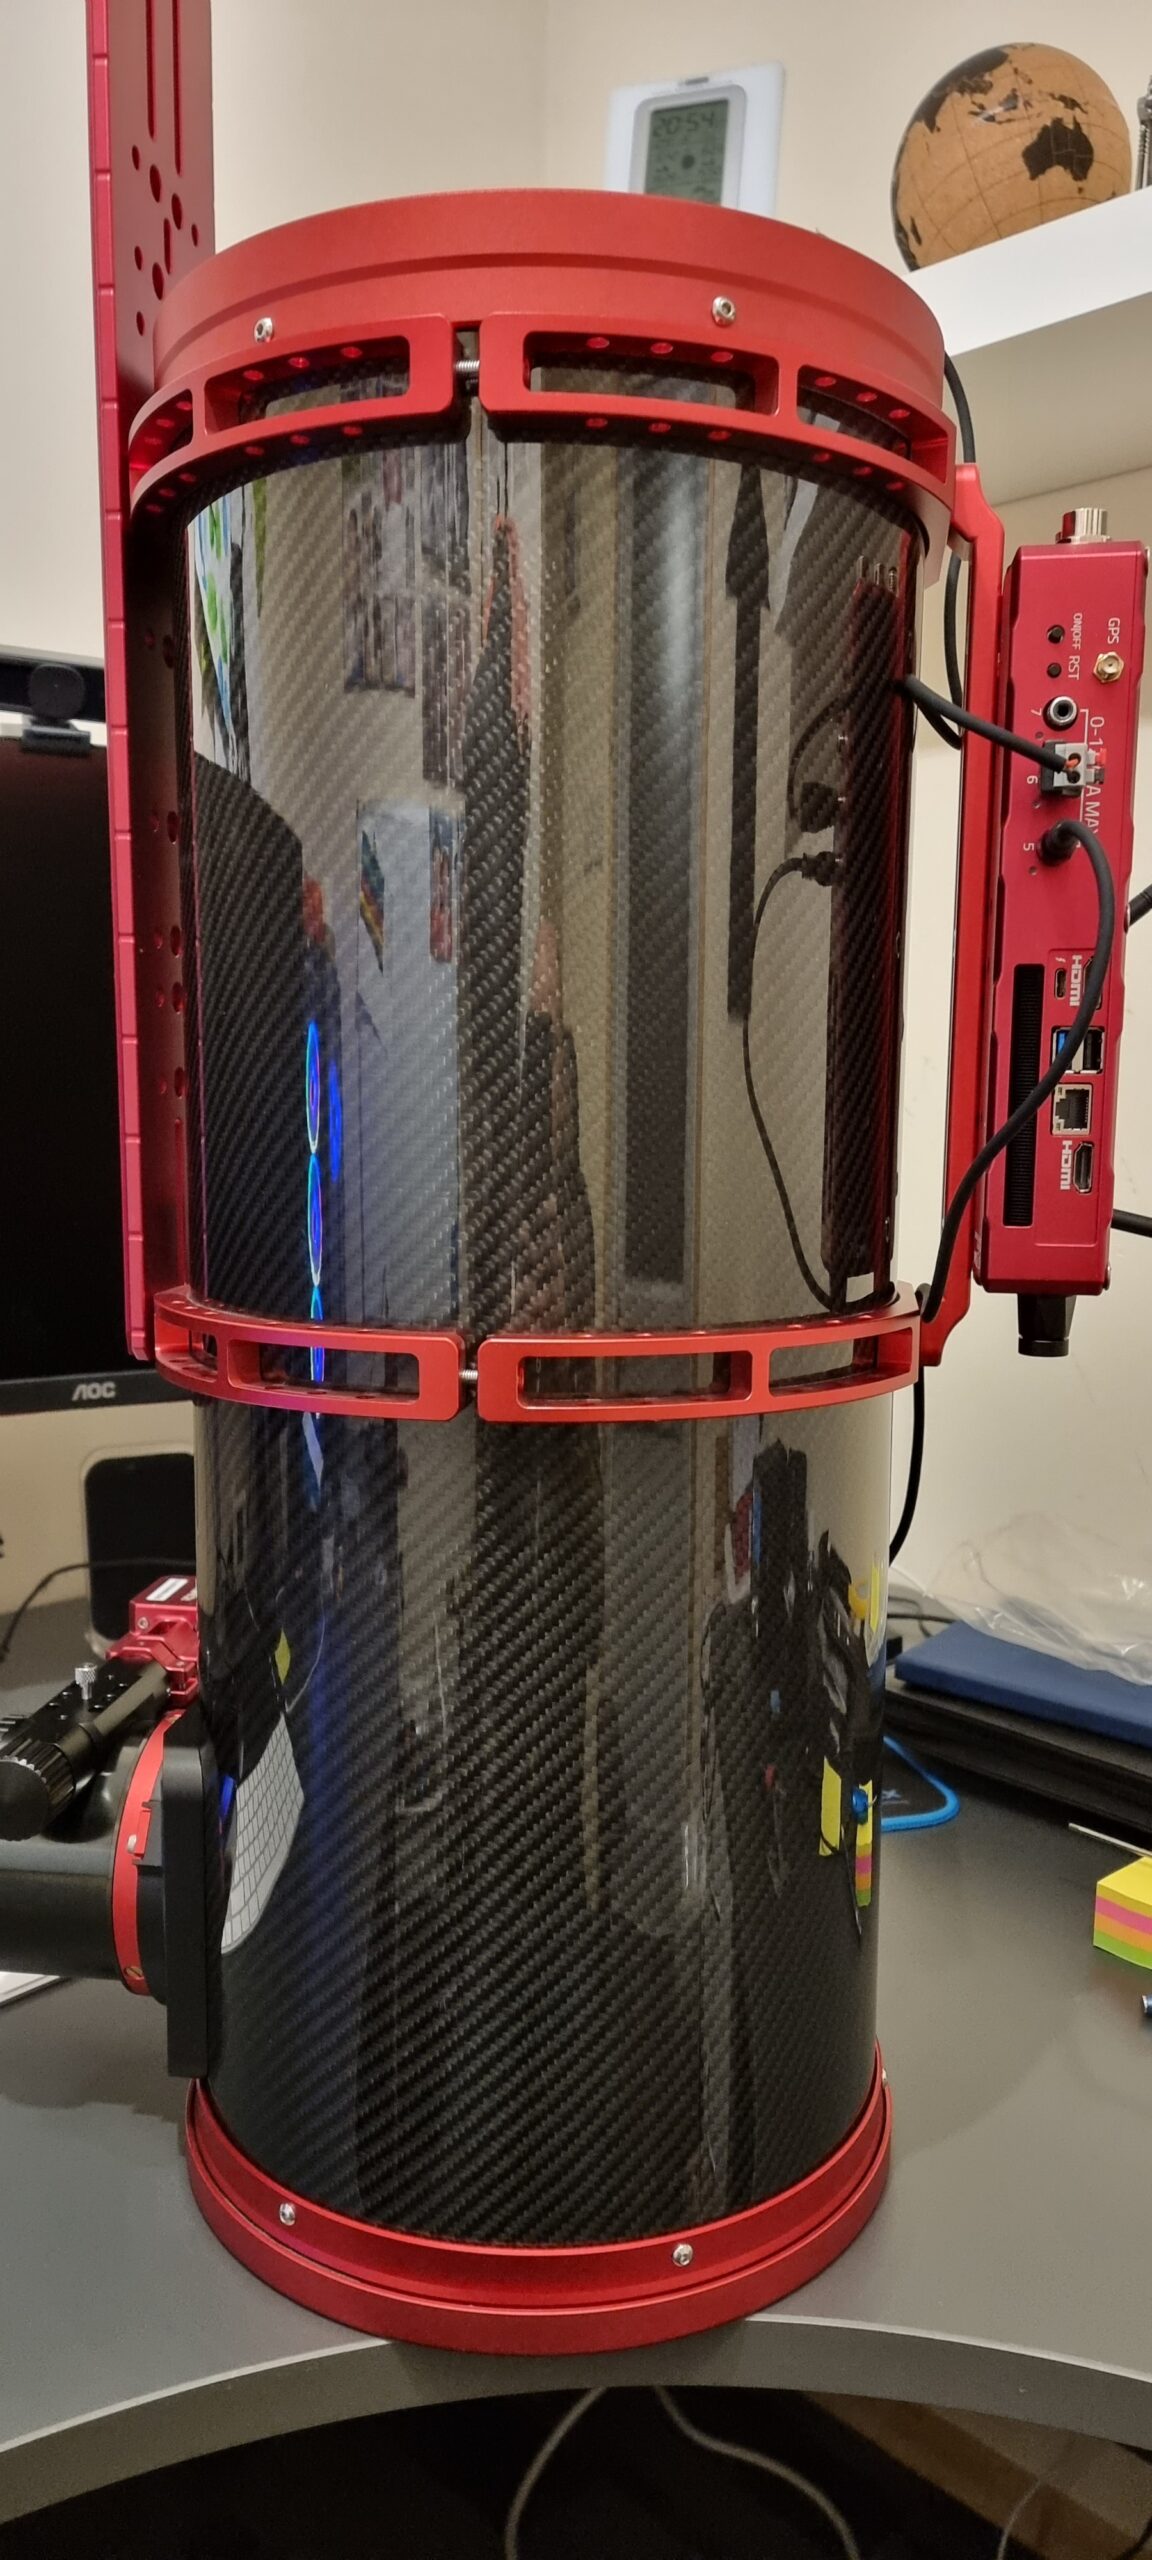
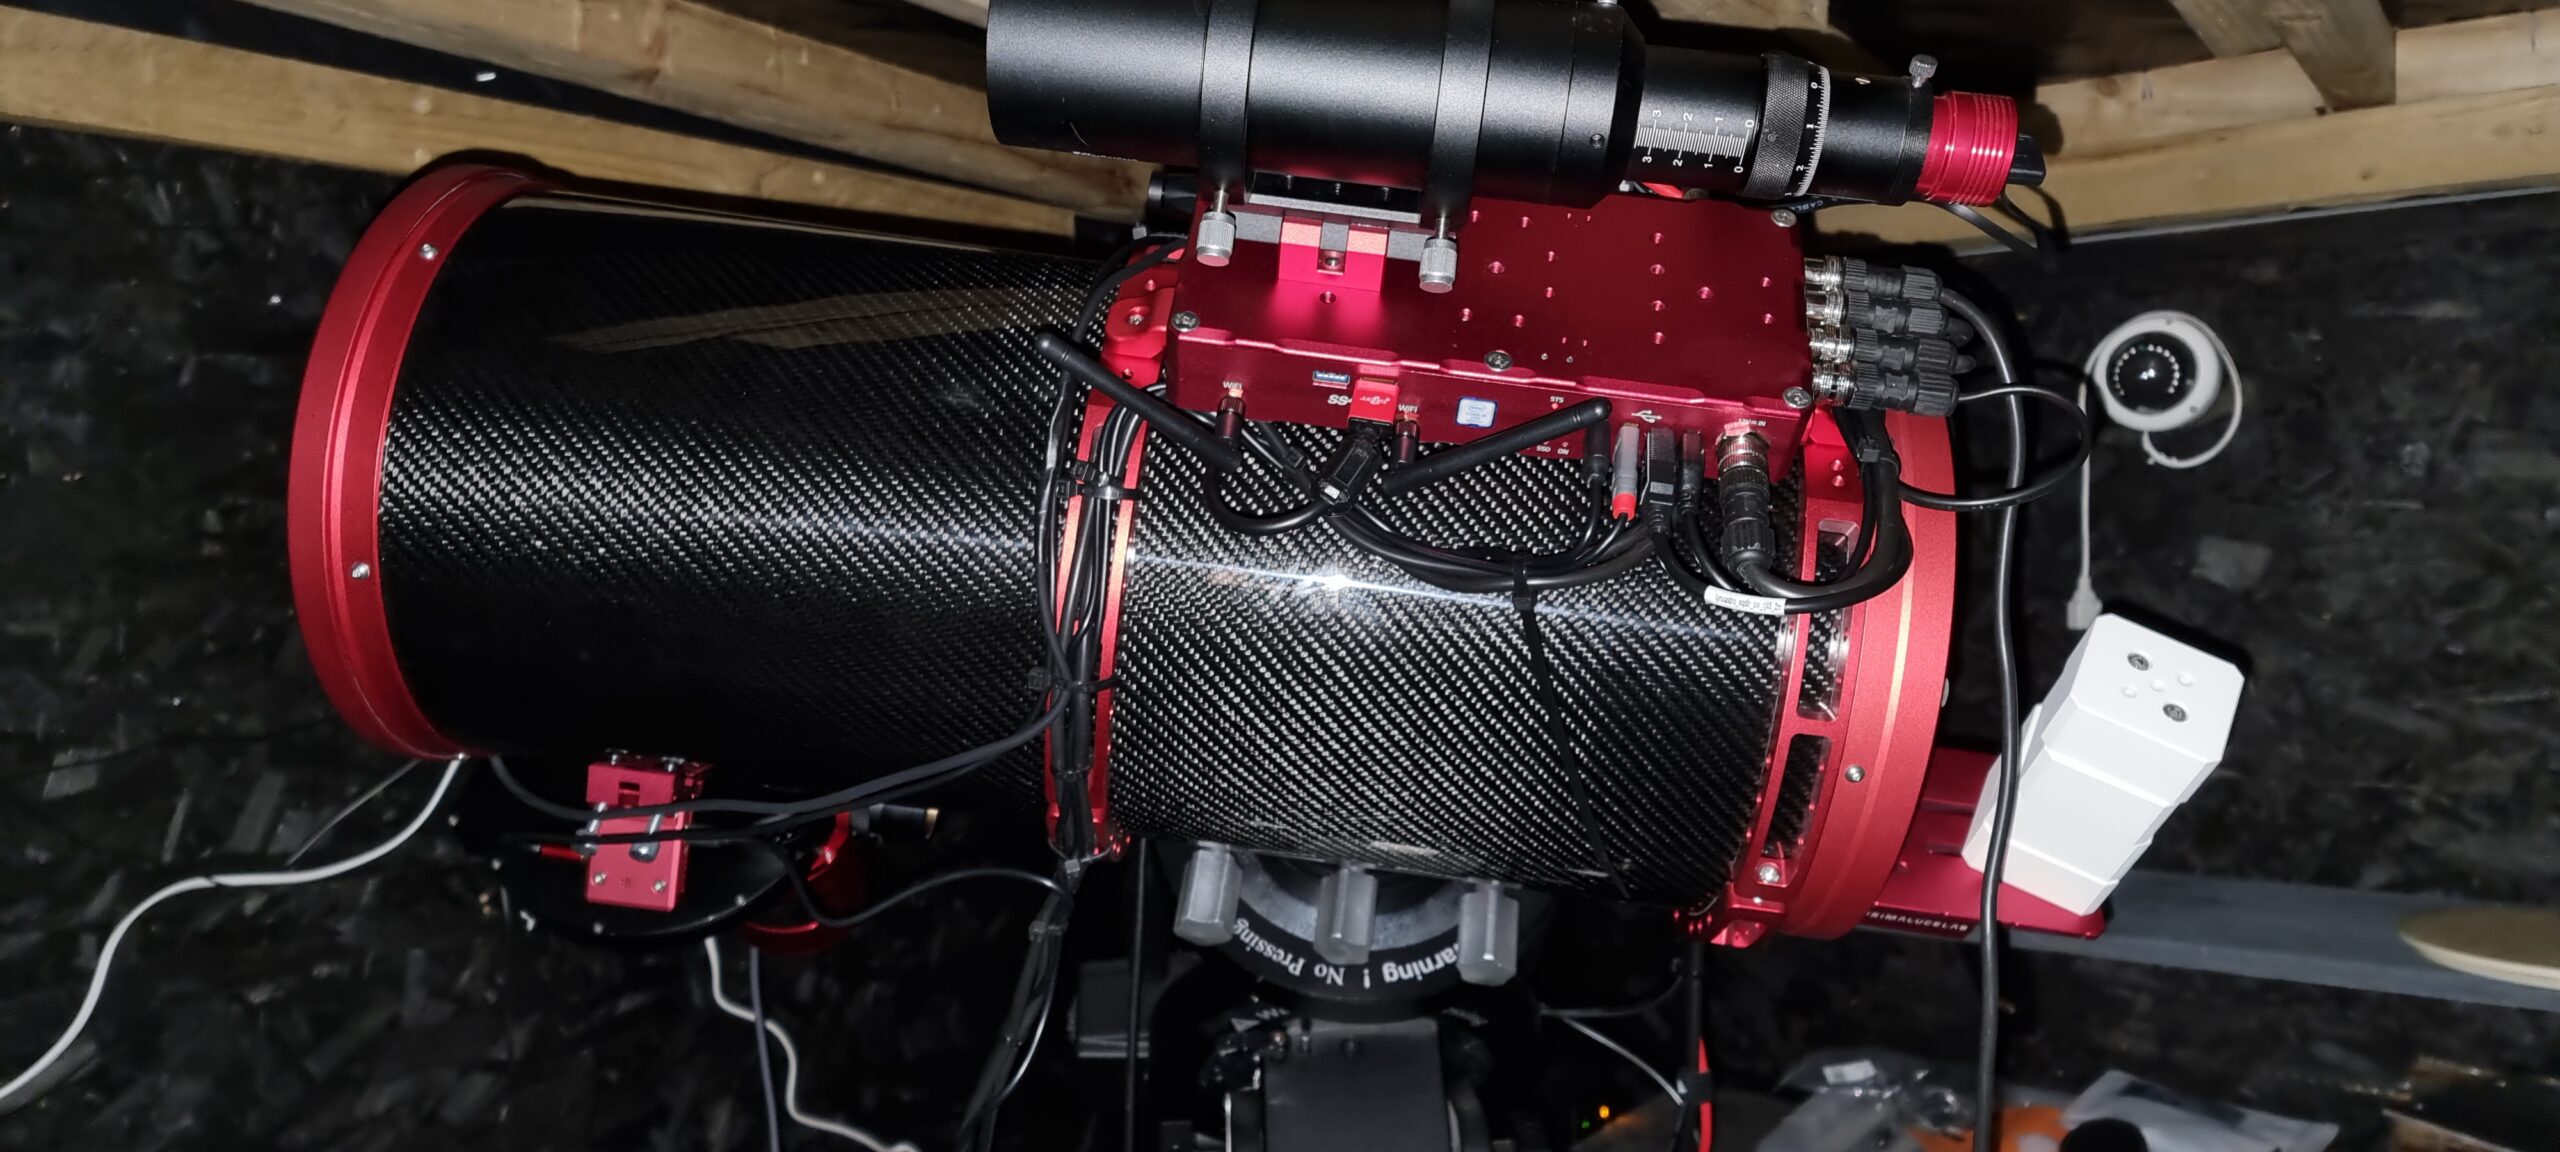
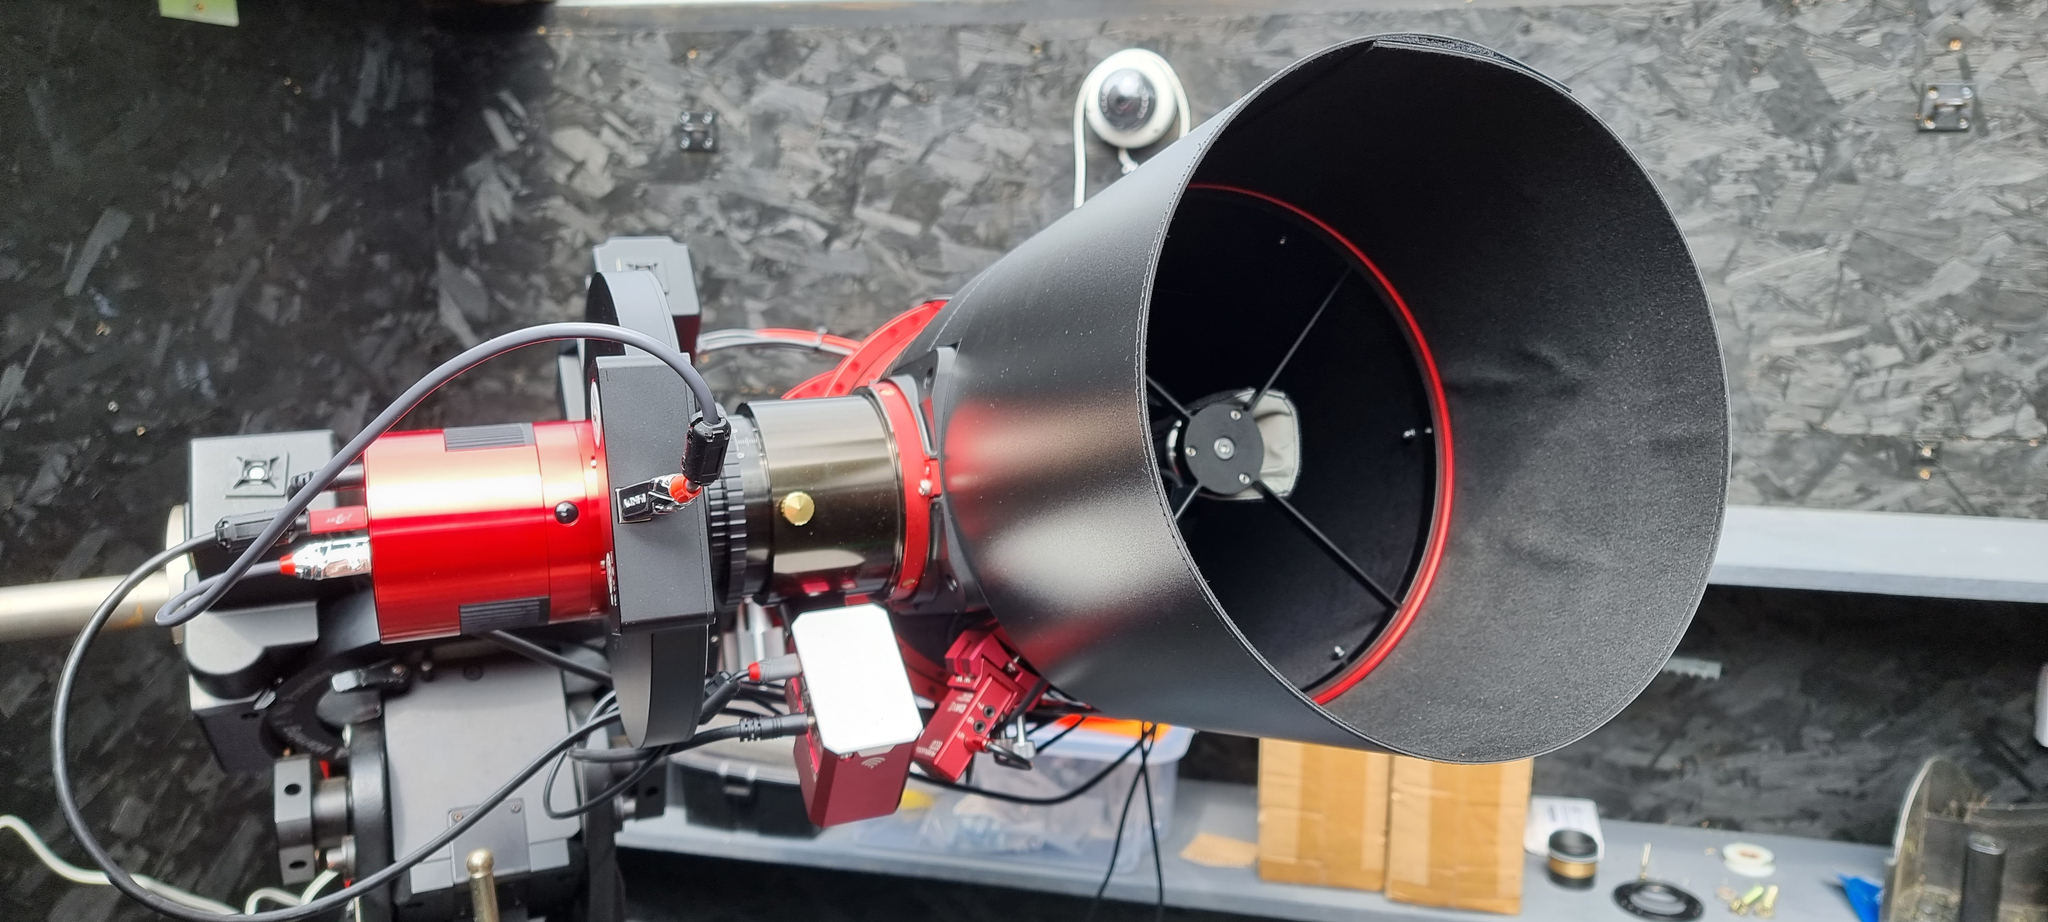
Imaging Scope: Sharpstar Optics 20032PNT F3.2 Paraboloid Astrograph
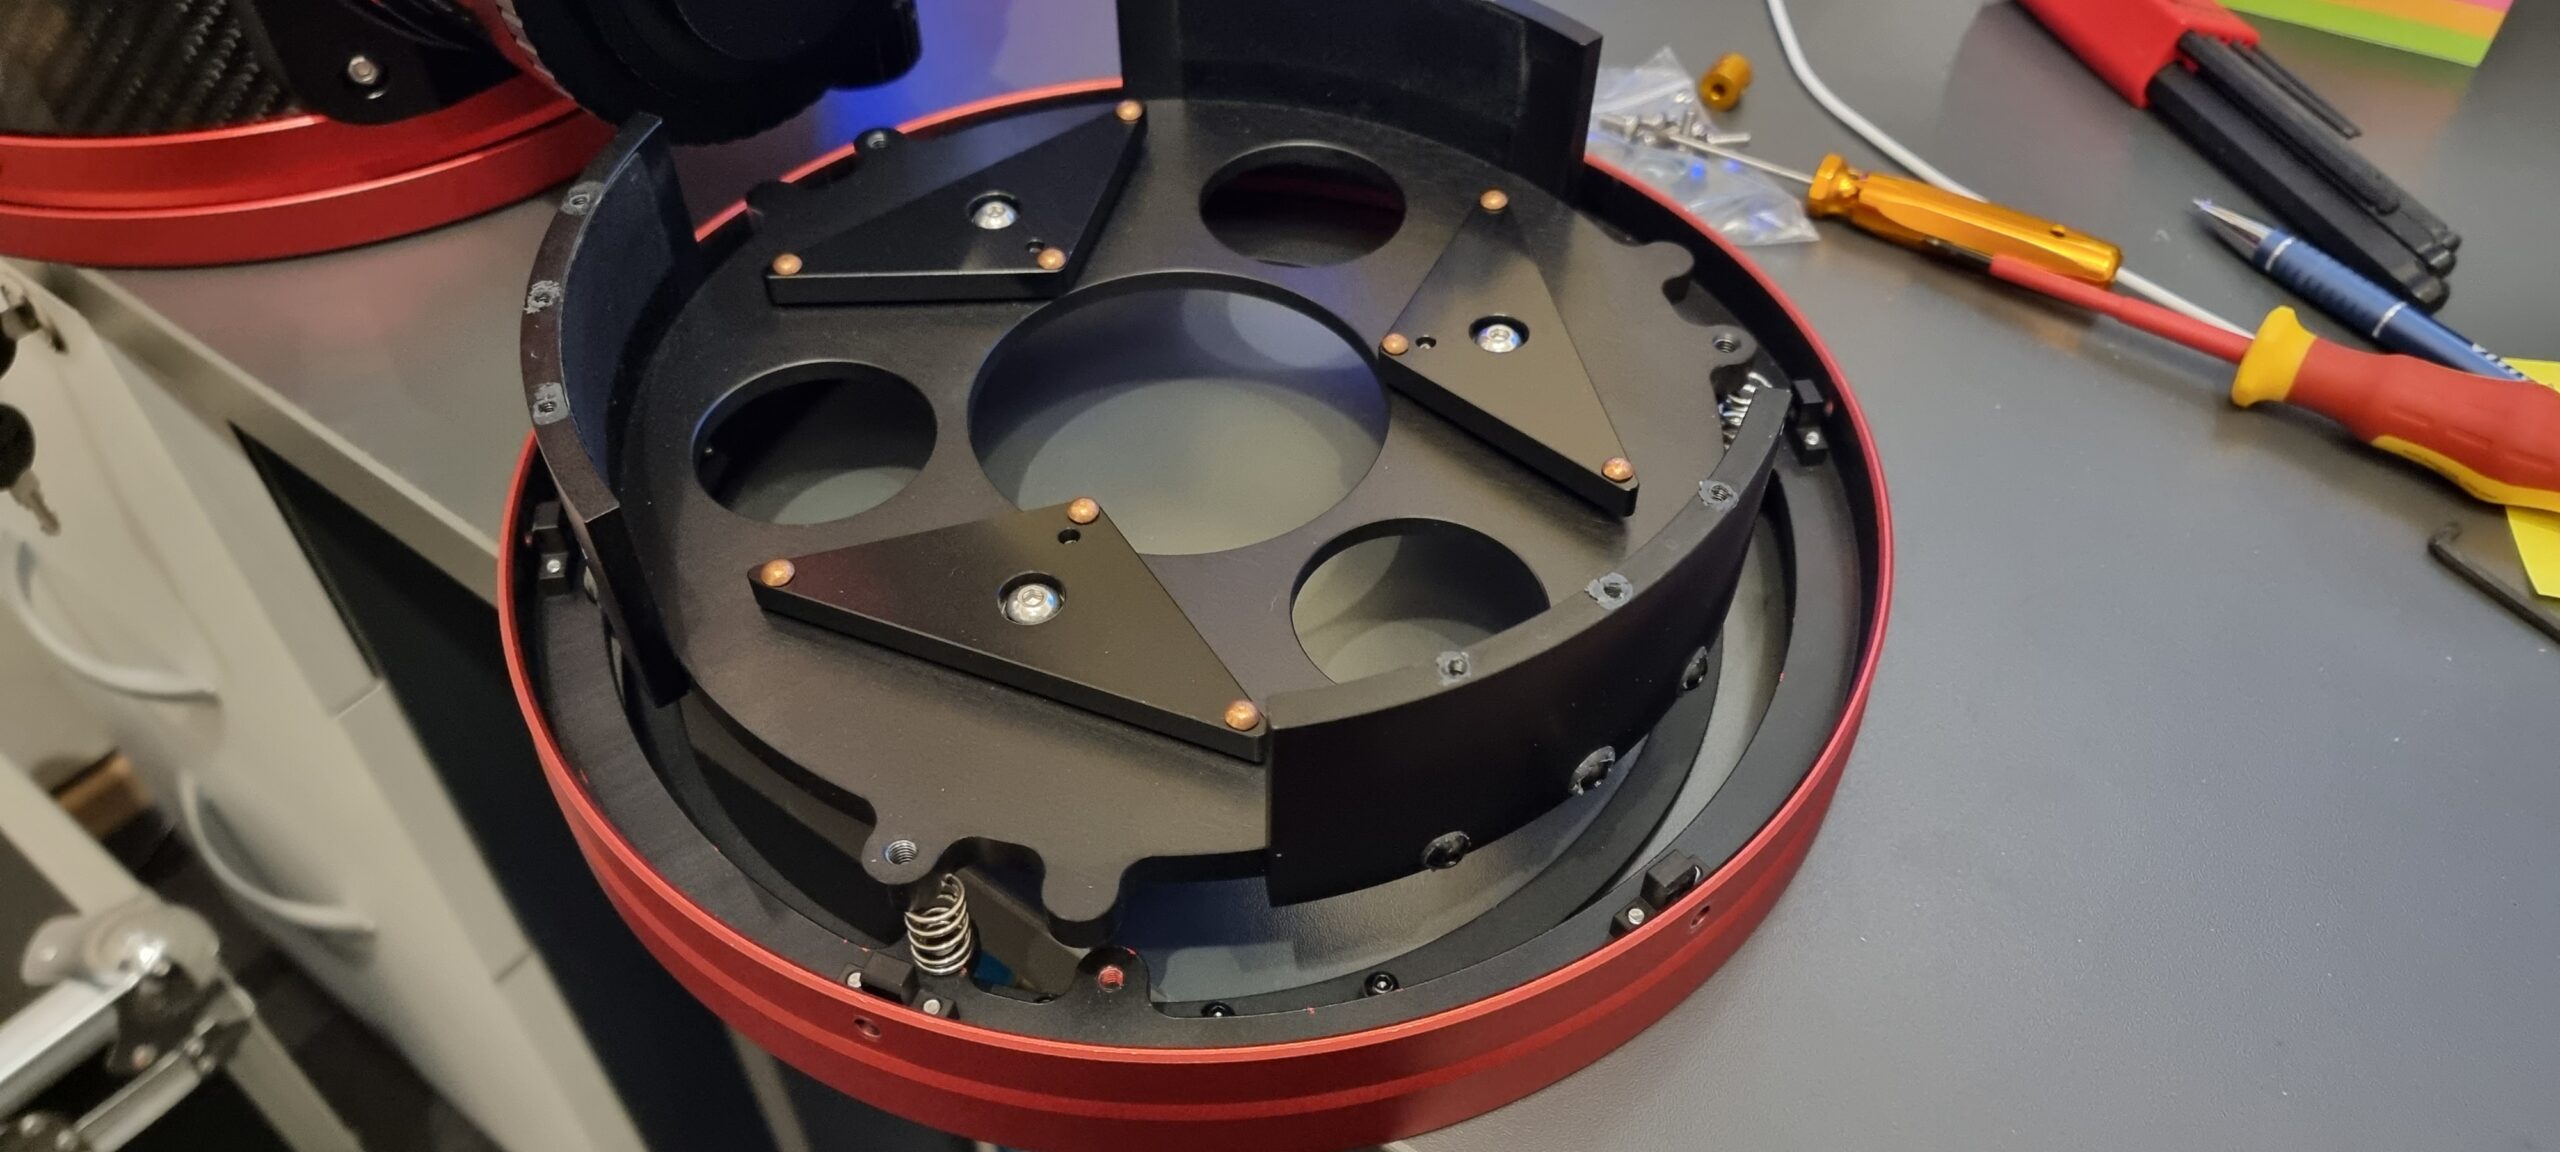
Filters: Chroma 50mm 3nm Filters
Filterwheel: ZWO Astronomy Cameras 7x EFW
Guide Camera: ZWO Astronomy Cameras ASI290MM
Mount: Sky-Watcher EQ8 Pro German Equatorial Mount
Auto Focuser: Primalucelab Sesto Senso2
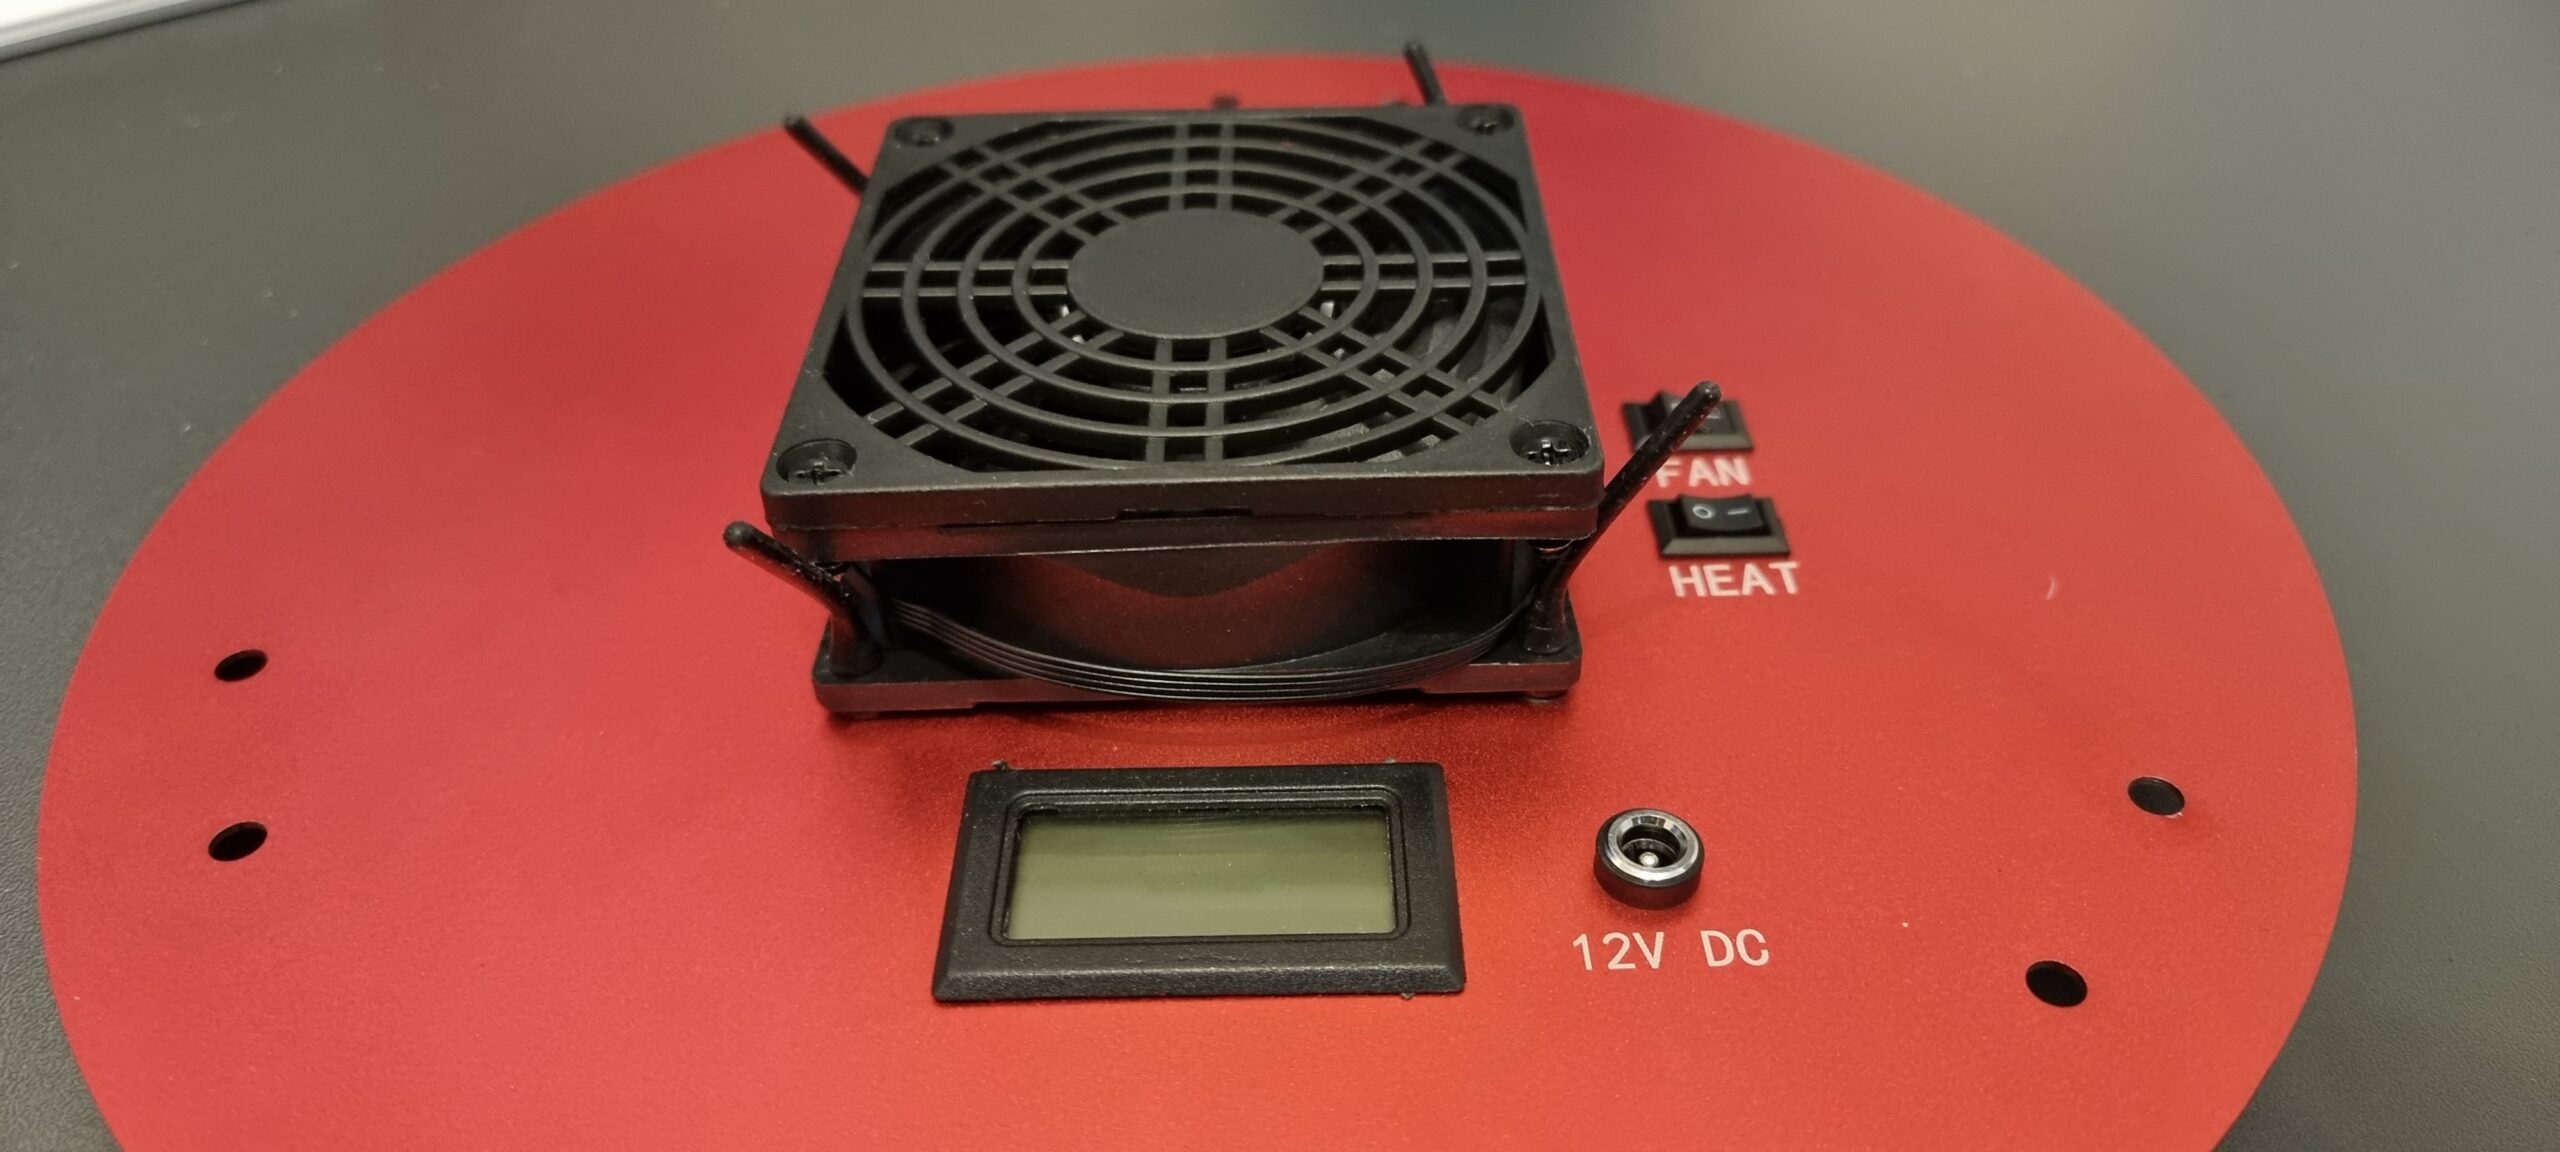
Environmental conditions: Primalucelab ECCO2
Observatory Control: Primalucelab Eagle Eagle 4 Pro
Roof Control: Talon RoR
Image Acquisition: Main Sequence Software Sequence Generator Pro
Image Calibration and Stacking: Astro Pixel Processor
Image Processing: PixInsight, EZ Processing Suite, Russ Croman’s BlurXterminator and StarExterminator

Sharpstar 20032PNT F3.2 Paraboloid Astrograph Review

Having owned the Sharpstar 15028HNT, I decided I wanted a larger light bucket without really sacrificing on speed, so I opted for the big brother of the 15028HNT which is the SharpStar 20032PNT.

I picked up my 20032PNT from Zoltan at 365Astronomy, and could not wait to get it home and unbox it, so after removing it from not just one carboard box, but two, I was presented with a very large flight case, which evidently is a larger version than the one that came with the 15028HNT.

Once I had the scope unpacked and inspected everything, the first thing I noticed was the focuser, the 20032PNT has a large focuser, which is big enough to accomodate the reducer/corrector that has an M68 connector thread as well as an M54 and an M48 connector thread.

The scope is well built, as I would expect from the build quality of the 15028HNT, the red annodised alluminium tube rings just give that final touch of finese. The 3 inch focuser is very smooth, and will no doubt be able to handle quite a load of equipment.

The first thing I planned to do was ensure that the primary mirror was secure and did not rock back and forward as well as replace the stock fan. I have fed back to SharpStar that they should mount the fan externally and also mount it with shock absorbing rubber mounters, and have the airflow into the tube from the back, rather than drawing air down the tube from the secondary. Here are my images of the fan replacement:

Primary Mirror assembly removed from OTA
Fan assembly with mirror removed
Stock Fan

Stock fan removed and added in a PWM fan connector should the fan ever need to be replaced, it can be replaced without removing the mirror assembly
Anti vibration fan mounting points
External fan connected to PWM connector
How the fan looks from the outside, the image is missing the fan filter which I added afterwards

Once everything was back together, I mounted my Eagle4Pro onto the top bar, as well as added an extra long losmandy plate because I wanted the OTA as far forward as I could get it in order to have the camera in the right location without it hitting the mount at all.

And here is the scope on the mighty EQ8 Pro mount

My first set of image testing did not go so well. My previous 15028HNT did not protrude above the walls of the observatory, so despite the fact that the secondary mirrors on both scopes are right up at the top of the tube, the 20032PNT was picking up stray light from my neighbour, so I had to adopt a dew shield that would extend the OTA by around 5 inches:

Scope with dew shield attached

Flats
I first started to have issues with my flats that was taken with a flat panel, the flat frames would “Overcorrect” the images, but one thing I noticed that there was a lot of vignetting happening. Sky flats seemed to work better, but I was not happy with the vignetting. Now since I am using a full frame sensor on the ASI6200MM Pro, and the scope supports full frame, I was a little intrigued as to why I was getting so much vignetting, you can see from the master flat below that there was indeed a significant amount of vignetting.

Red Master Flat in PixInsight

I did some calculations and found what my problem was. Since my camera is full frame, it has a diameter of 44mm. The M54 connector on the telescope is 55mm away from the sensor, so a simple equation tells me that my light cone is larger than the M54 connector:

Sensor diameter + (distance from sensor / focal ratio)
44 + (55/3.2) =61.1875mm

The internal diameter of the M54 connector is around 51mm, so the light cone was being restricted by around 10mm. So I had a custom M68 to M54 adapter made which is 28.5mm in length, the reason for this is because the backfocus from the M68 connector is 61mm, so if we apply our formula:

44 + (61/3.2) = 63.06mm, this is way below the internal diameter of the M68 connector male thread, so vignetting should be minimised. Now because I do have some M54 in my image train, I know I would not completely elliminate vignetting and this is why, using the above formula, we can work out the light cone at varying part of the imaging train:

12.5mm (EFW mating to camera) = 47.9mm
18mm (50.4mm Filters distance from sensor) = 49.62mm
32.5mm (Light entrance to EFW distance from sensor) = 54.15mm

As you can see, I should expect some vignetting to occur because the light cone at the EFW M54 connector (with around 51mm internal) is 54.15mm, so I would be clipping the light cone slightly, but the result is as follows, again red filter, you can see that the vignetting is significantly reduced:

Collimation was done using the exact same process I used on the 15028HNT, you can read the guide here.

Conclusion:
SharpStar have again produced an outstanding quality astrograph, with a massive focuser to take on the largest of imaging trains, as well as finishing off the product with high quality annodised OTA rings. I am extremely happy with the performance of the telescope, below is my first image which happens to be a 2 panel mosaic:

Iris Nebula, 2 Panel Mosaic, Each Panel consists of 151x60S frames at Gain100, for L, R, G and B, for the full resolution image please use this link

Backfocus information:
M42 connector: 53mm
M54 connector: 55mm
M68 connector: 61mm

Focal Length (With Reducer/Corrector): 640mm
Focal Ratio: F3.2
Newtonian Type: Paraboloid
Focuser Size: 3″

The only complaint I have is with regards to the fan, which I have made a suggestion to SharpStar on that. Good job again SharpStar!

QHY268C APS-C Colour Camera Review – Part 1

As many of you know, I have been using QHY cameras for a while, but with my plan to move to a RASA telescope next year and wanting to image with a bigger sensor than the QHY183M I decided to go for a bigger sensor but moving away from Mono, the latest addition to the QHY familly is the QHY268C Photographic Version. I had been talking to the QHY team for a long time about this particular camera, and finally I have one.

The QHY268C is a once shot colour camera based on the APS-C Sized back illimunated Sony IMX571 sensor, the camera has a true 16-Bit Analog to Digital Convertor (ADC), now there are a few camera models out there using this sensor, cameras such as the ZWO ASI2600, but one thing that sets the QHY268C apart from the others is the ability to have a 75ke full well capacity which is 25ke higher than the ZWO ASI2600. In my opinion, when imaging at fast focal ratios, a higher full well is desired to protect the colour around bright stars for example.

Opening the box I was greeted with a camera that was bigger and heavier than my 183M, but then the sensor is much bigger than the 183M anyway so this would be expected, but what I did not expect is the additional items that came with the camera:

Inside the box was:

  • QHY268C Photographic Version
  • UK mains plug for 12V AC adapter
  • 12V AC adapter
  • Car 12v power cable
  • Self locking power cable
  • 1.5M USB 3.0 cable
  • Dessicant drying tube
  • Self centering adapter plate
  • M54 to M48 adapter plate
  • M54 to 2″ nose adapter
  • A range of spacers to give you from 0.5mm to 13.5mm spacing
  • Associated screws for spacing adapters

QHY cameras have come along way since I bought my QHY183M, one of the things QHY has really worked on is amp glow, my early version of the QHY183M was renowned for was amp glow, which could be removed in image calibrations, but the QHY268C produces no amp glow whatsoever, below is a dark frame of 600S taken at -13.5C and you can clearly see there is no evidence of amp glow.

Single frame 600 seconds, Gain 26, Offset 30, -13.5C – Mono (Not Debayered)

Attaching to the telescope was pretty straight forward as I had already planned the imaging train before the camera arrived, since I will be using the SharpStar 15028HNT F2.8 Paraboloid Astrograph which has an M48 thread, I decided to keep the whole imaging train at M48 except for the camera of course which has an M54 thread, so I did not actually need to use any of the adapters that came with the camera, the reason for this is because I wanted to include a filter drawer, so my image train consists of the following (from telescope to camera)

  • TSOAG9 – TS Off Axis Guider (9mm)
  • TSOAG9-M48 – TS M48 Adapter for the OAG (2.5mm)
  • TSFSLM48 – TS 2″ Filter Drawer with M48 Thread (18mm)
  • M48AbstimmA05 – TS Optics 0.5mm Aluminium spacing ring (0.5mm)
  • TSM54a-m48i – TS M48 to M54 Adapter (1.5mm)
  • QHY268C with M54 Centering Adapter (23.5mm)

As you can see with all the above I reach my desired back focus of 55mm perfectly, if I was not going to be using a filter drawer (For my Optolong L-Pro and L-eXtreme filters), I would probably have stuck with the spacers that came with the camera. Below is a picture of the camera successfully connected to the telescope.

As far as settings go, after speaking with QHY on this at great length, I will be imaging in Mode 0 (Photographic mode) to avail of the massive 75ke full well, offset I will leave at 30, but Gain I will use two different settings, I will use Gain 0 for most bright objects with the L-Pro filter, but for the L-eXtreme, I’ll probably set a gain level of 26, luckily with SGPro I can set the gain level per object. From a cooling perspective I always image at -20C, one thing I have noticed is that this camera cools to exactly -35C below ambient, I tested this when the ambient temperature was 20.10 degrees, and the camera cooled down to -14.9C, it was always 25C lower until the ambient dropped below 15C and the camera remained at my setting of -20C.

The build quality of the camera is as expected having owned a QHY183M, one thing I did notice is that the fan in the QHY268C is much quieter than the 183M. Technical Details of the camera:

CameraQHY268CQHY183M
Image SensorSony IMX571Sony IMX183
Sensor SizeAPS-C1″
IlluminationBack IlluminatedBack Illuminated
Pixel Size3.76um2.4um
Effective Image26mpx20mpx
Full well capacity51ke
(75ke in extended mode)
15.5ke
ADC16-Bit12-Bit
Image Buffer Memory1GB/2GB128MB
Max Cooling Delta-35C-40C
Weight1006g650g

I can’t wait to get imaging with this camera, I have a very aggresive target list for this year in both RGB and Narrowband with the Optolong L-eXtreme filter, I will write part two of the review once I have some actual imaging data. Time to build my dark library.