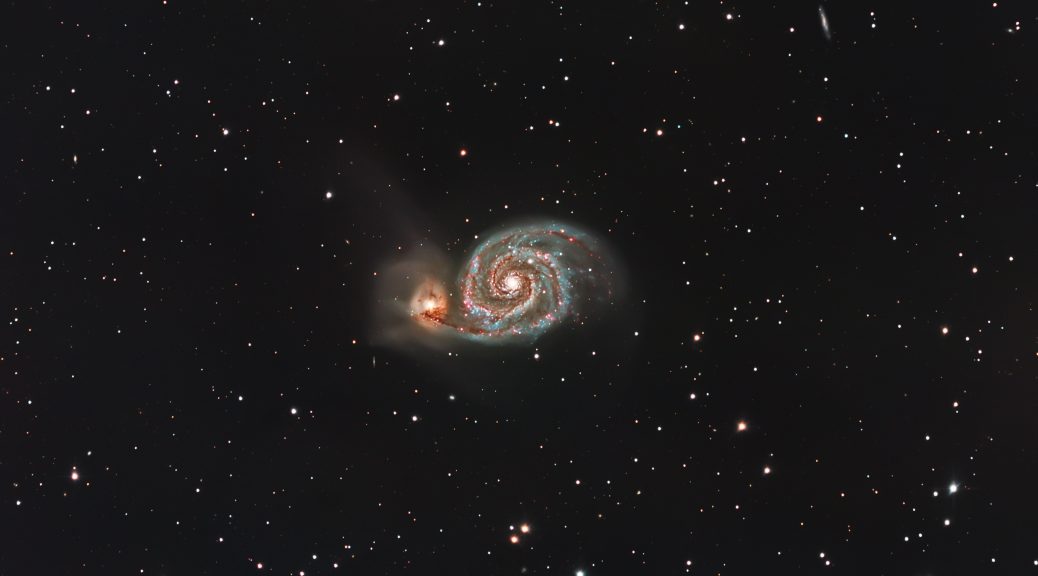
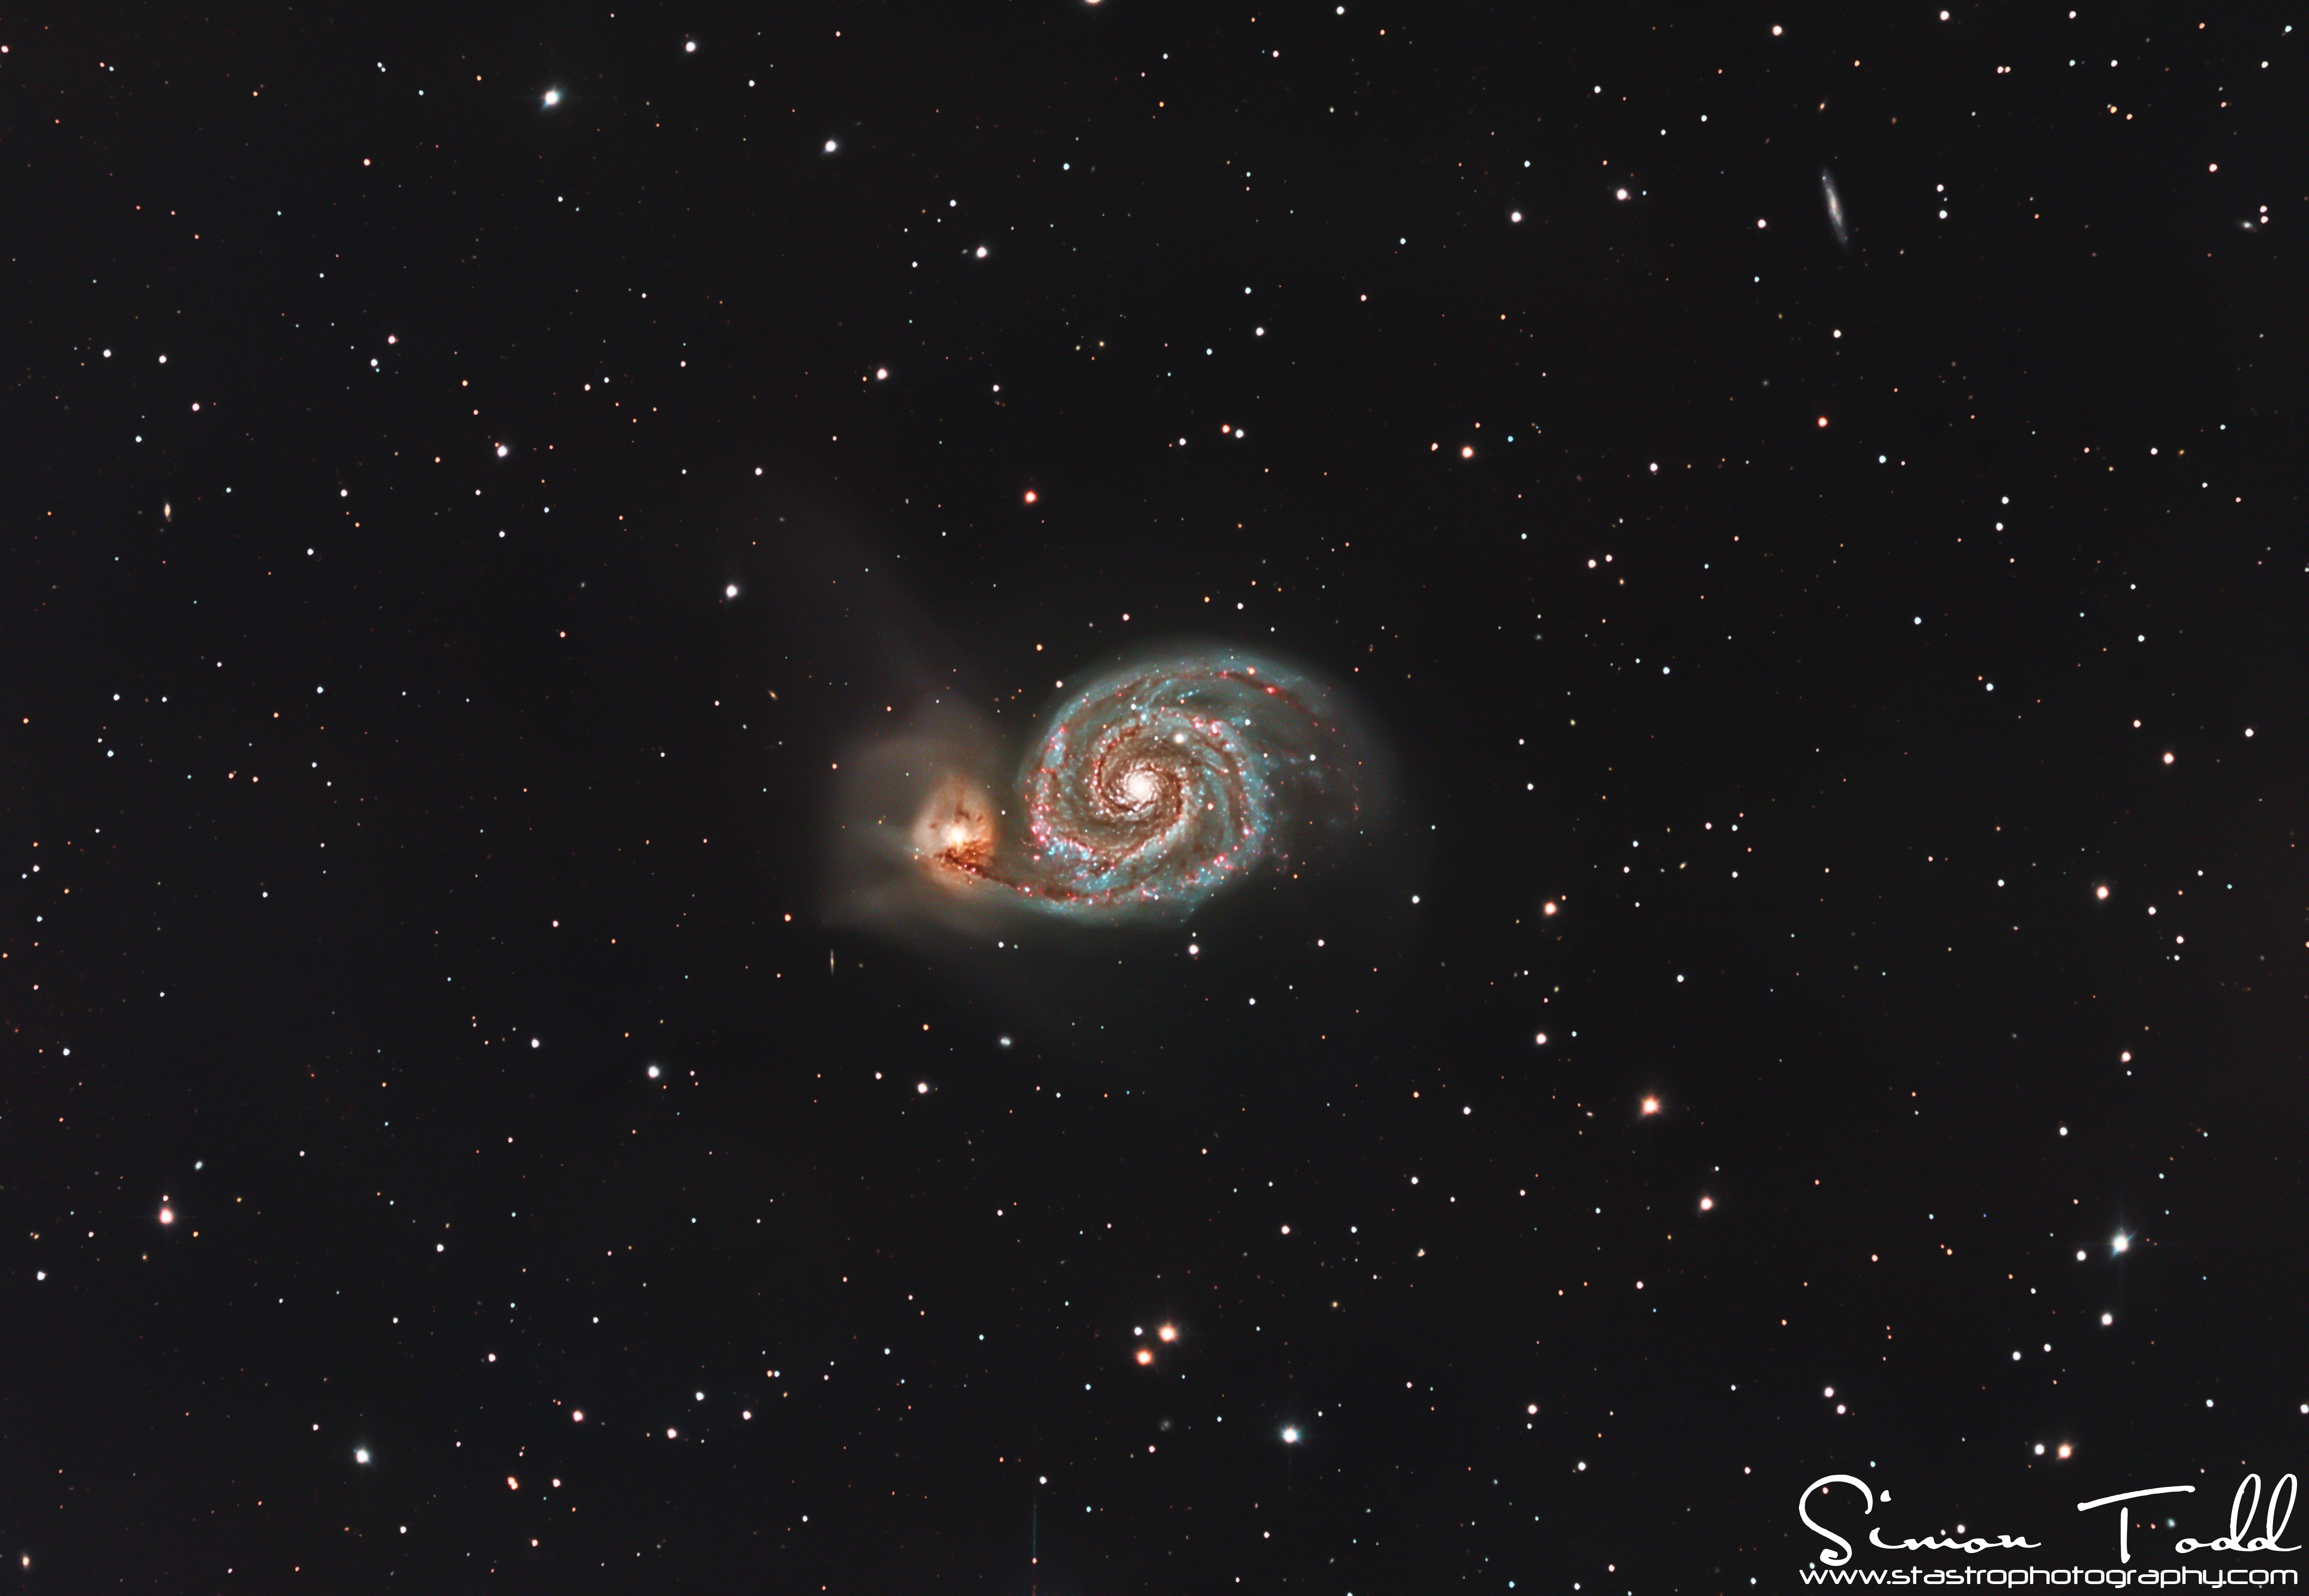
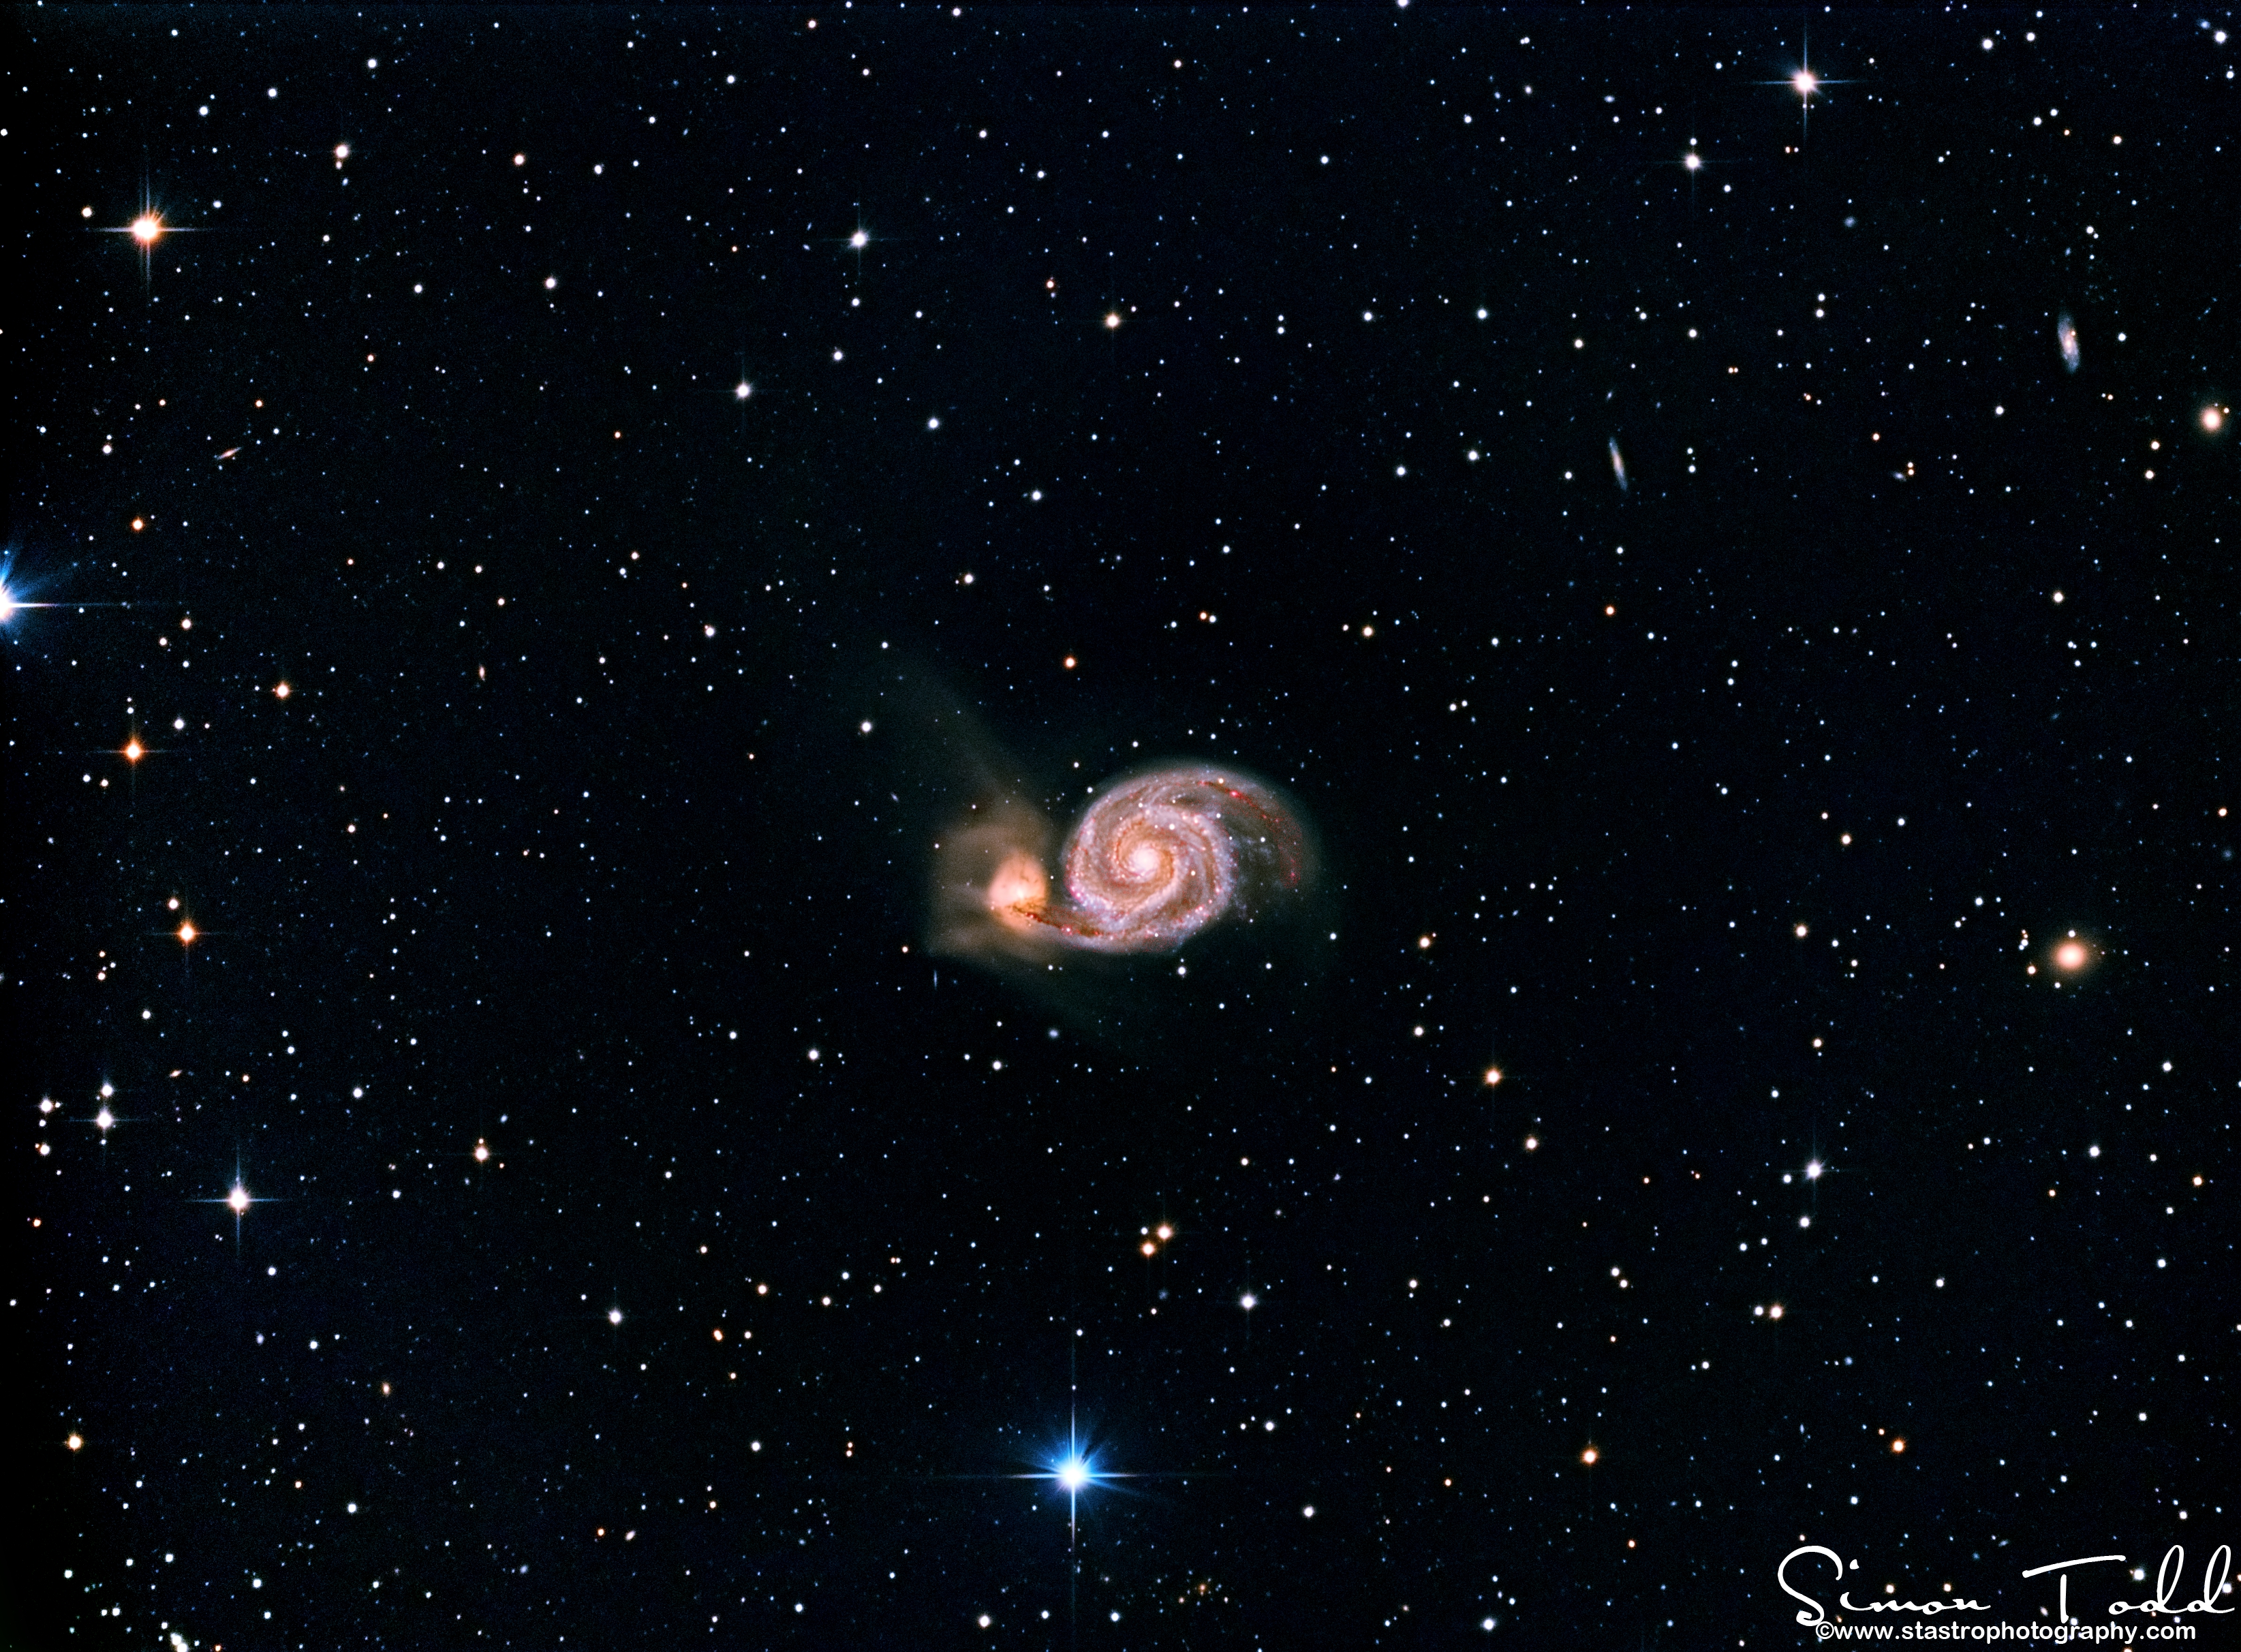
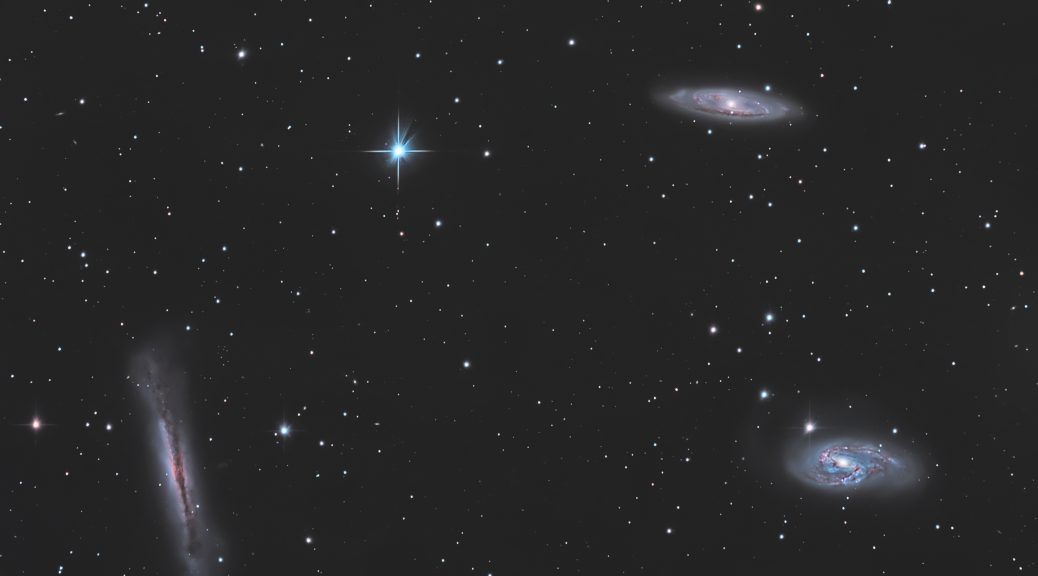
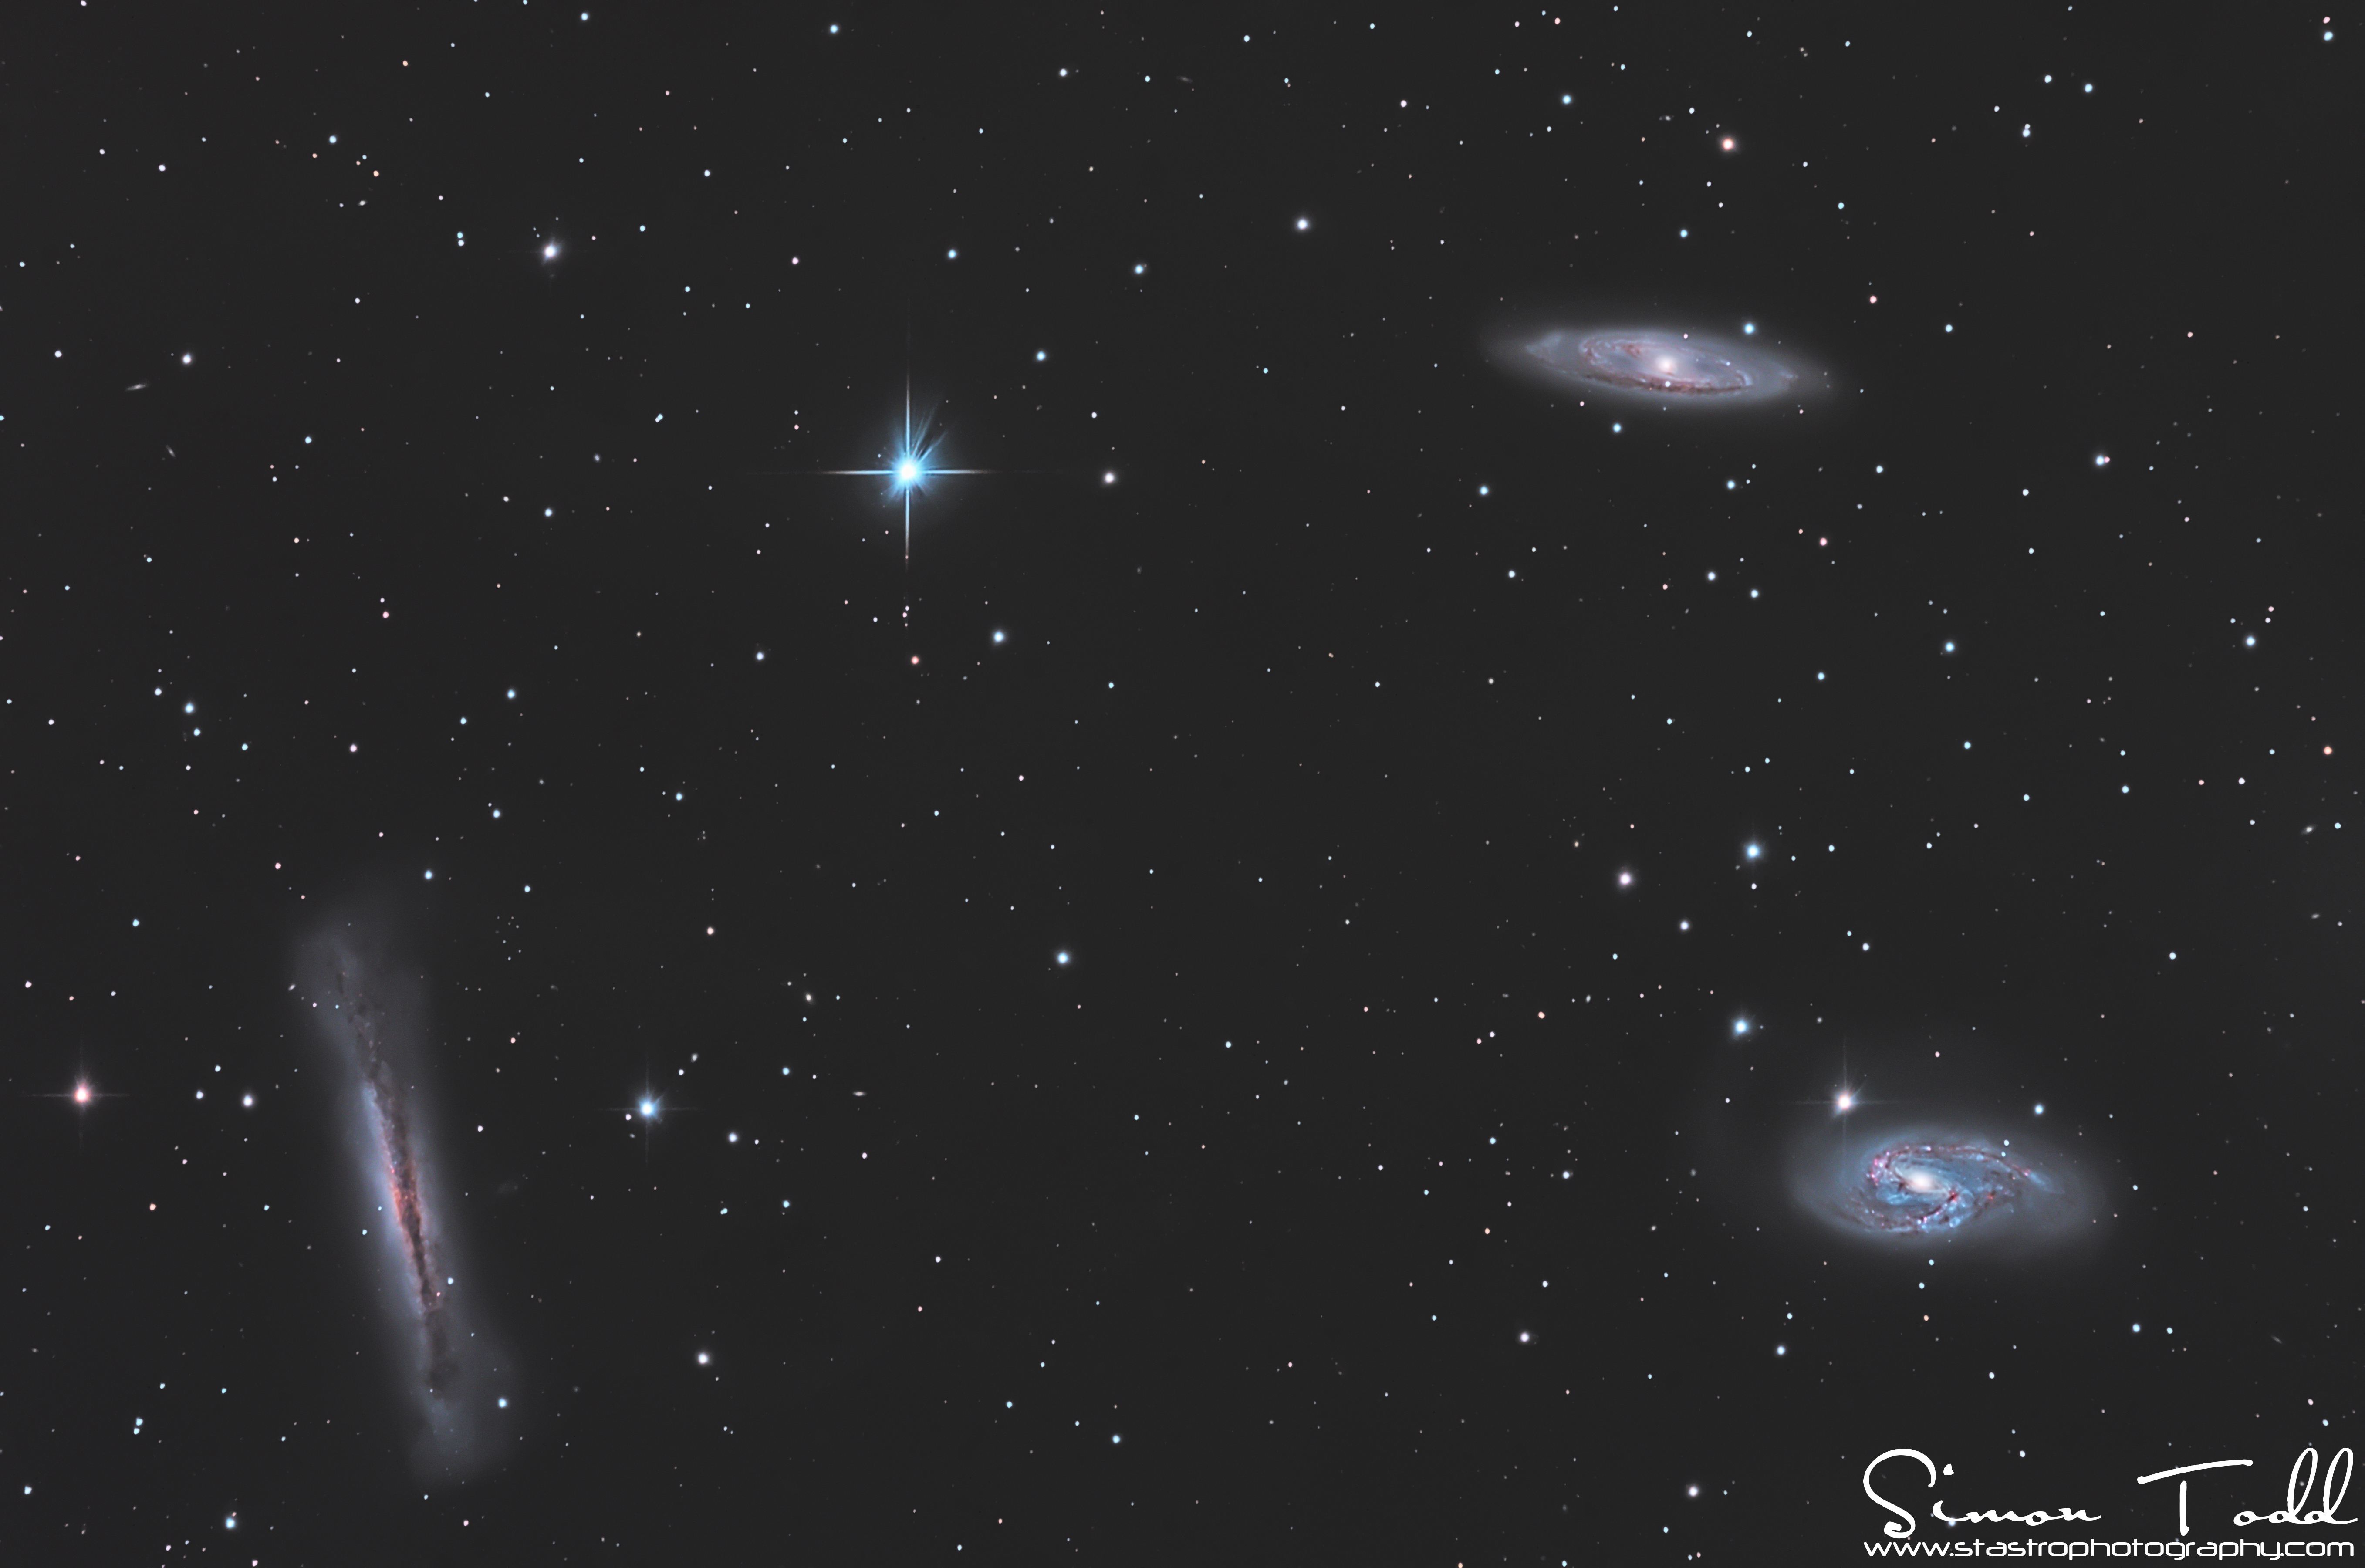
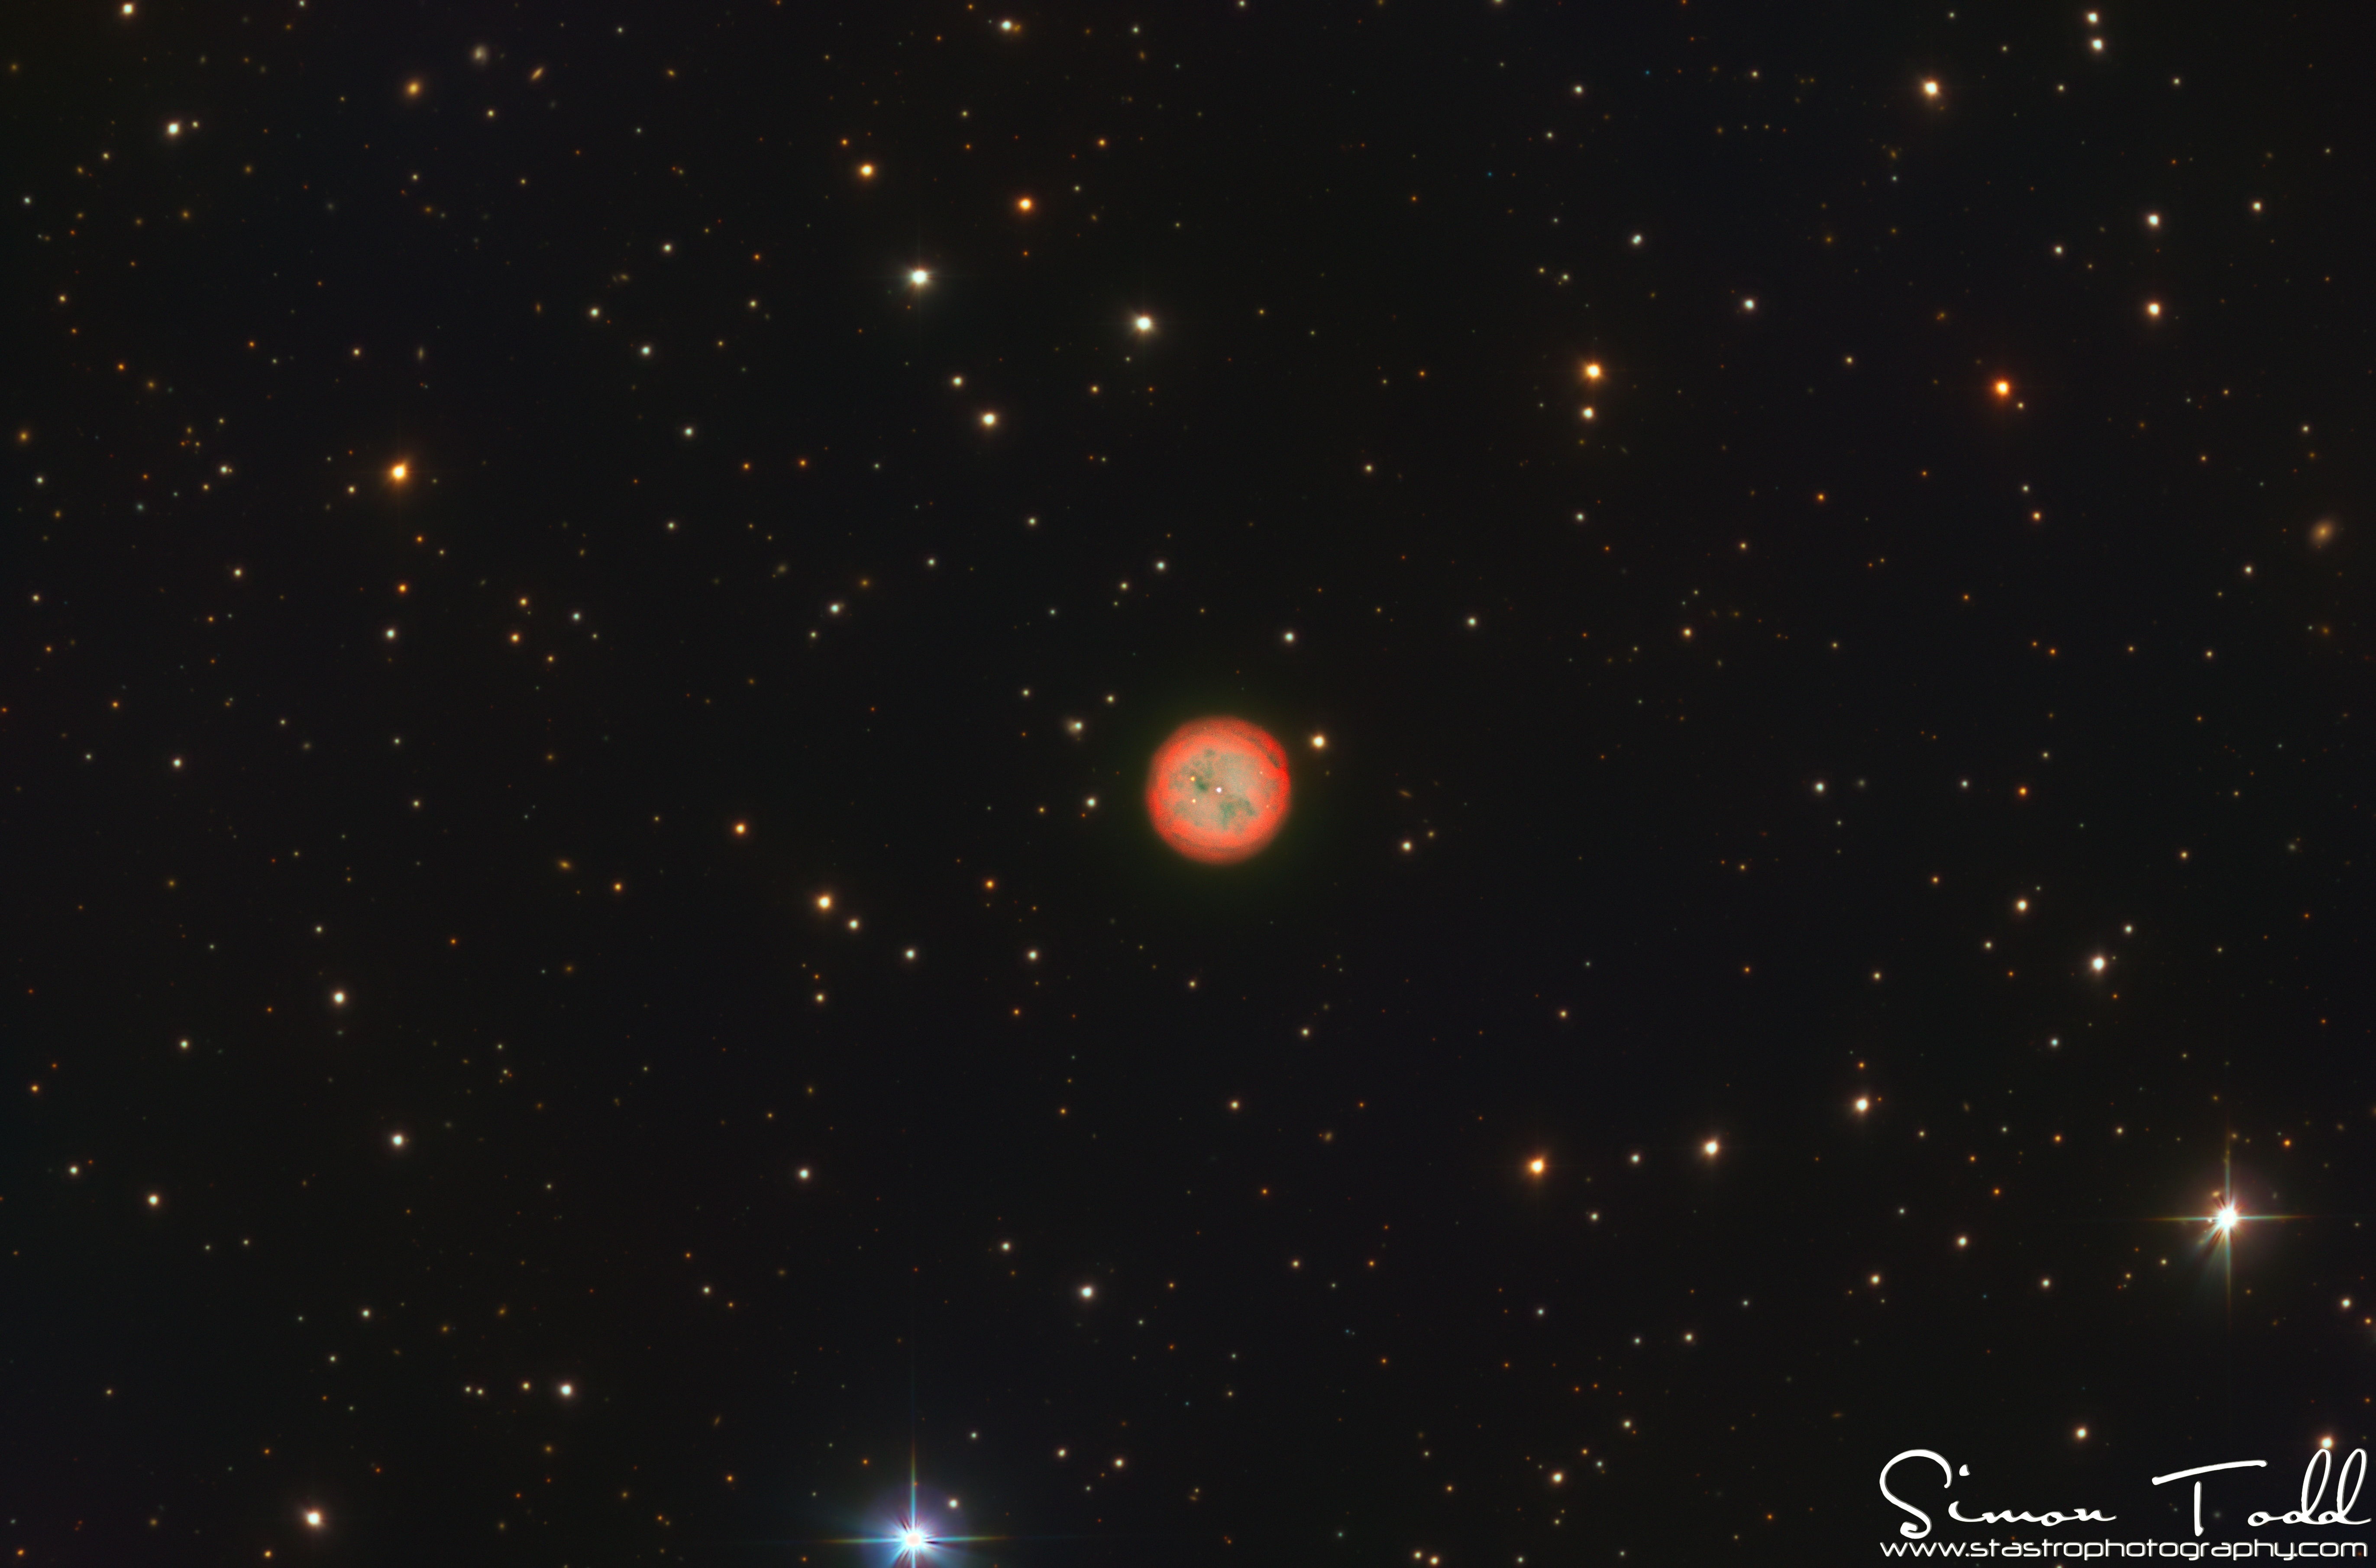
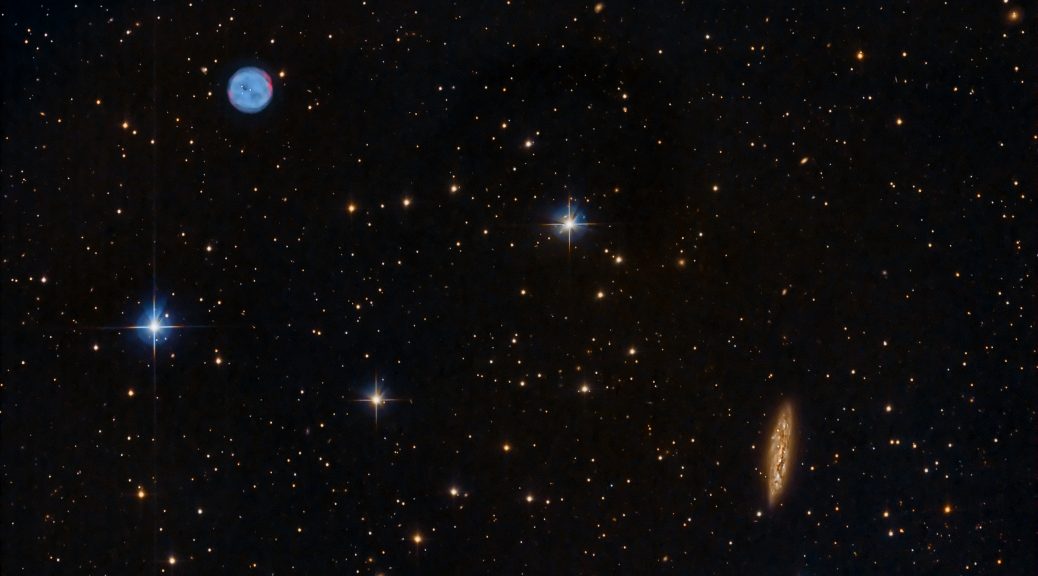
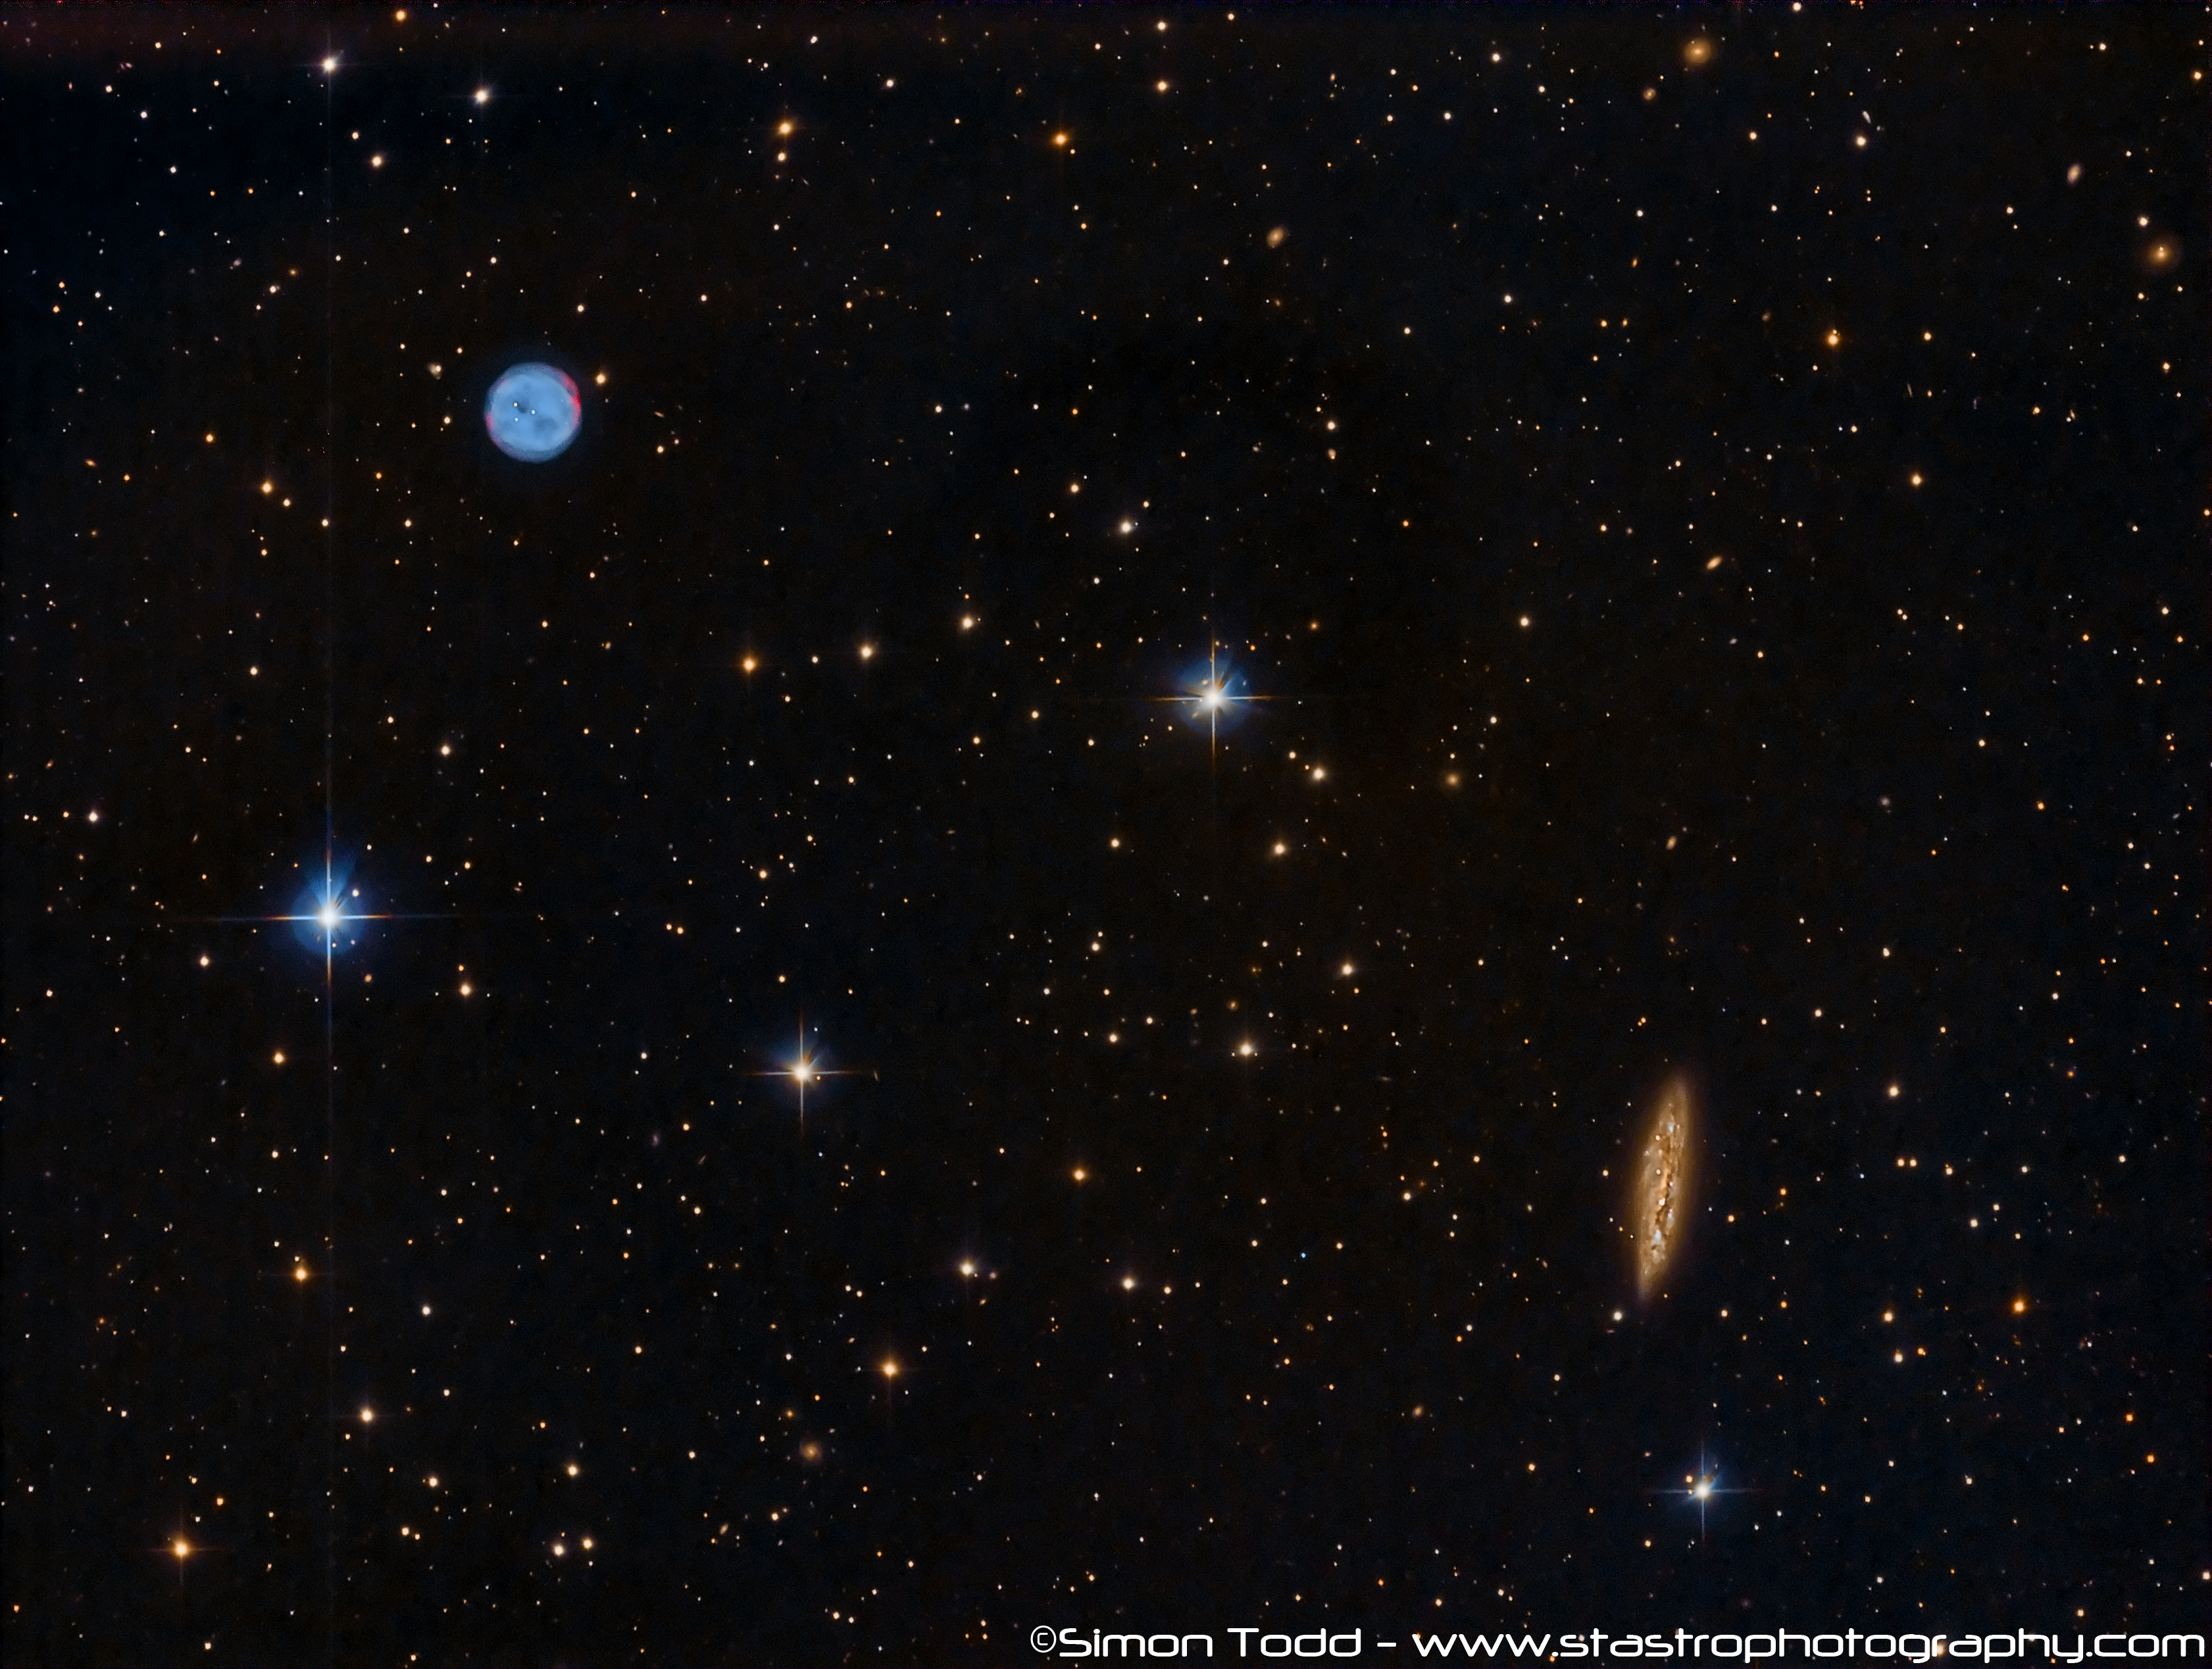
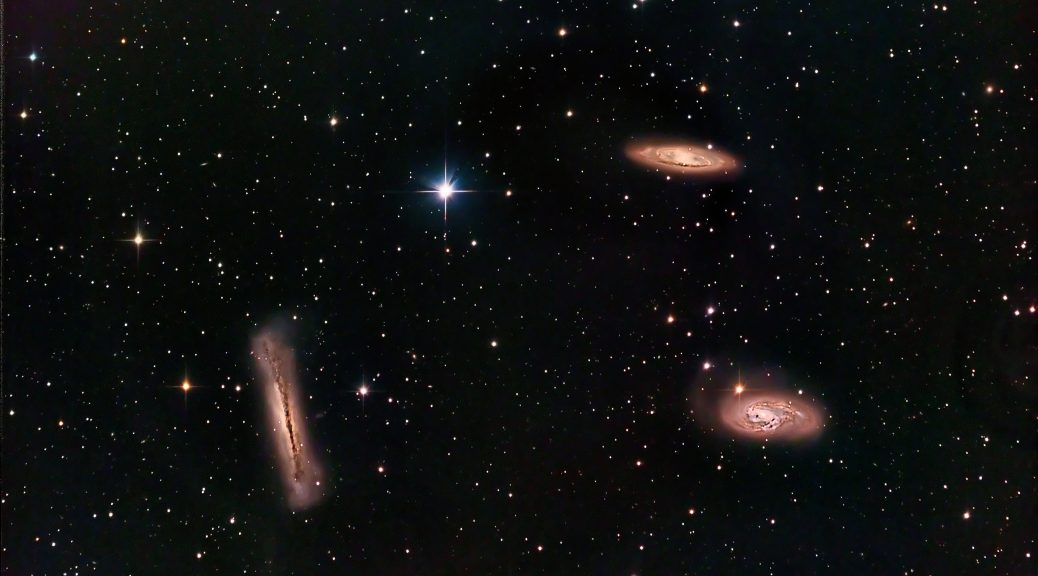
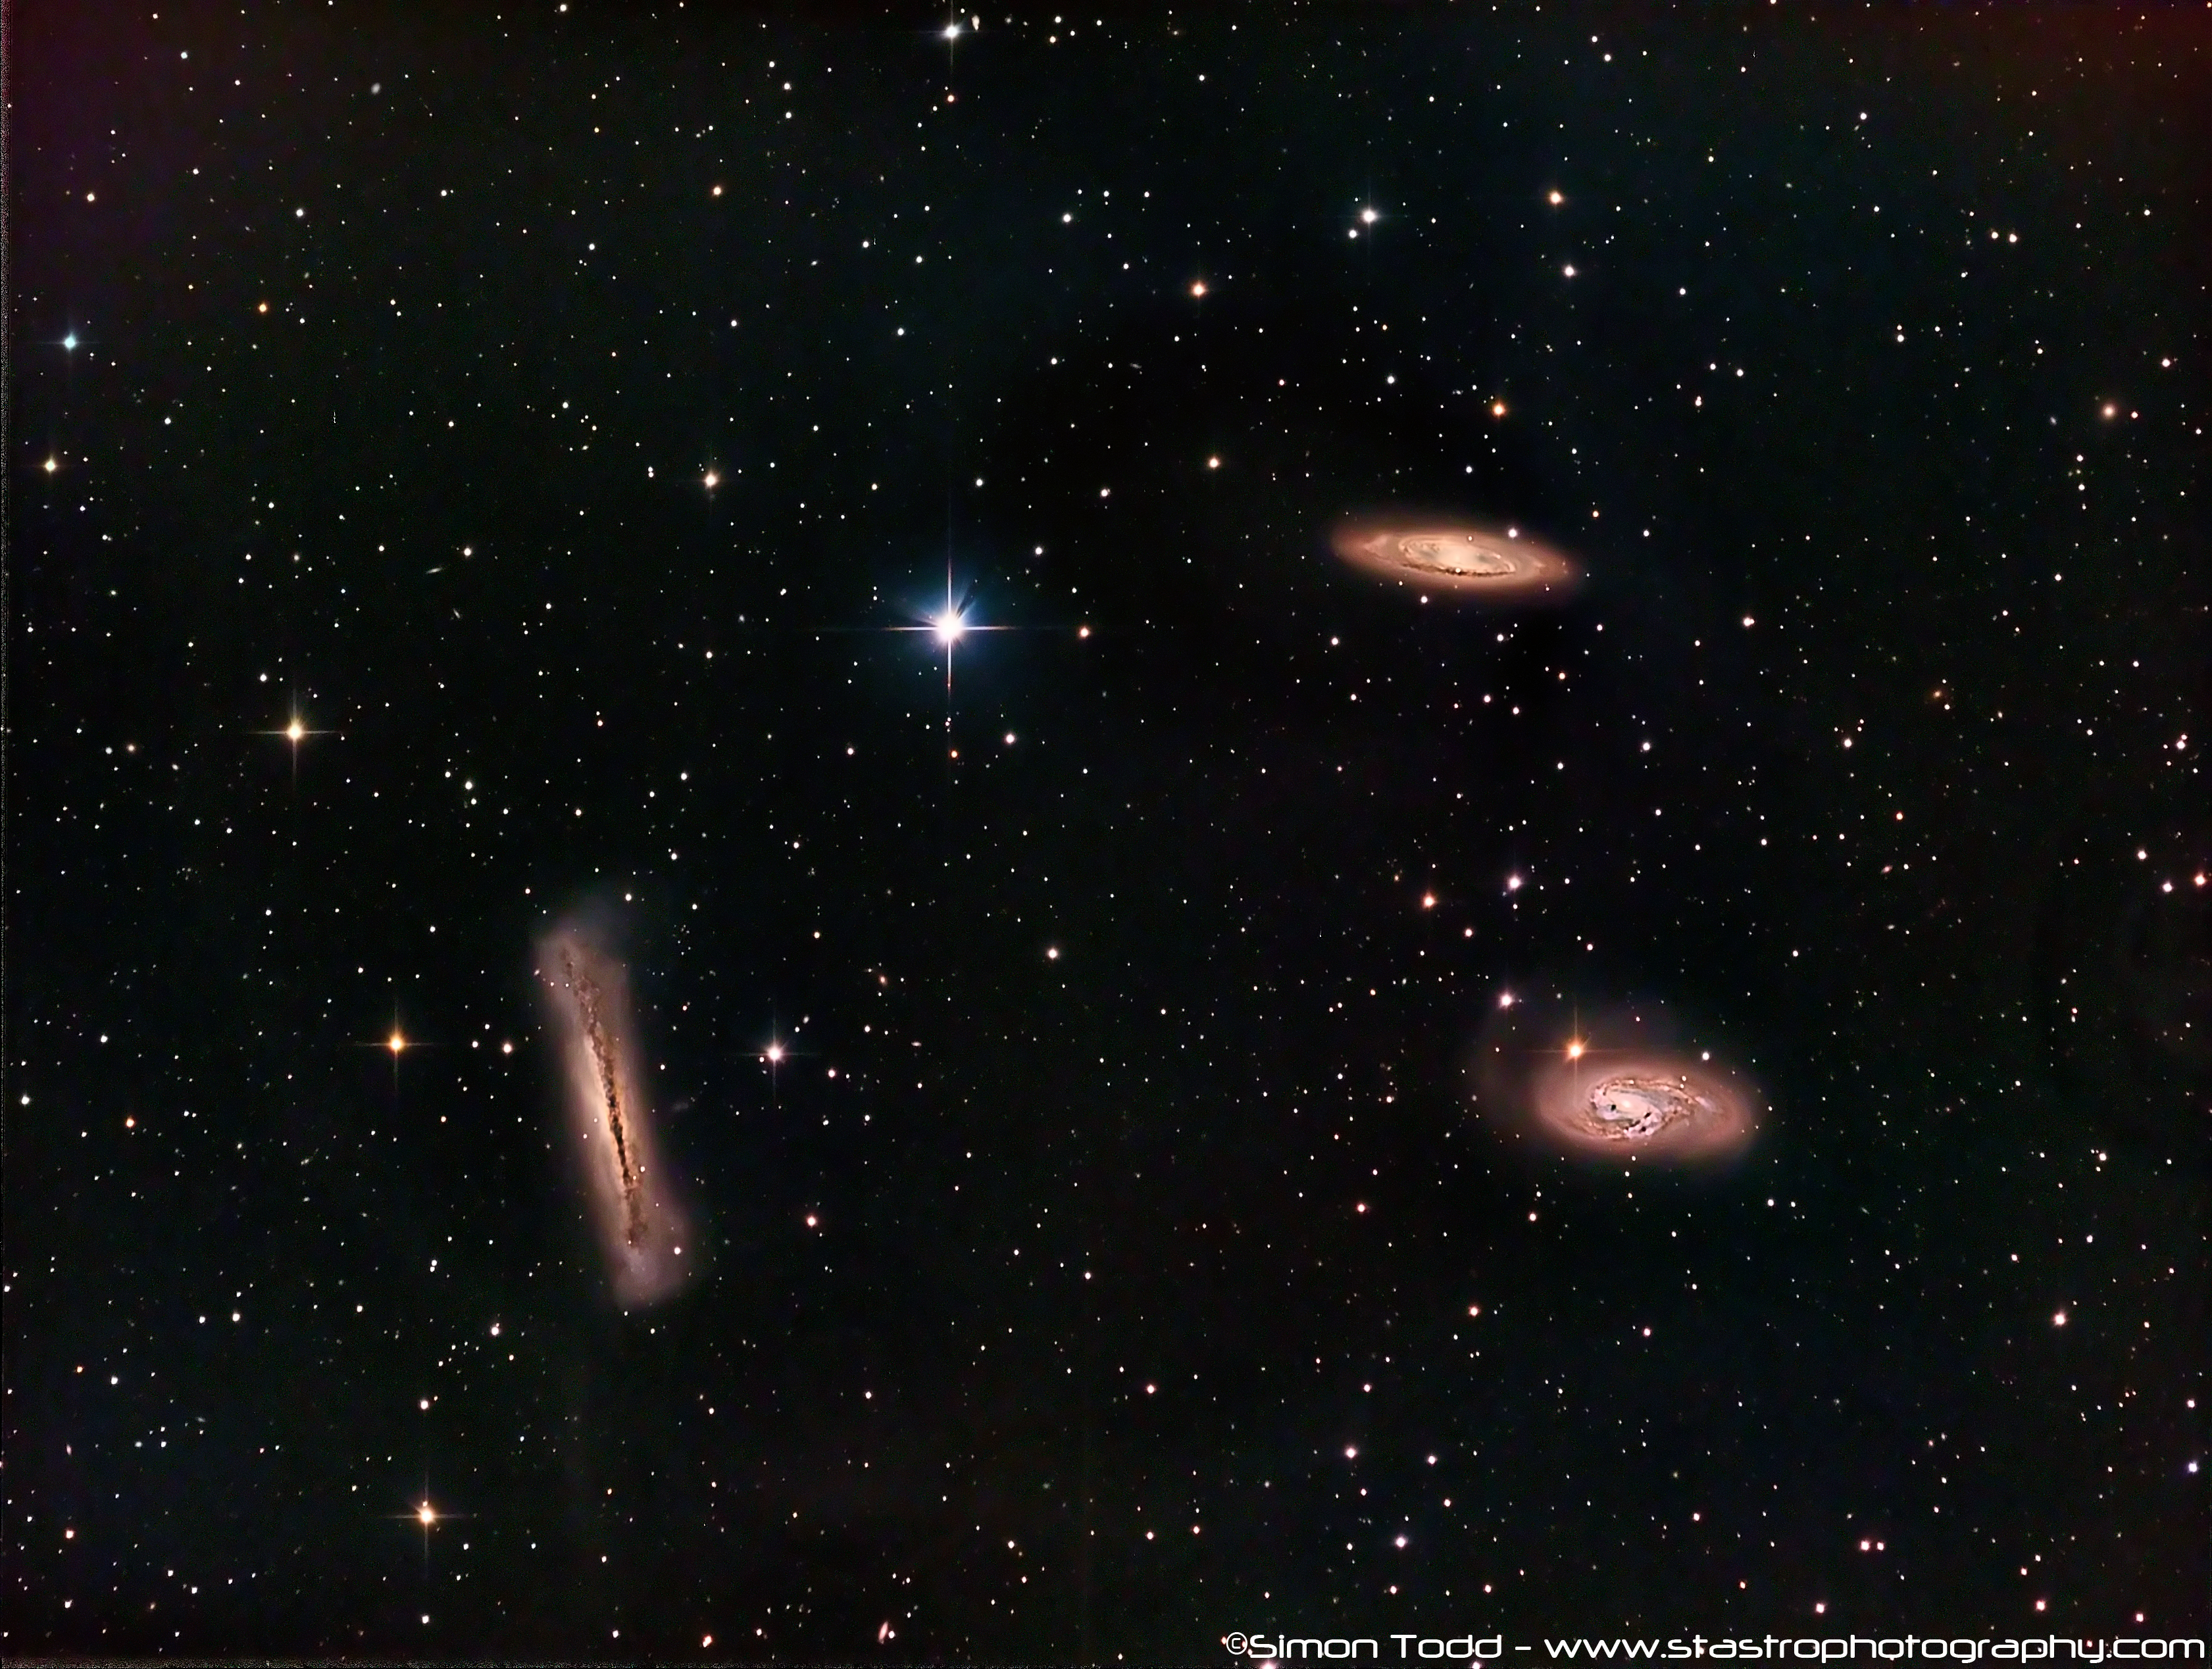
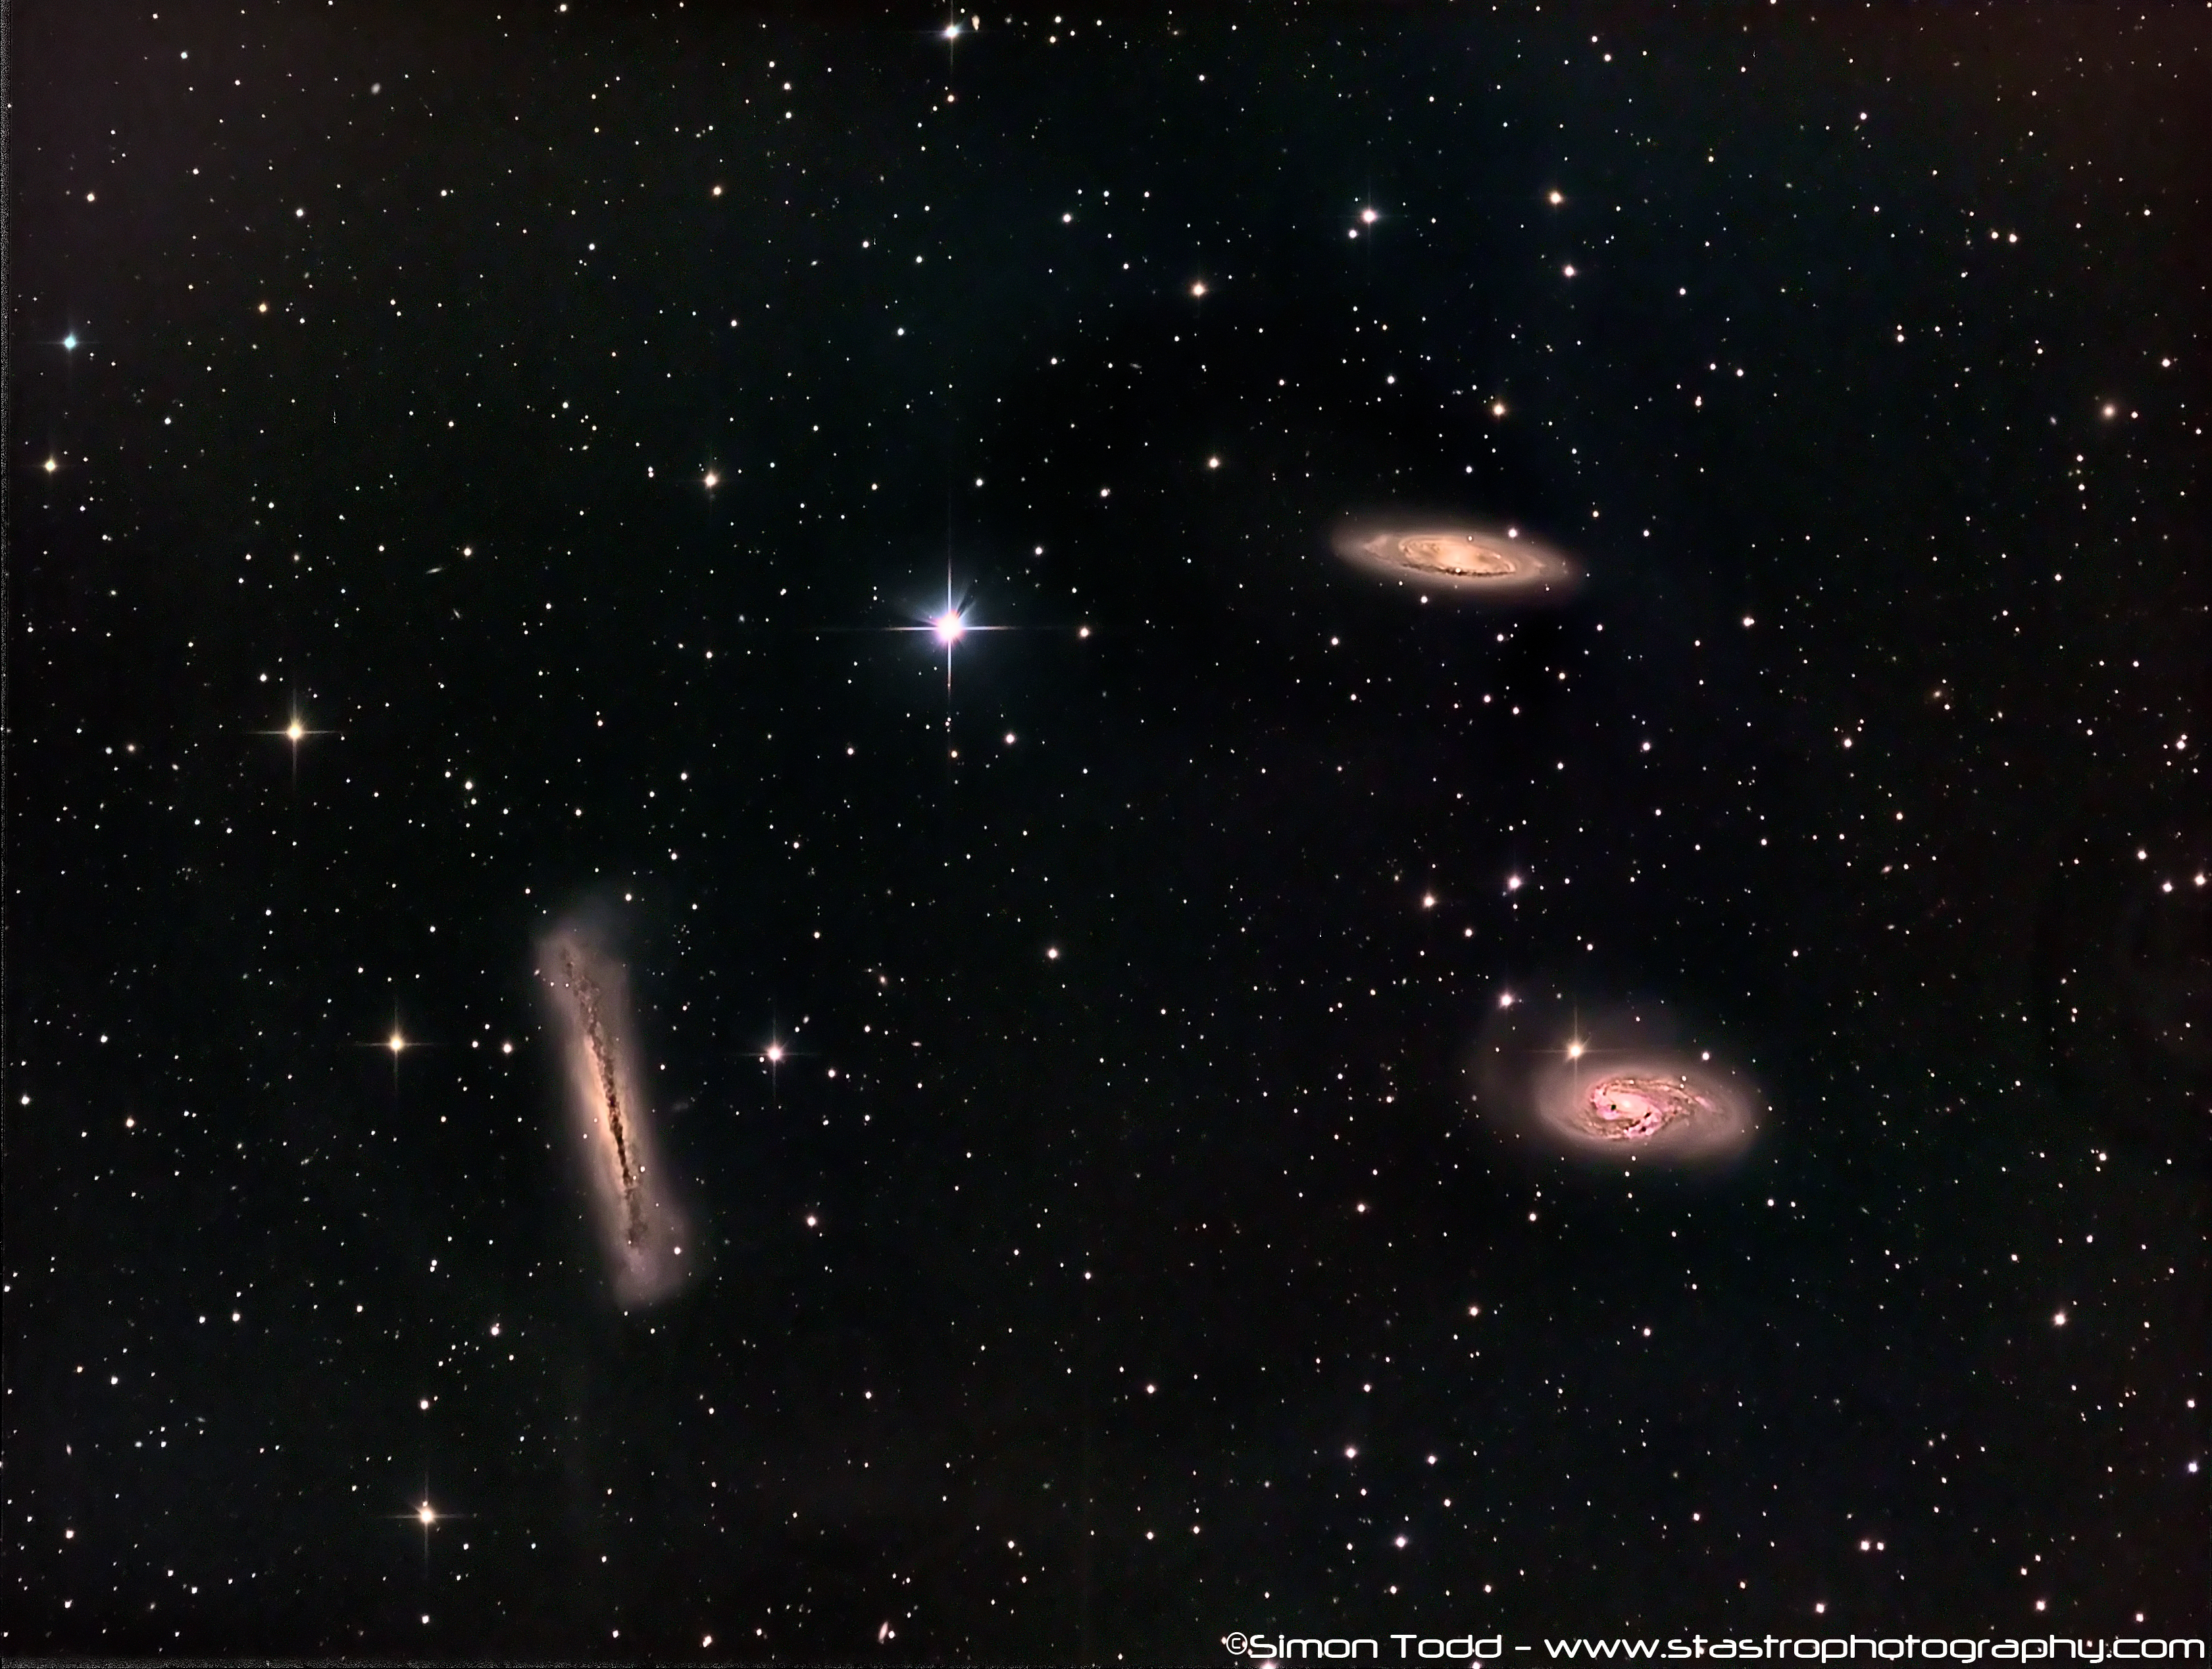
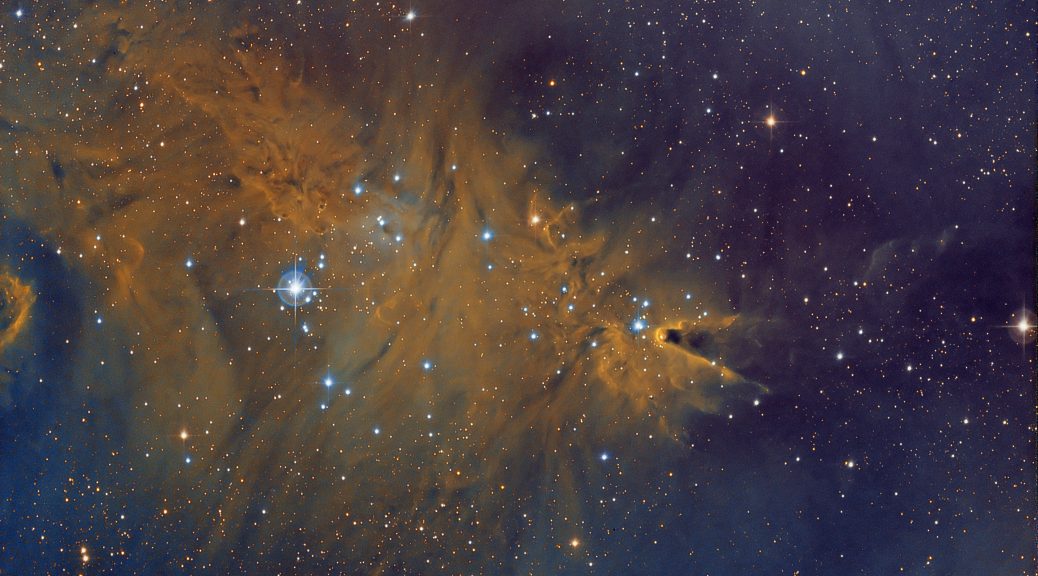
Tag Archives: Stacking

The Art of Exposure in Astrophotography: Short & Frequent vs. Long & Few

Introduction
Artistic and scientific practises collide in astrophotography, which lets us capture the vast beauty of the cosmos from our own backyards. Exposure is a major factor in creating stunning photographs like these. Today, we’ll delve into one of the most contentious issues in astrophotography: the debate between taking fewer, longer exposures versus taking many shorter ones. Knowing the benefits and drawbacks of each technique will help you select the best one for your heavenly masterpiece.

Shorter But Higher Quantity Exposures

Pros:

  1. Mitigate Tracking Errors: Inaccuracies in tracking can be mitigated by using shorter exposures. Polar misalignment, periodic error, wind, and other disturbances can all cause minor deviations in the position of the stars, even with the best tracking mounts. These flaws will be less noticeable in the final product if the exposure time is shortened.
  2. Reduction of Overexposure: Overexposing bright objects or regions is avoided and detail is preserved by using shorter exposures. This is especially helpful in high-dynamic-range objects like nebulae, star clusters, and galaxies.
  3. Increased Flexibility: You can get more information out of your data if you take more pictures. Negative images caused by things like satellite trails or sudden atmospheric turbulence can be thrown out without having a major impact on the quality of the data as a whole.

Cons:

  1. Increased Noise: Noise, especially read noise from your camera, is more noticeable in short exposures. Image stacking and dark frame subtraction can help with this, but it’s still something to think about.
  2. Intensive Data Management: When taking many quick shots, you risk having too much information. The process of organising, storing, and processing such massive amounts of data can be laborious and error-prone.

Longer But Fewer Exposures

Pros:

  1. Better Signal-to-Noise Ratio (SNR): SNR is increased because longer exposures allow more light from faint deep-sky objects to be captured. Images benefit from being clearer, smoother, and more detailed, especially in low-light areas.
  2. Less Processing Required: If there are fewer frames in total, your workflow could be simpler and require fewer resources to complete. This is helpful regardless, but especially so when working with less robust computer hardware.
  3. Less Impact from Read Noise: Taking longer exposures results in less read noise from the camera sensor than taking a large number of shorter ones.

Cons:

  1. Risk of Overexposure: When using a long exposure, highlights risk being overexposed. Particularly in regions with bright stars or nebulae, this can cause a loss of fine detail.
  2. More Vulnerable to Tracking Errors: When using a long exposure, mistakes in tracking and atmospheric disturbances are more likely to occur. Stars will start to blur or trail if you move even slightly, ruining an otherwise perfect exposure.
  3. Less Room for Error: When there are fewer options, each photo is more precious. Unexpected problems (such as a plane crossing, sudden gusts of wind, etc.) that affect some frames have a greater effect on the overall image quality.

Conclusion
The equipment you’re using, the object you’re photographing, and the sky conditions all play a role in determining whether you should use shorter, more frequent exposures or longer, fewer ones. Keep in mind that neither method is better than the other. How well the strategy works to get you where you want to go is what matters.

Trying out different shutter speeds and exposures is always a good idea. After all, astrophotography is not just about getting the perfect shot; it’s also about the process of getting there. Keep in mind that the sky is always there for you to use as a blank canvas. Have fun with it!

M51 – Whirlpool Galaxy in LRGB

Another Image that I have previously imaged with the Atik Camera, again demonstrating a different resolution obviously showing off a bit more detail, here’s the image previously:

Equipment Used:
Imaging Scope: Sky-Watcher Quattro 8″ F4 Imaging Newtonian
Imaging Camera: Qhyccd 183M 20mpx ColdMOS Camera at -20C
Guide Scope: Sky-Watcher Finder Scope
Guide Camera: Qhyccd QHY5L-II
Mount: Sky-Watcher EQ8-Pro GEM Goto Mount
Filterwheel: Starlight Xpress Ltd 7x36mm EFW
Filters: Baader Planetarium 36mm LRGB Filters

Software:
Image Acquisition: Main Sequence Software SGPro 3
Guiding: PHD2
Image Processing: PixInsight

Target Details:
Name: M51 / NGC5194 / Whirlpool Galaxy
Constellation:Canes Venatici
RA: 13h 29m 53.00s
Dec: 47° 11′ 51.10″
Distance from Earth: >23 Million Light Years

Image Details:
Luminance: 101×150 Second Exposures
Red: 85×150 Second Exposures
Green: 85×150 Second Exposures
Blue: 85×150 Second Exposures
Total Exposure Time: 14.83 Hours

Acquisition Dates: 6 Apr 2018, 19/20/21 Apr 2018, 5/6/7/8/9 May 2018


Leo Triplet in LRGB

This is not the first time I have imaged this trio of trespassers, I have imaged them before on the same scope but with my previous Atik 383L+ CCD Imager, so again similar to M81 and M82, you can clearly see the difference in resolution the new camera offers, here’s the previous image taken from my previous post here:

Equipment Used:
Imaging Scope: Sky-Watcher Quattro 8″ F4 Imaging Newtonian
Imaging Camera: Qhyccd 183M 20mpx ColdMOS Camera at -20C
Guide Scope: Sky-Watcher Finder Scope
Guide Camera: Qhyccd QHY5L-II
Mount: Sky-Watcher EQ8-Pro GEM Goto Mount
Filterwheel: Starlight Xpress Ltd 7x36mm EFW
Filters: Baader Planetarium 36mm LRGB Filters

Software:
Image Acquisition: Main Sequence Software SGPro 3
Guiding: PHD2
Image Processing: PixInsight

Image Details:
Luminance: 101×150 Second Exposures
Red: 101×150 Second Exposures
Green: 101×150 Second Exposures
Blue: 101×150 Second Exposures
Acquisition Dates: 18/19/20/21 Apr 2018,  4/5/6/7/8/9 May 2018

Total Exposure Time: 16.83 Hours

Target Details: Leo Triplet
Constellation: Leo
RA: 11h 19m 36.15s
Dec: 13° 17′ 2.90″
Distance from Earth: 35 Million Light Years
Galaxies: M65 (Top Right), M66 (Bottom Right) and NGC3628 (Bottom Left) also known as The Hamburger Galaxy or Sarah’s Galaxy

M81 and M82 Bodes Galaxy and Cigar Galaxy in LHaRGB

After much waiting, I finally have the RGB Data to go with the luminance layer, a new learning curve was the HDR Compose process in PixInsight, I used this to include the 300S Exposures I had previously that were burning out the core.

Equipment Used:
Imaging Camera: Qhyccd 183M Back Illuminated ColdMOS Camera at -20C
Imaging Scope: Sky-Watcher 8″ Quattro F4
Mount: Sky-Watcher EQ8 Pro
Guide Camera: Qhyccd QHY5L-II
Guide Scope: Sky-Watcher 90×50 Finder
Filter Wheel: Starlight Xpress Ltd 7x36mm EFW
Filters: Baader Planetarium LRGB + 7nm Ha
Image Acquisition: Main Sequence Software SGPro
Image Processing: PixInsight

Image Details:
101x150S in LRGB, Total 16.83 Hours
25x300S in LRGB, Total 8.33 Hours
25x600S in Ha, Total 4.16 Hours
Total exposure time: 29.32 Hours
BIAS, Darks and Flats subtracted
Target: M81 and M82 in Ursa Major
Acquisition Dates: Feb. 11, 2018,  Feb. 12, 2018,  Feb. 16, 2018,  Feb. 23, 2018,  Feb. 24, 2018,  March 13, 2018,  March 14, 2018,  March 15, 2018,  March 16, 2018,  March 19, 2018,  March 20, 2018

M97 / NGC3587 – Owl Nebula in LHaRGB

I have imaged this before in the same frame as the Surfboard Galaxy, however the 0.62 Arcseconds Per Pixel the Qhyccd 183M gives me on my Sky-Watcher Quattro 8″ F4 gives me a much higher resolution image, so here it is, the Owl Nebula in the constellation of Ursa Major at a distance of 2030 Light years from Earth

Gear:
Imaging Scope: Sky-Watcher Quattro 8″ F4 Imaging Newtonian
Imaging Camera: Qhyccd 183M 20mpx ColdMOS Camera at -20C and DSO Gain
Mount: Sky-Watcher EQ8 Pro
Guide Camera: Qhyccd QHY5L-II Mono
Guide Scope: Sky-Watcher 50×90 Finder Scope
Filter Wheel: Starlight Xpress Ltd 7x36mm EFW
Filters: Baader Planetarium 36mm RGB
Coma Corrector: Sky-Watcher Aplanatic Coma Corrector
Image Acquisition: Main Sequence Software SGPro
Image Processing: PixInsight

Image Details:
Target: M97/NGC3587 – Owl Nebula
Constelation: Ursa Major
Red: 27x300S
Green: 27x300S
Blue: 27x300S
Ha: 25x600S
Darks: 51x300S
Flats: 101
Bias: 251 converted to SuperBIAS and deducted from Flats
Imaging Dates: Feb. 12, 2018,  Feb. 16, 2018,  Feb. 24, 2018,  Feb. 25, 2018

PixInsight Image processing workflow:
1. Calibrated against darks and Bias Subtracted Flats
2. Star Alignment for all RGB and Ha Frames
3. Least noise frame from each colour chosen as Normalization Frame and Dynamic Background Extraction Performed
4. Normalization of all frames
5. Stacking of frames and generation of drizle data (for larger quality image in future)
6. Performed LinearFit using Red stacked image as reference for RGB Frames
7. Performed DynamicCrop on all channels and Ha
8. Performed MultiMedianTransformation to reduce background noise
9. Performed SCNR to remove excessive green in image
10. Stretched the image using HistogramTransformation
11. Performed an Unsharp Mask on RGB and HA Data
12. Performed an ATWT on the Background
11. Merged the Ha Data using the HaRVB-AIP Script in PixInsight
12. Performed a CurvesTransformation to bring out the star colour

M97 and M108 – Owl Nebula and Surfboard Galaxy in LRGB

M97 and M108

The Owl Nebula (also known as Messier 97, M97 or NGC 3587) is a planetary nebula located approximately 2,030 light years away in the constellation Ursa Major.  It was discovered by French astronomer Pierre Méchain on February 16, 1781

Messier 108 (also known as NGC 3556) is a barred spiral galaxy in the constellation Ursa Major. It was discovered by Pierre Méchain in 1781 or 1782. From the perspective of the Earth, this galaxy is seen almost edge-on.

The image consists of the following
23x180S – Red
23x180S – Green
23x180S – Blue
25x180S – Luminance

25 Darks, 25 Flats and 25 BIAS frames have also been applied

Equipment Used:-
Imaging Scope: Sky-Watcher Quattro Series 8-CF F4 Imaging Newtonian
Flattener: Sky-Watcher Aplanatic Coma Corrector
Imaging Camera: Atik Cameras 383L+ Mono CCD -20C
Guide Scope: Celestron Telescopes C80ED Reftractor
Guide Camera: Qhyccd QHY5L-II
Mount: Sky-Watcher EQ8 Pro
Filterwheel: Starlight Xpress Ltd 7x36mm EFW
Filters: Baader Planetarium 36mm Unmounted LRGB
Image Capture: Main Sequence Software SGPro
Image Stacking: Maxim-DL
Image Processing: PixInsight

Leo Triplet of Galaxies

Leo Triplet In LRGB (above) and LRGB+HA (below)

The Leo Triplet consists of three galaxies at a distance of around 35 million light years, M65 (top right), M66 (bottom right) and NGC3628 (left).  I have always aimed at imaging the triplet since I started imaging but never got around to it.

M65 (NGC 3623) and M66 (NGC 3627) are classed as intermiediate spiral galaxies and NGC3628 is also known as the Hamburger Galaxy or Sarah’s Galaxy and is classed as an Unbarred Spiral Galaxy.

The image consists of:-
29x300S of Luminance
14x300S Red, Green and Blue
15x600S of 7nm HA in the LRGB+HA Image
25 Darks and flats subtracted from all frames

Equipment Details:
Imaging Telescope: Sky-Watcher Quattro 8-CF F4 Imaging Newtonian
Imaging Camera: Atik Cameras 383L+ Mono CCD
Coma Corrector: Sky-Watcher Aplanatic Coma Corrector
Guide Camera: Qhyccd QHY5L-II
Guide Scoope: Celestron Telescopes C80ED Refractor
Mount: Sky-Watcher EQ8 Pro
Filter Wheel: Starlight Xpress Ltd 7x36mm USB EFW
Filters: Baader Planetarium LRGB + 7NM HA

Image Aquisition: Main Sequence Software SGPro
Image Pre-Processing and STacking: Maxim-DL
Post Processing: PixInsight

In my opinion, there’s only a subtle difference between the LRGB and LRGBHA images, personally I preffer the LRGB Version, the data was captured over multiple nights since the beginning of 2017 but in total gives 5.91 Hours on the LRGB Image and 8.41 Hours for the LRGB+HA Image