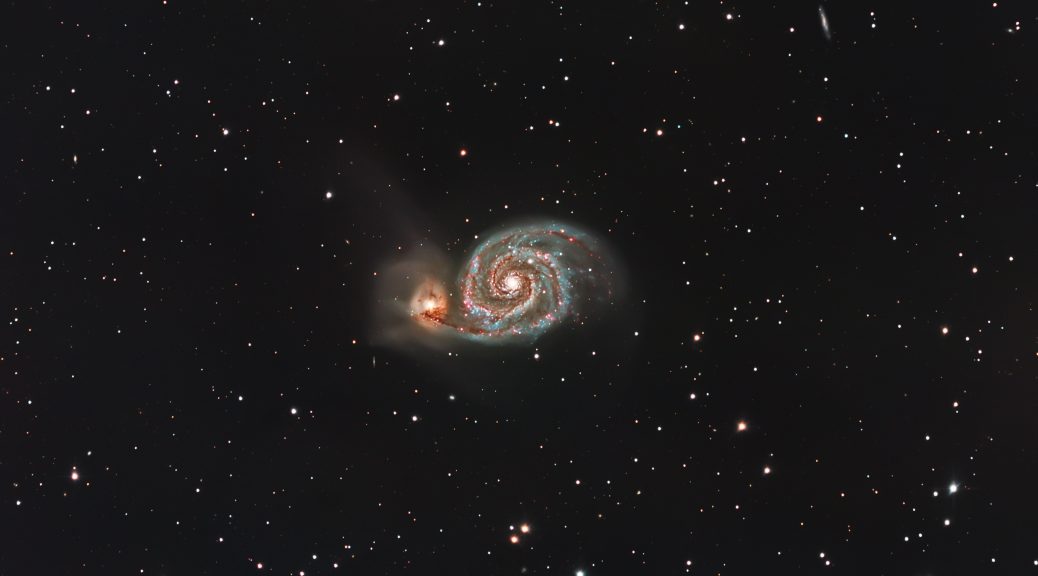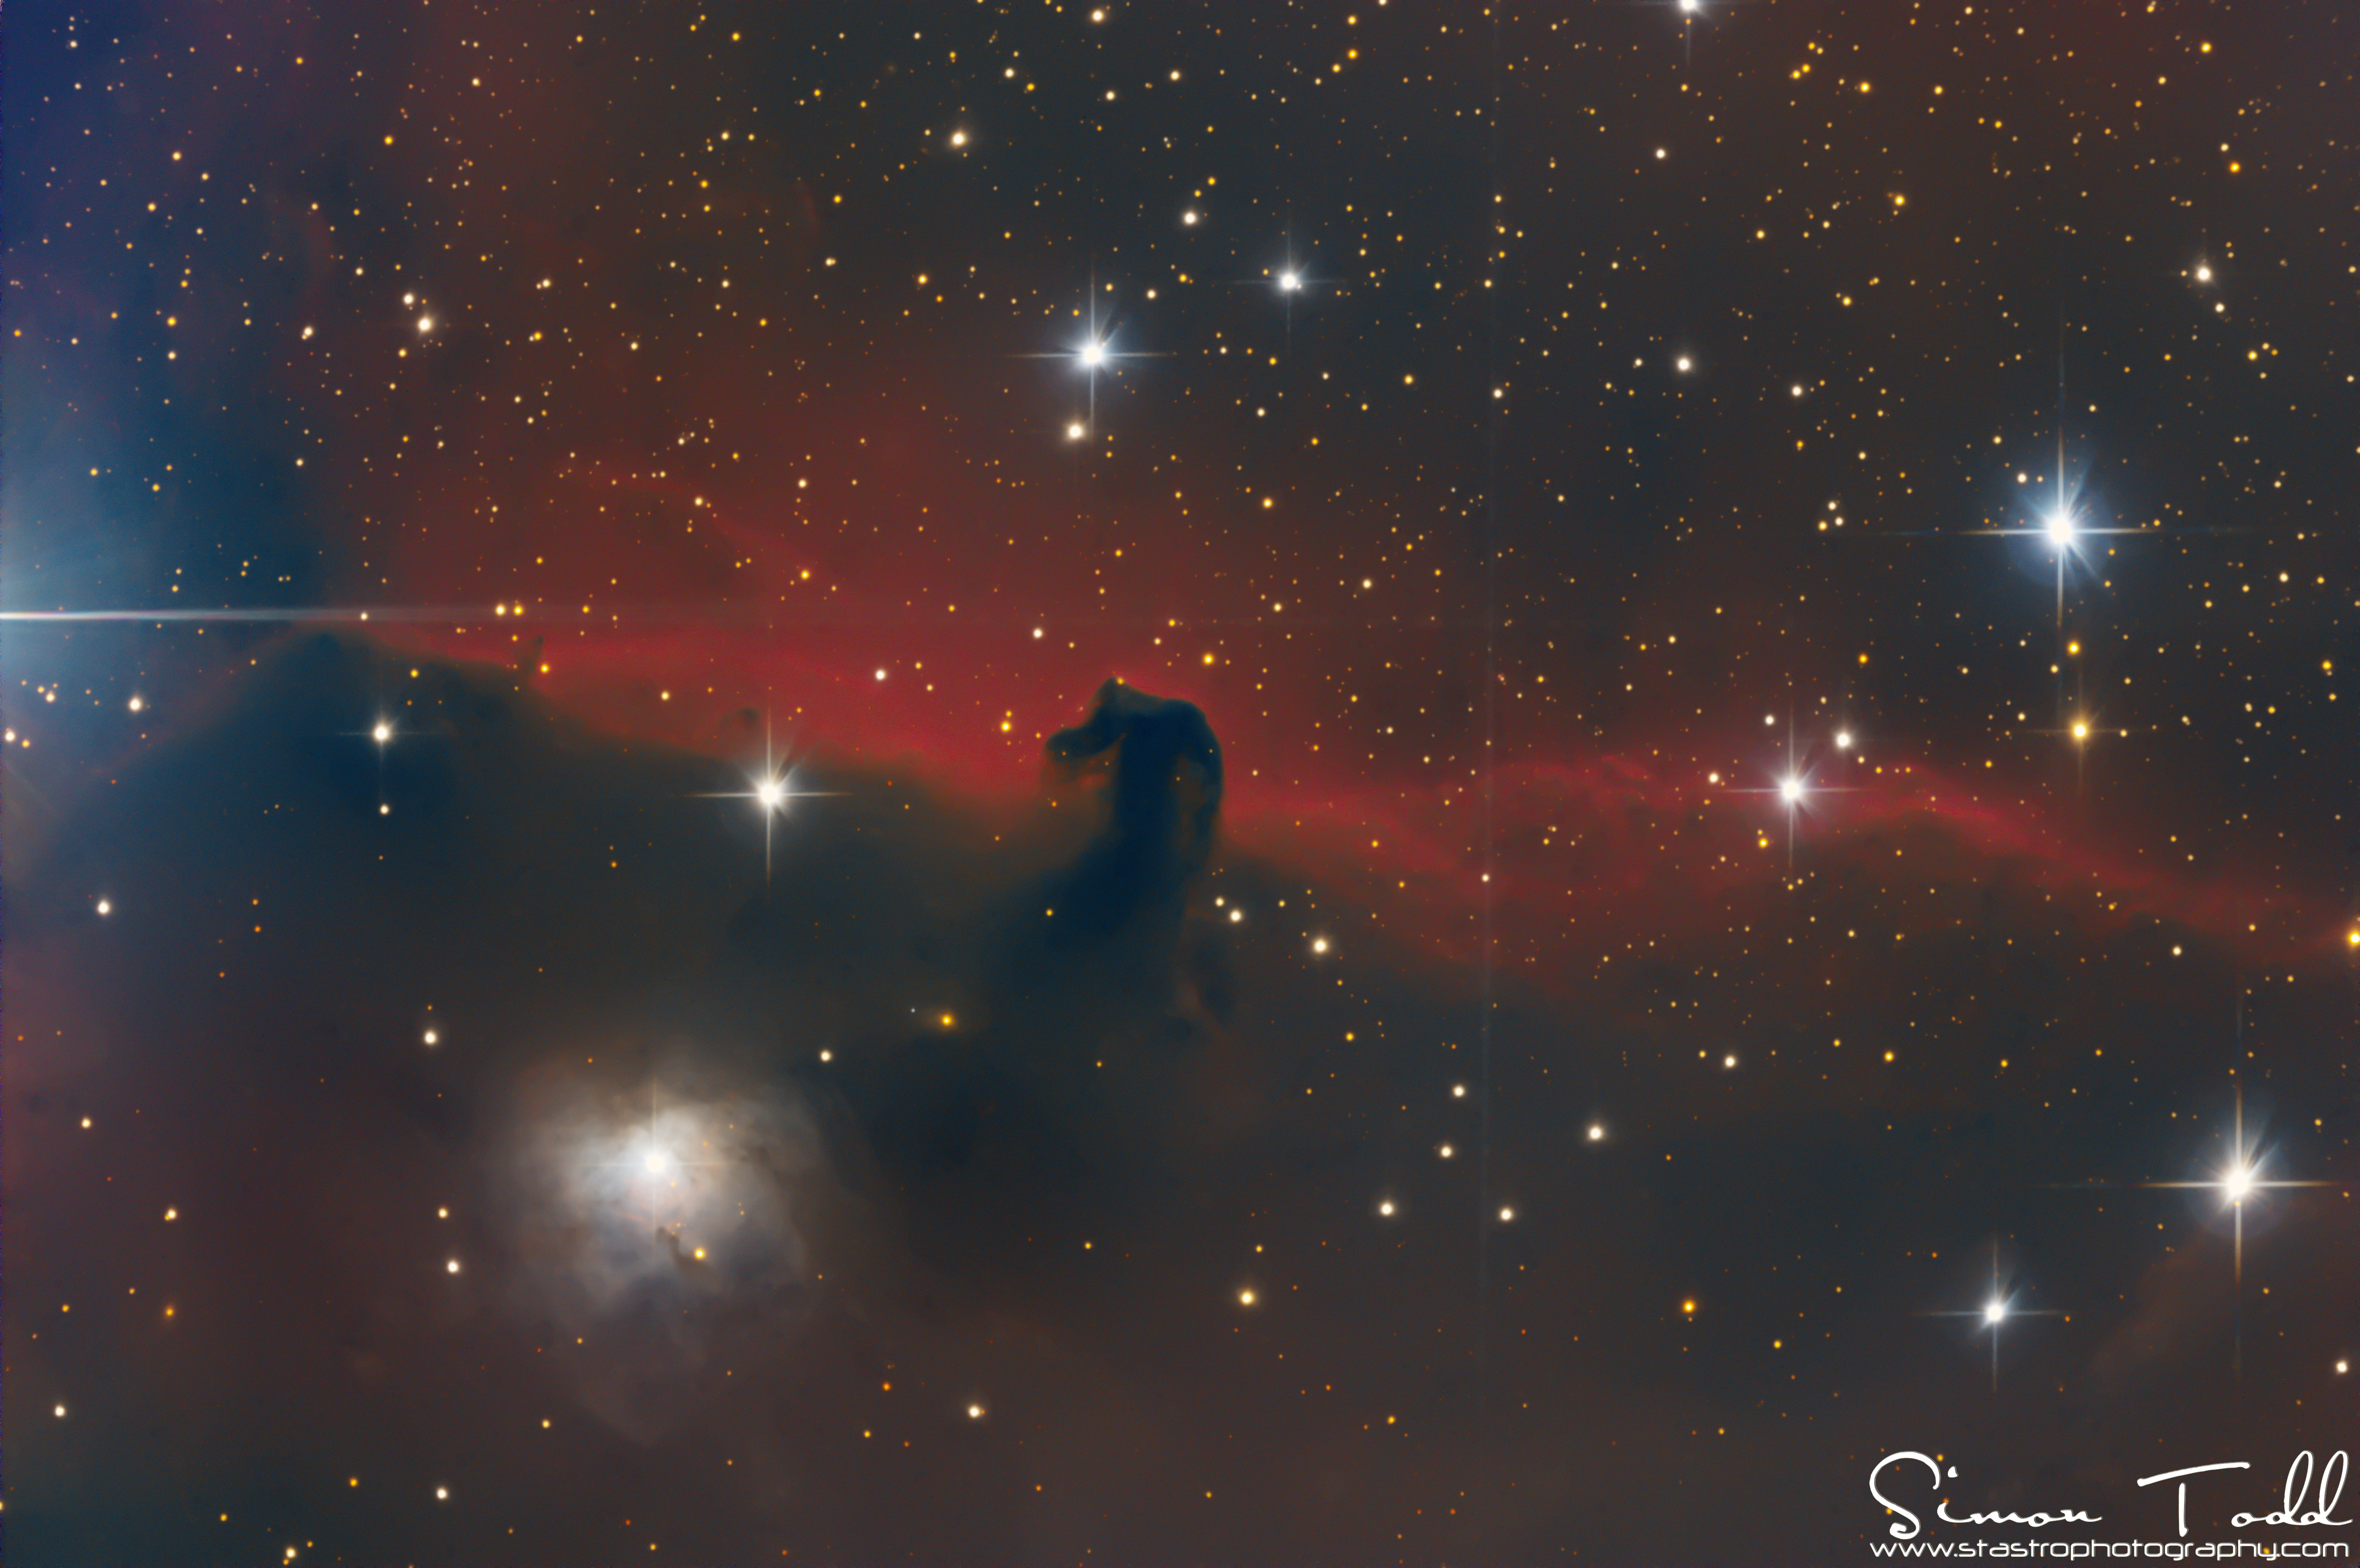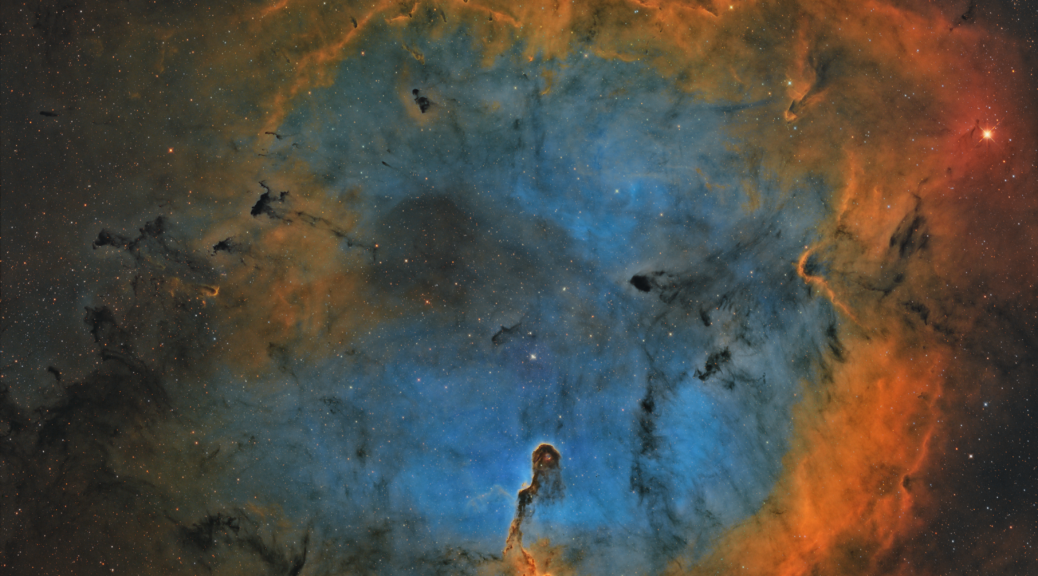
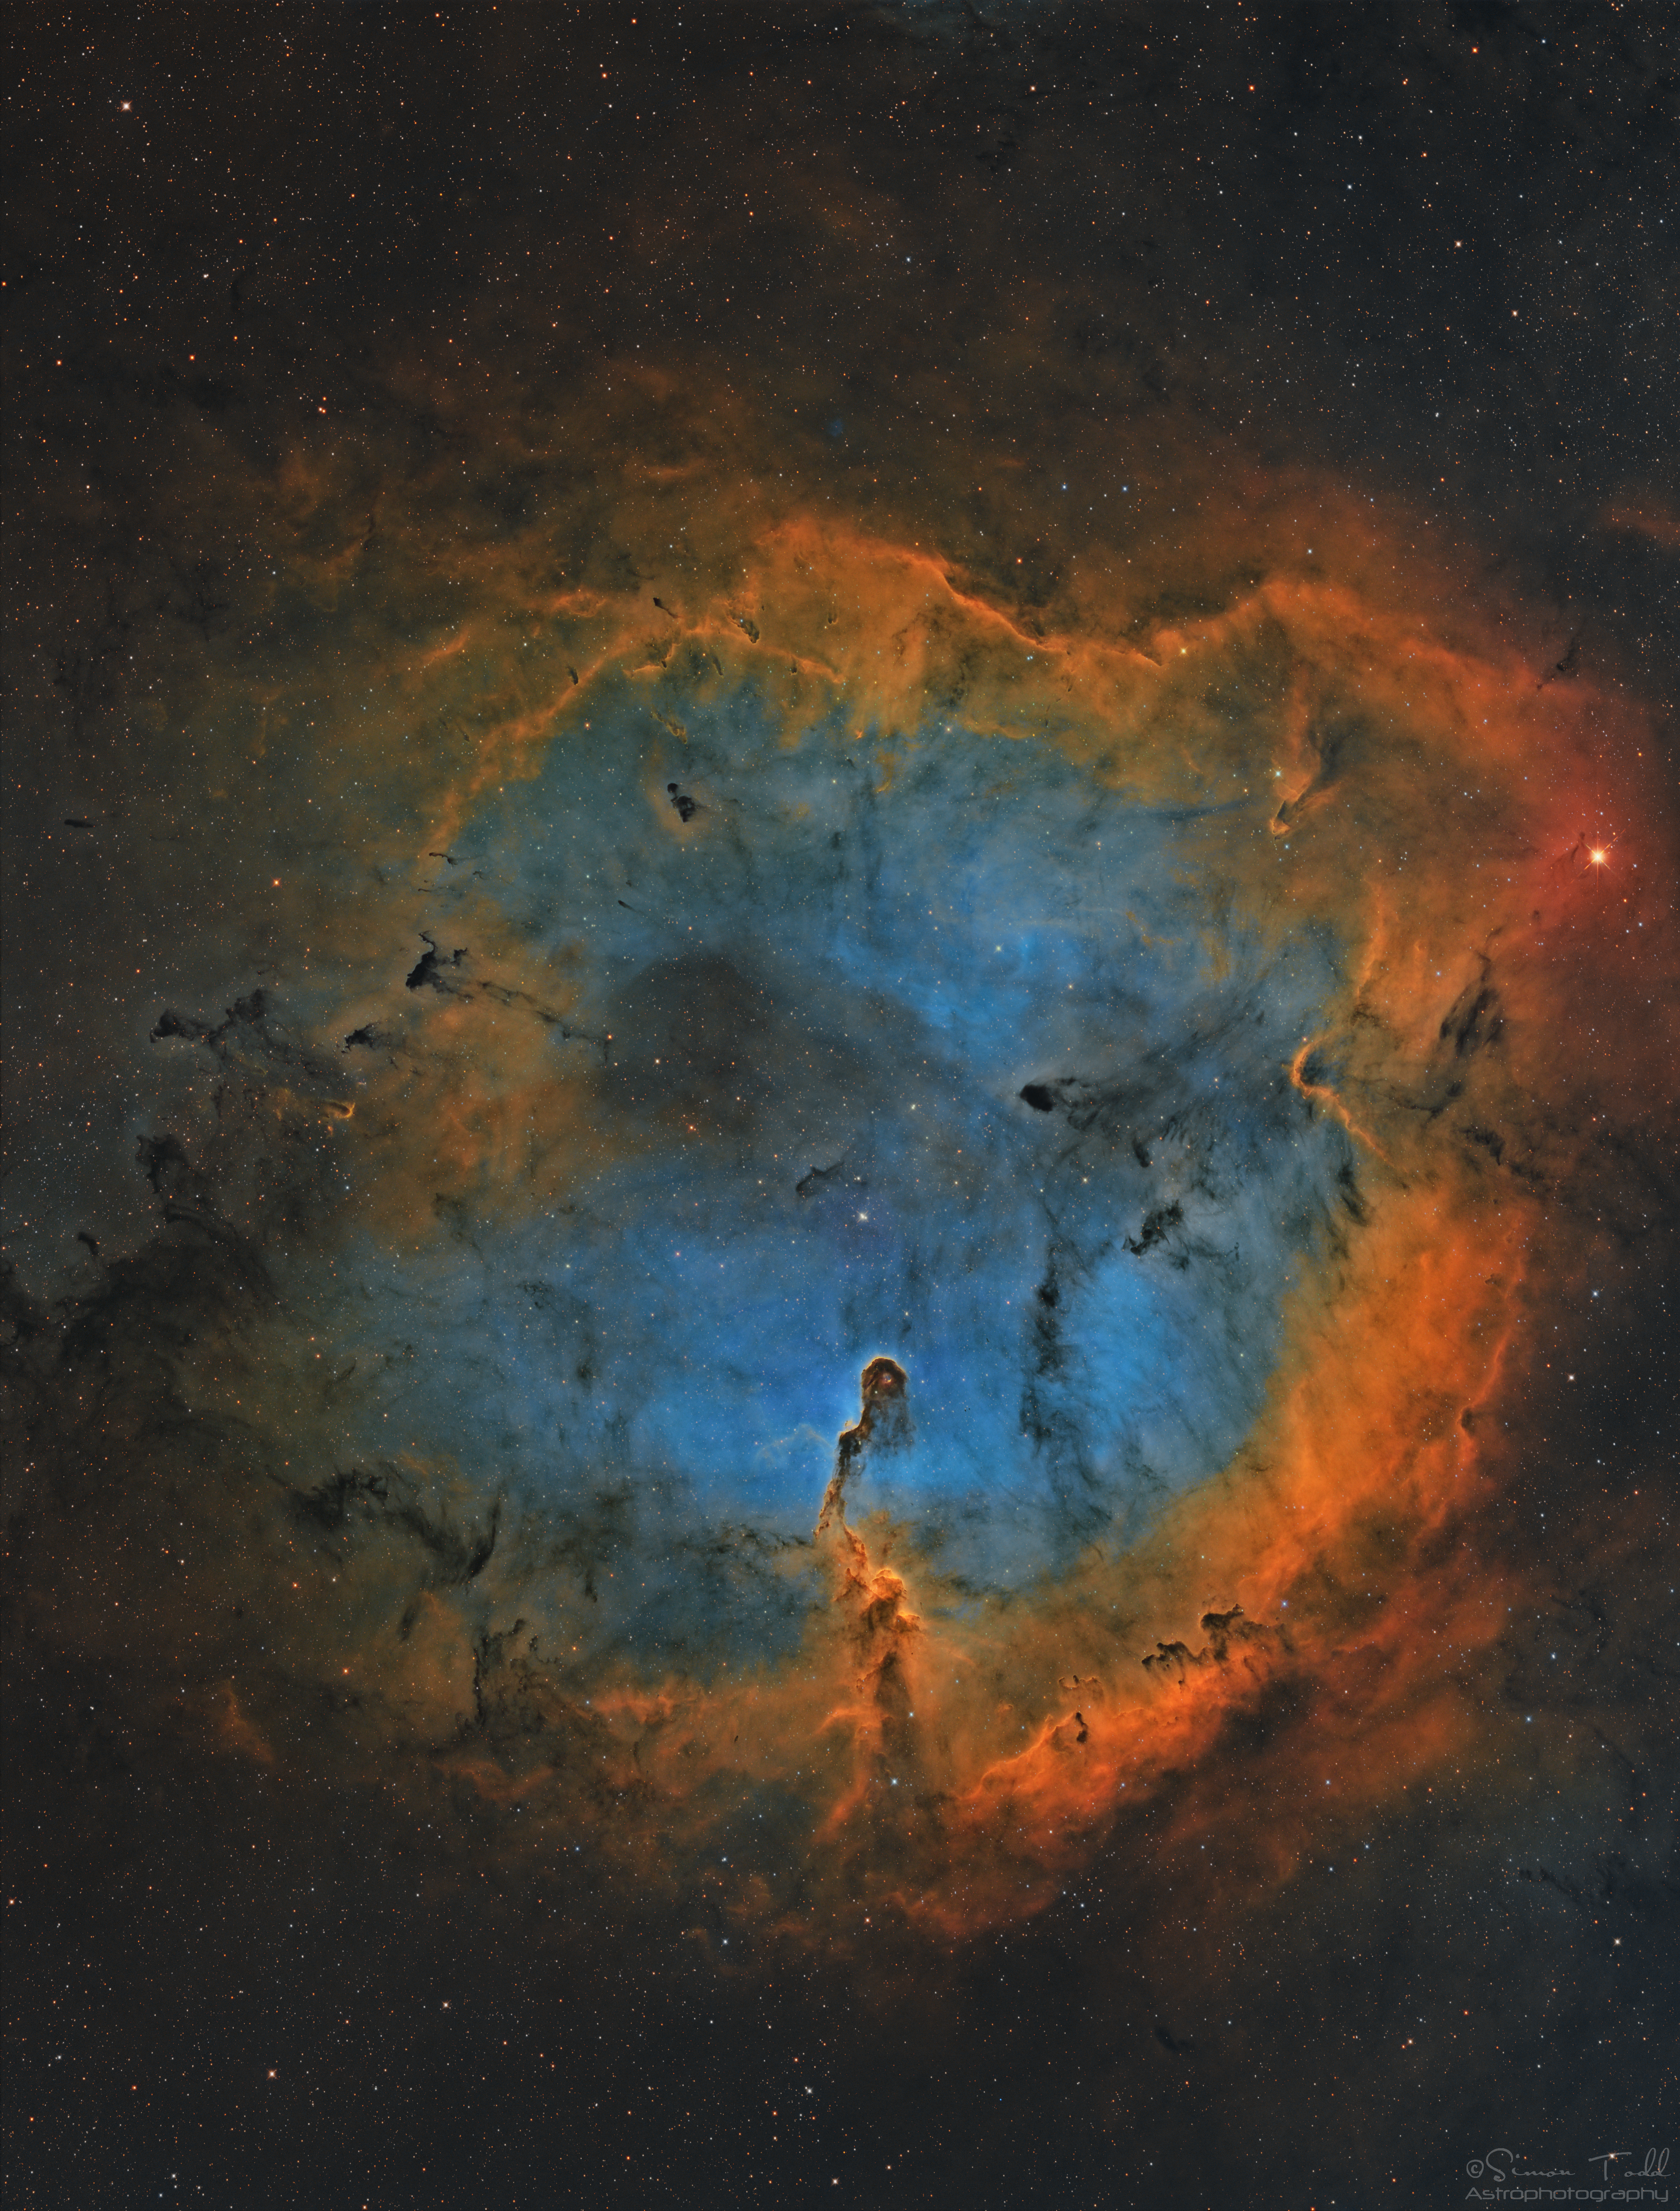
In the boundless theatre of the night sky, where celestial tales unfold across the eons, lies an ethereal masterpiece that has captivated the gaze of astronomers and dreamers alike. This image, a delicate two-panel mosaic, is a profound revelation of the Elephant’s Trunk Nebula, known formally by its catalog designations IC 1396A, nestled within the larger expanse of the IC 1396 complex in the constellation of Cepheus.
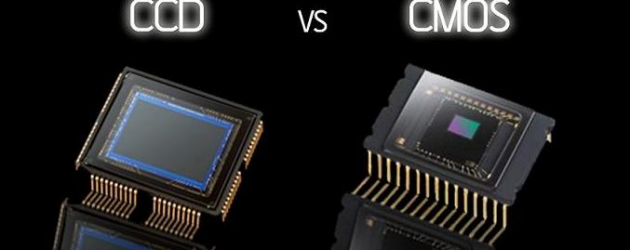
Crafted with meticulous dedication over the span of five months, this portrait of the cosmos was brought to life using a full-frame monochrome CMOS camera, a testament to the intersection of art and technology. The camera, acting as a modern-day alchemist, transformed the invisible into the visible, capturing the nebula’s intricate details and sweeping gas clouds that resemble an elephant’s trunk, reaching out into the void.
However, this image is more than a snapshot; it is a chapter in an ongoing saga dictated by the unpredictable whims of the UK’s weather. The journey to encapsulate the nebula’s full glory has been a dance with the elements, with many nights spent under the cloak of clouds rather than stars. Despite these challenges, the initial results have unveiled a stunning glimpse into the cosmos, showcasing the nebula’s haunting beauty and the vibrant activity within its star-forming regions.
Yet, the story does not end here. The image is a promise of what is yet to come, as there are plans to revisit the Elephant’s Trunk Nebula later this year. The aim is to deepen the exploration, to add more data to this cosmic tapestry, and to further refine the clarity and depth of this celestial phenomenon.
This endeavor, a blend of patience, passion, and precision, highlights not just the technical prowess required for astrophotography but also the enduring human desire to connect with the universe. Through this image, we are reminded of our place in the cosmos, a mere speck within the vastness, yet capable of capturing and celebrating its majesty.
The Elephant’s Trunk Nebula stands as a beacon in the dark, a symbol of the mysteries that await our discovery. With each photograph, we peel back another layer of the universe, bringing us closer to understanding the grand design of which we are a part. This image is an invitation to gaze upwards, to wonder, and to dream of the infinite possibilities that lie beyond our world.
Here is the Astrobin link for the full resolution image: https://www.astrobin.com/full/qxmduq/0/
Frames:
Chroma H-alpha 3nm Bandpass 50 mm: 81×300″(6h 45′) (gain: 100.00) -10°C bin 1×1
Chroma OIII 3nm Bandpass 50 mm: 91×300″(7h 35′) (gain: 100.00) -10°C bin 1×1
Chroma SII 3nm Bandpass 50 mm: 125×300″(10h 25′) (gain: 100.00) -10°C bin 1×1
Integration: 24h 45m
Darks: 51
Flats: 51
Bias: 201
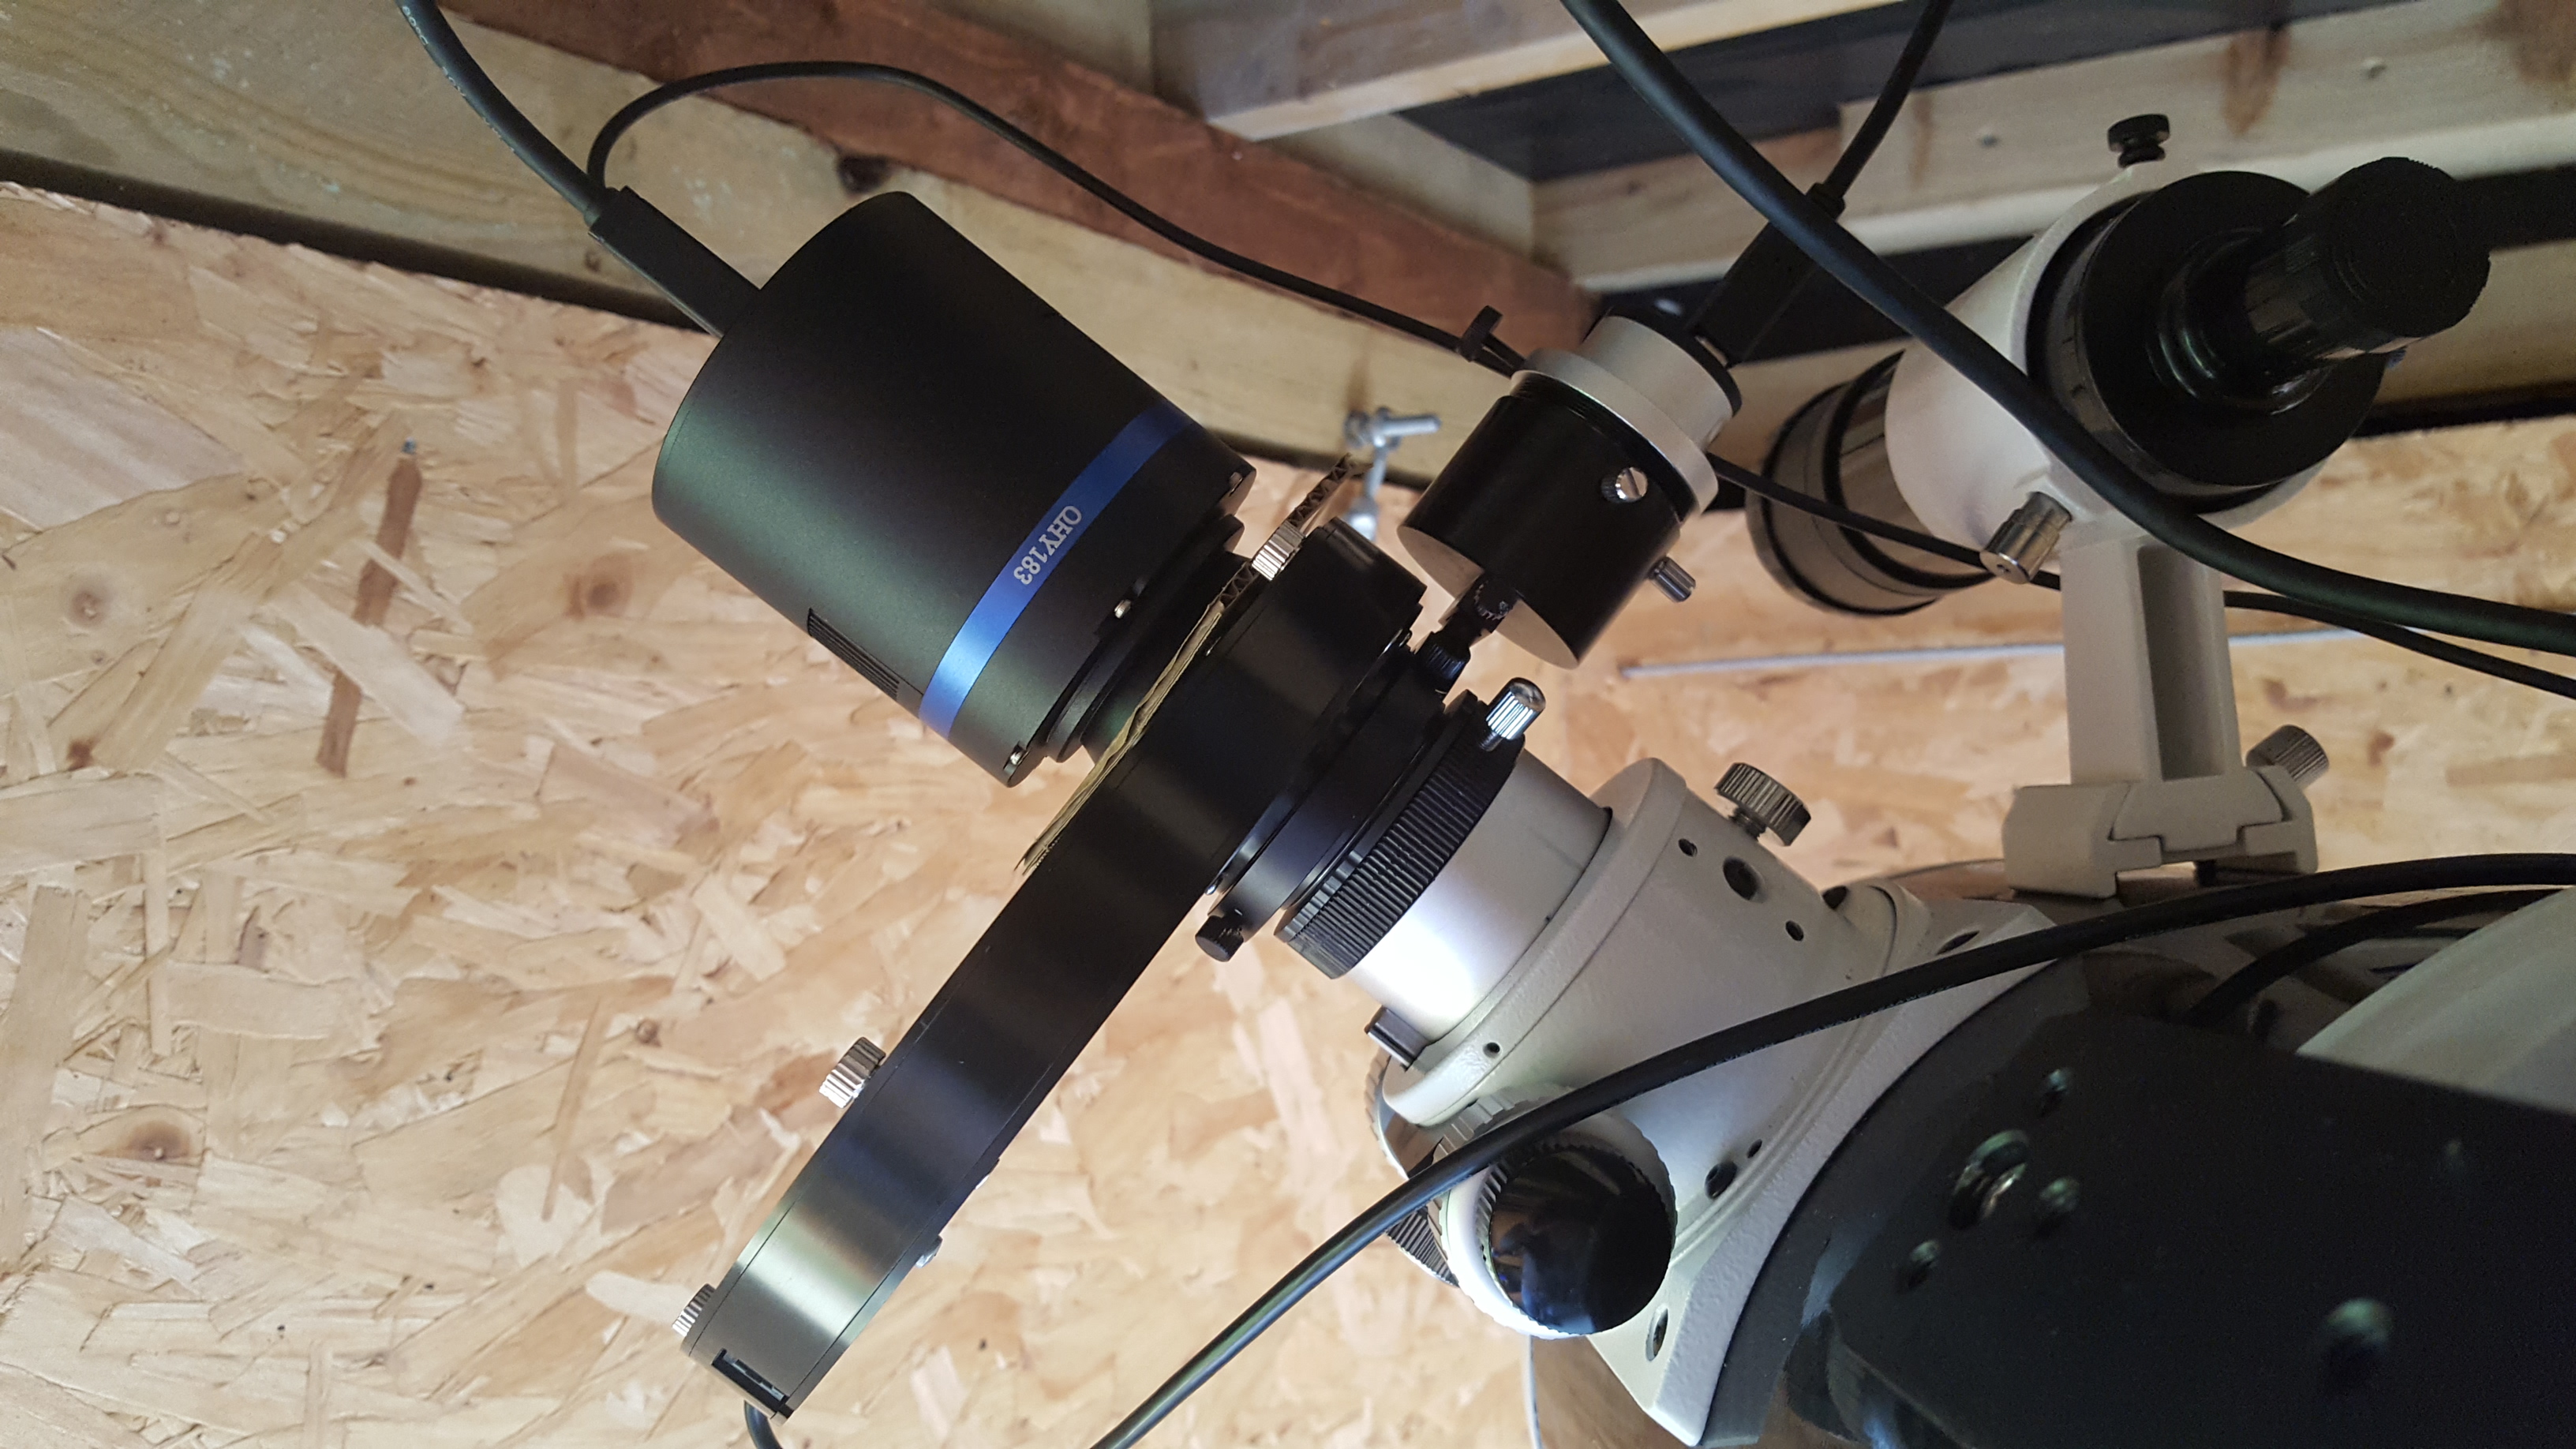
Equipment:
Imaging Camera: ZWO ASI Cameras ASI6200MM Pro Gain 100 -10C
Imaging Scope: Sharpstar Optics 20032PNT F3.2 Paraboloid Astrograph
Filters: Chroma 50mm 3nm Filters
Filterwheel: ZWO ASI Cameras 7x EFW
Guide Camera: ZWO ASI Cameras ASI290MM
Mount: Sky-Watcher EQ8 Pro German Equatorial Mount
Auto Focuser: Primalucelab Sesto Senso2
Environmental conditions: Primalucelab ECCO2
Observatory Control: PrimaLuceLab Eagle Eagle 4 Pro
Roof Control: Talon RoR
Image Acquisition: Main Sequence Software Sequence Generator Pro
Image Calibration and Stacking: Astro Pixel Processor
Image Processing: PixInsight, Russ Croman’s BlurXterminator and StarExterminator